Inserting an Illustration in a Worksheet
Inserting an Illustration in a Worksheet
Insert an image, an icon, or a picture to create interest on the worksheet or to help convey a concept or link users to another worksheet.
To insert an image, an icon, or a picture on a worksheet, either open an existing Excel spreadsheet or create a new one.
- In an open Excel worksheet start by:
-
-
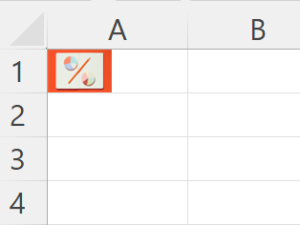
- Selecting the cell. Click on the cell where you want to insert the image.
- Inserting the image. Go to the “Insert” tab on the ribbon at the top of the Excel window.
-
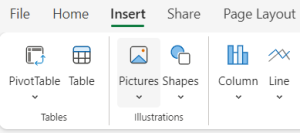
2. Choosing the Pictures button: In the “Illustrations” group, click on the “Pictures” button.
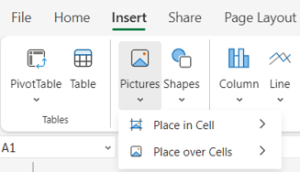
This will open a dropdown window with two options.
Place in Cell
Insert a picture directly in the cell.
Place over Cells
Insert a picture on top of the grid, floating outside the boundaries of cells.
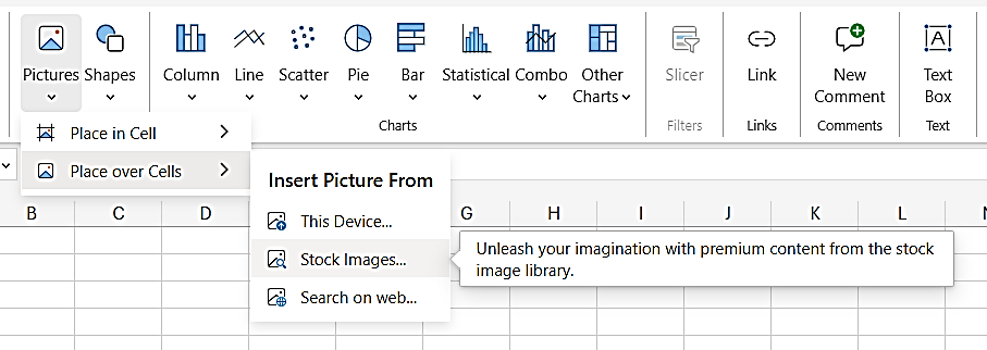
3. Choose an option (Place in Cell or Place over Cell) to see the Insert Picture From list.
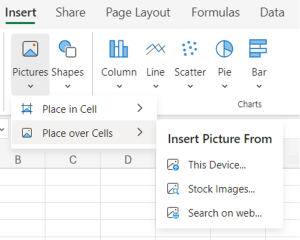
An image can be inserted from your computer (This Device), for the Microsoft Gallery (Stock Images) or from online (Search on web…).
4. Select an option from the Insert Picture From list.
5. Select the image file you want to insert, and then click the Insert button.

The image will then be placed in the worksheet.