4 2 piece 90°
Depending of what size of pipe you are working with will determine what size of paper you need. Typically you will work with the paper in a landscape(sideways) orientation. Once it is confirmed your template will work, you can then trace your working template onto heavier paper or sheet material that you can easily reuse time and time again.
We will be constructing a template to help us generate a 2 piece 90° elbow. With some basic geometry we know that the two angles that make up a 90° are 45°. To start with we will draw a view that shows the pipe and the miter cut joint.
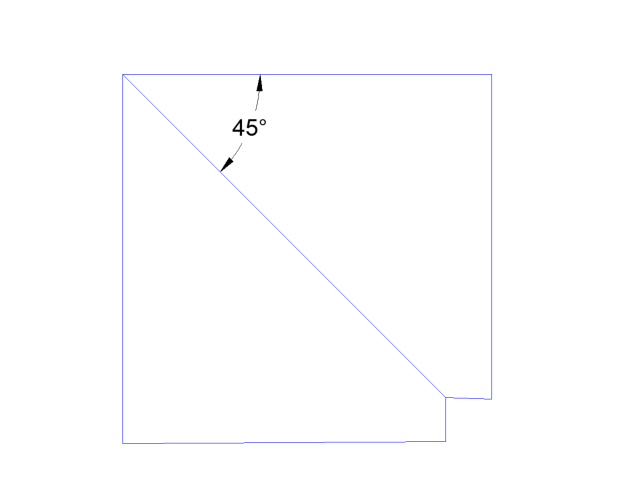
Lets remove one half of the elbow to begin making our template.

Now let’s draw a half circle off the bottom end and divide that into 8 equal parts. Number each place where a line intersects the arc of half circle.
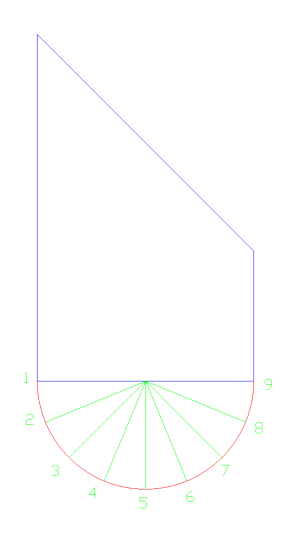
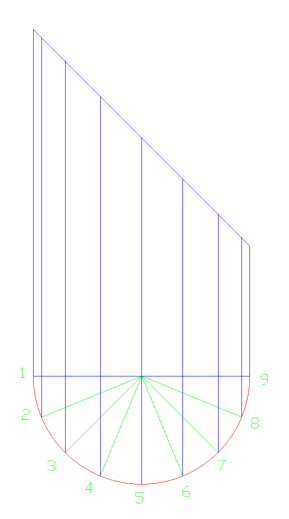
Now, at each point on the arc draw a straight line from arc to where it intercepts the 45° line. Those are you element lines.
Now we will construct the stretch out of the template. Extend the bottom and top lines to the right from the first view drawn. The overall length of your stretch out will be determined by the circumference of your pipe. The green line indicate how we transfer the overall height of object to the stretch-out.
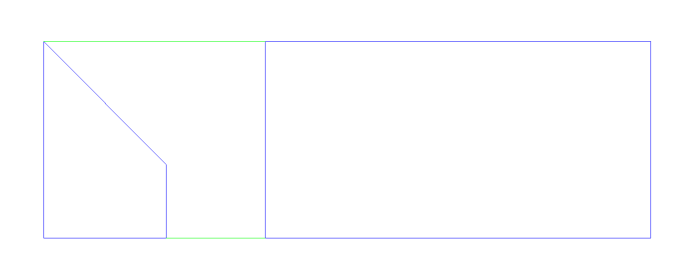
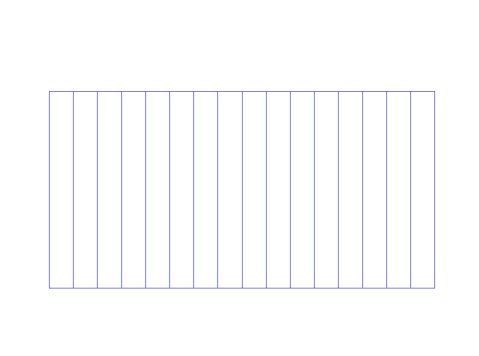
Now divide your stretch-out into 16 equal parts.
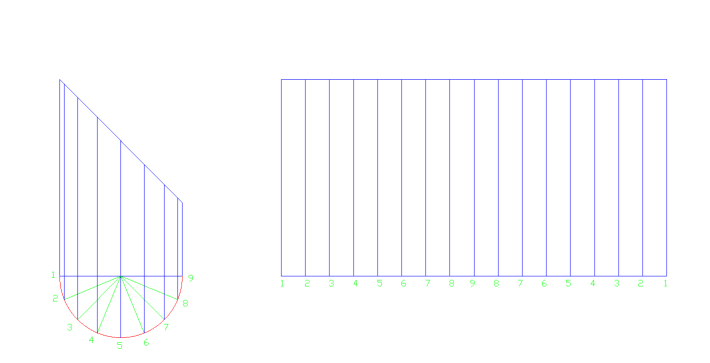
Now we have both the stretch-out and the side view in alignment and can start to transfer elements over to the stretch-out.
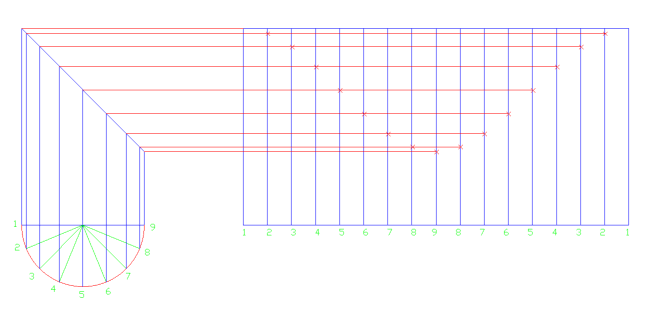
The numbers will correlate to each other from one drawing to the other. Place a straight horizontal line from mitered line over to the stretch-out and where the numbers math-up, make a tick mark.
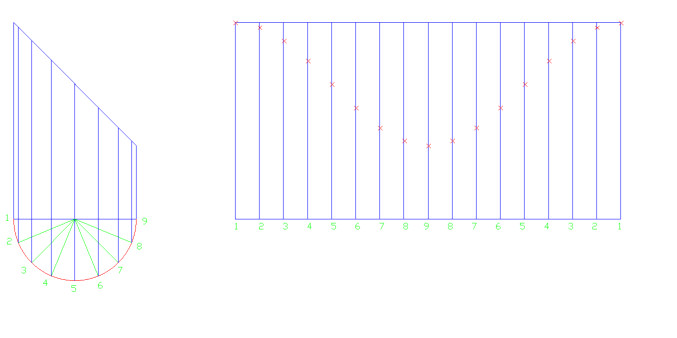
Now with connect a line between tick marks with a curved line.
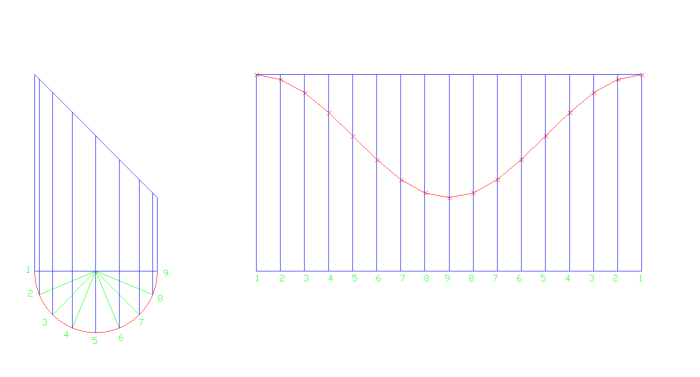
You can now remove the top section of lines above the curve on the stretch-out. Cut your template out and it is ready to use.
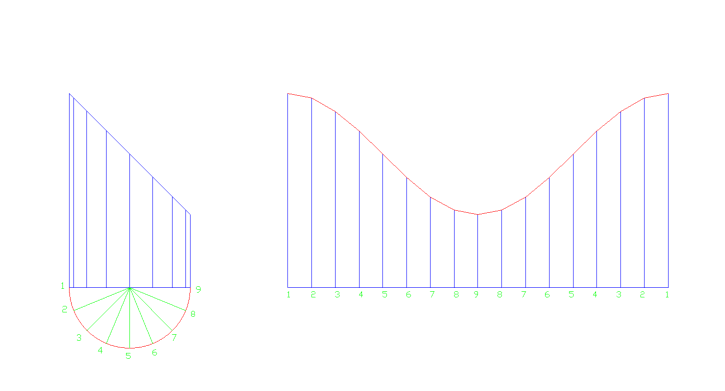
Now you can take the stretch-out and wrap around your pipe, trace the curved line onto pipe and proceed to cut.

