1
We will start out with a flat pan template build. This will be one the simplest template we will construct, but there are key components of this simple template that will follow through to more complex templates.
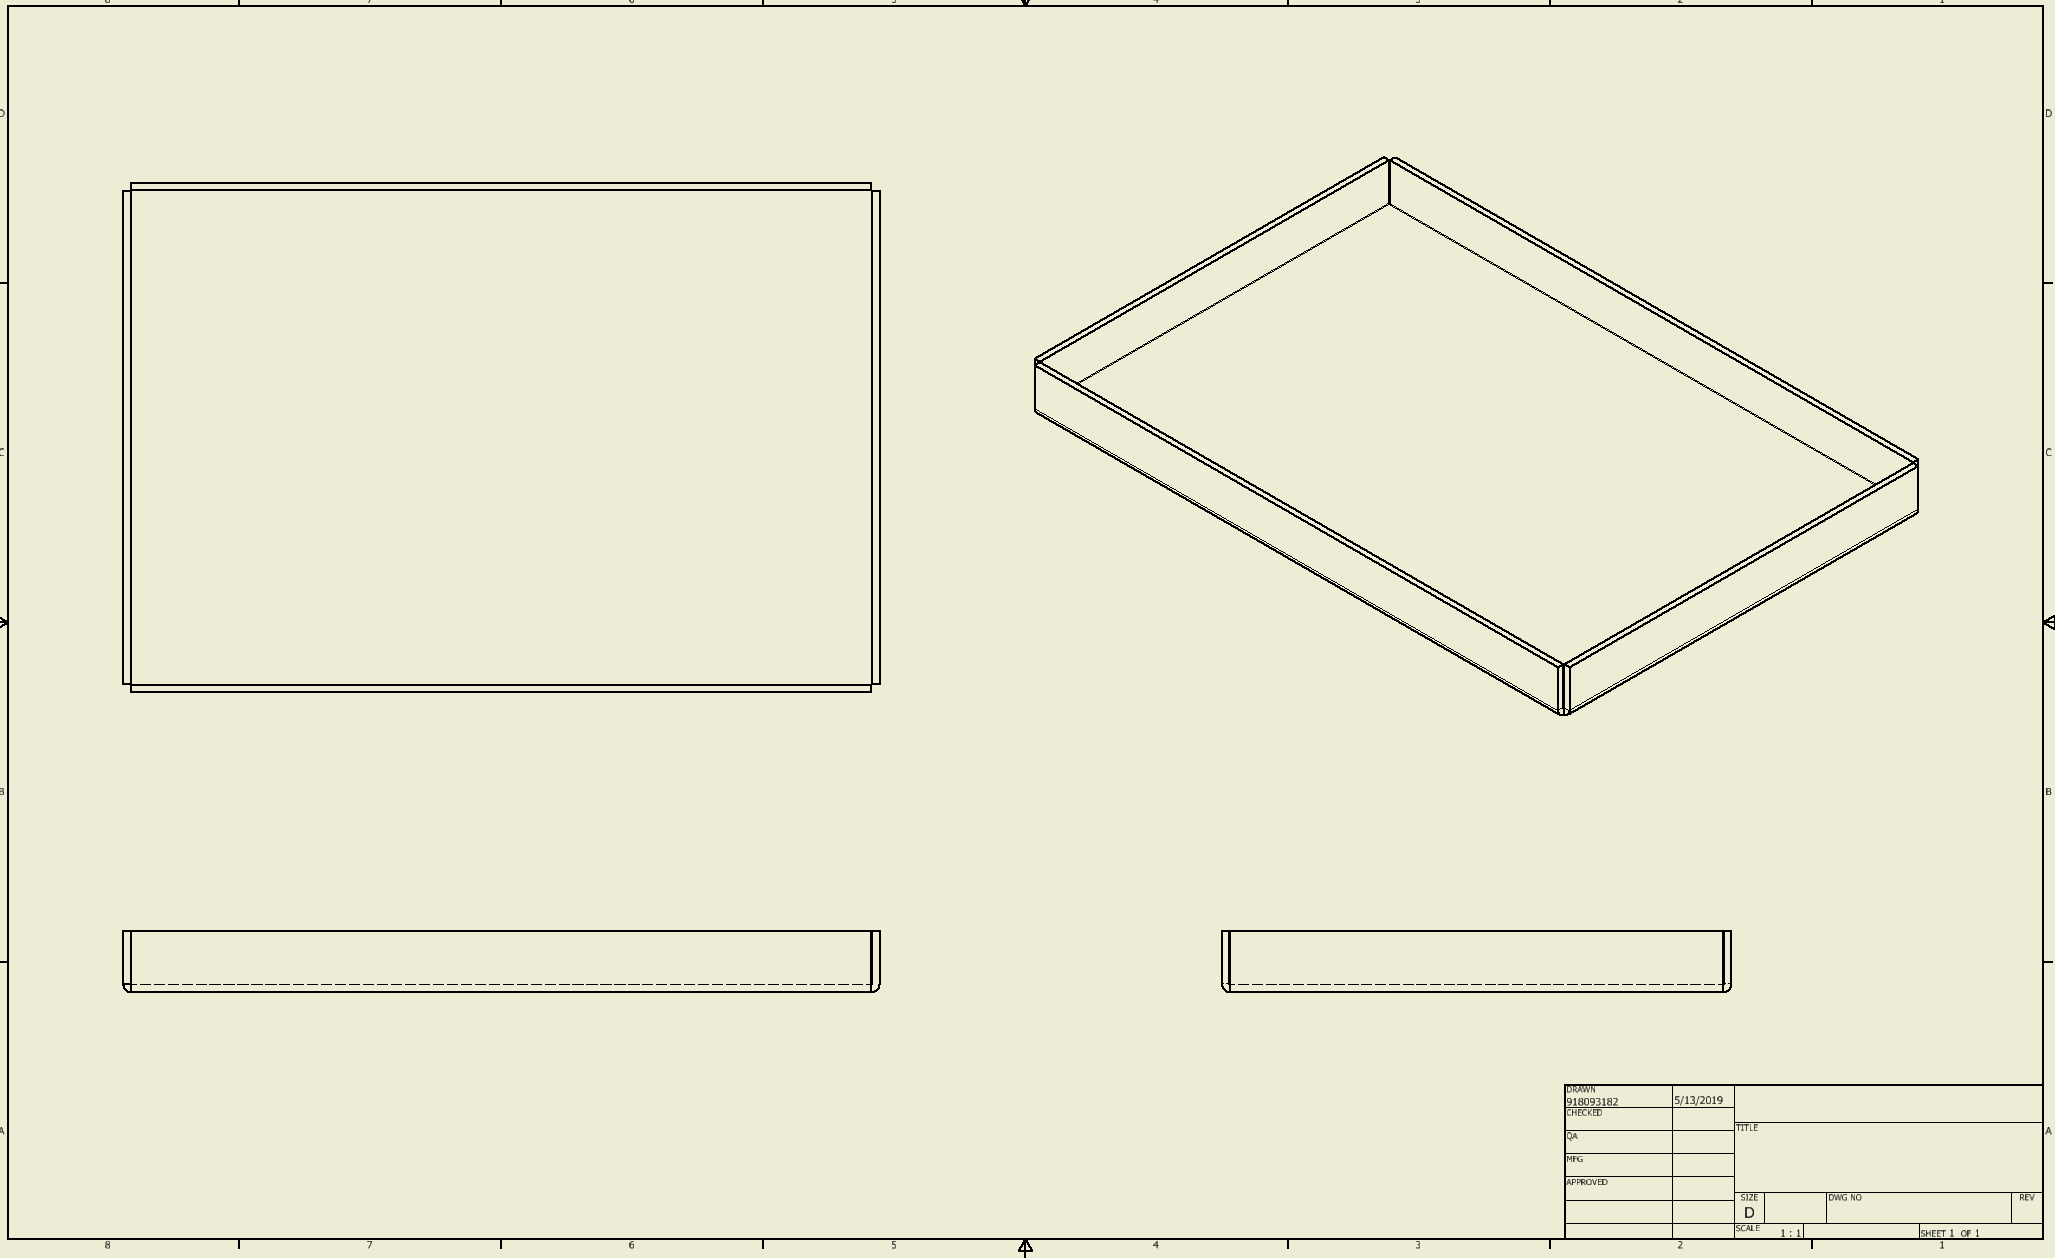
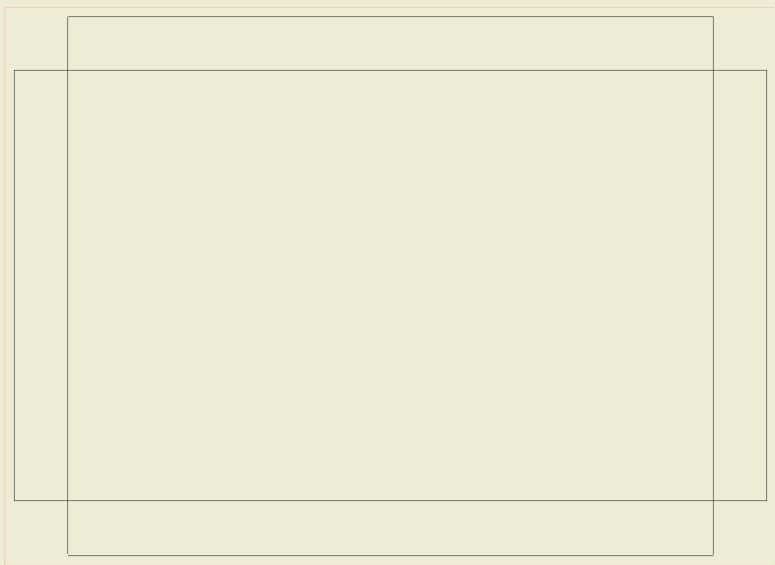
Here we have both the perspective view and an orthographic drawing. Using this format it is easy to see what the finish product will look like. What we have to do here is reverse the process to see what shape we have to start with to build the pan. The one thing we need now are dimensions.
Now that we have the parts overall size we can determine how to go about laying this part flat and work with the dimensions given so we can create the pan.
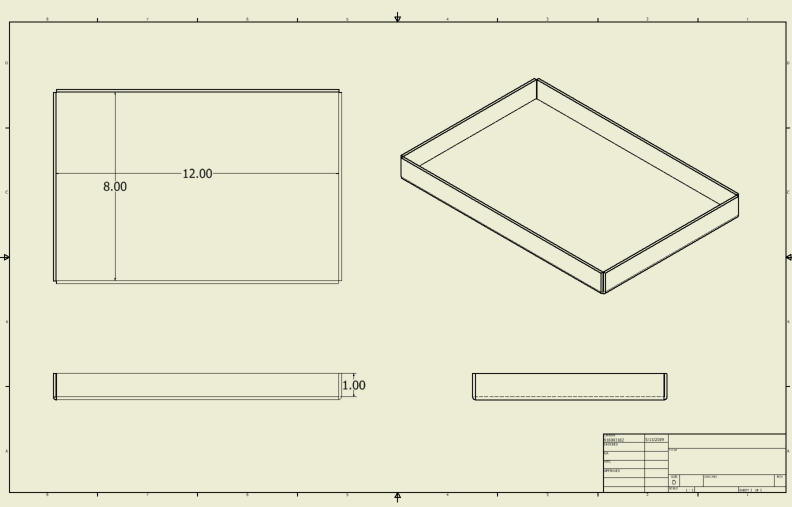
By inspecting the drawing we can see that the over flat portion of the pan or the inside dimension is 8” x 12”. Each side has a total inside height of 1” each. By adding these together we can tell that what we will need to material to build the pan. This can commonly be called the STRETCHOUT. 8” + 1” + 1” + 12” + 1” +1” gives us an overall sheet size needed of 10” X 14”.
Before we get too far, let just draw the inside base of the pan.
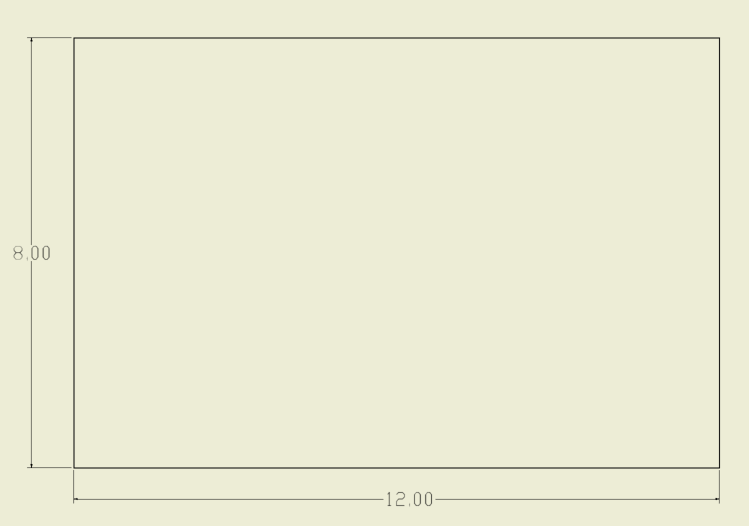
A simple rectangle that measure 8” x12”.
Now we need to add the 1” to all four corners that will become the edges of the pan. First you need to extend each line by 1” at each corner.

Now we simply connect a line on each side for each 1” extended line.
Now you can see in each corner there is a square notch. These notches allow 1” portion of the sheet to be bent up 90° to form the pan.
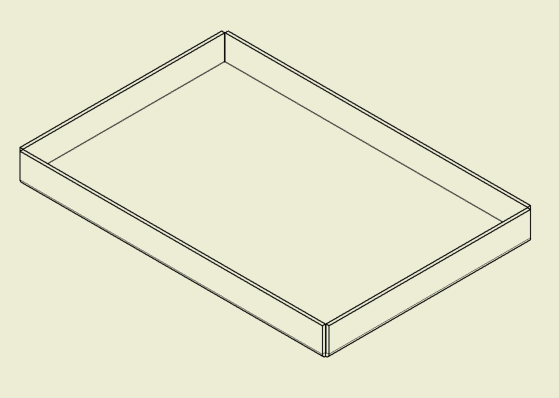
After sides are bent at 90°, the finish product should looks like this.
Notes about flat sheet layout and dimensions.
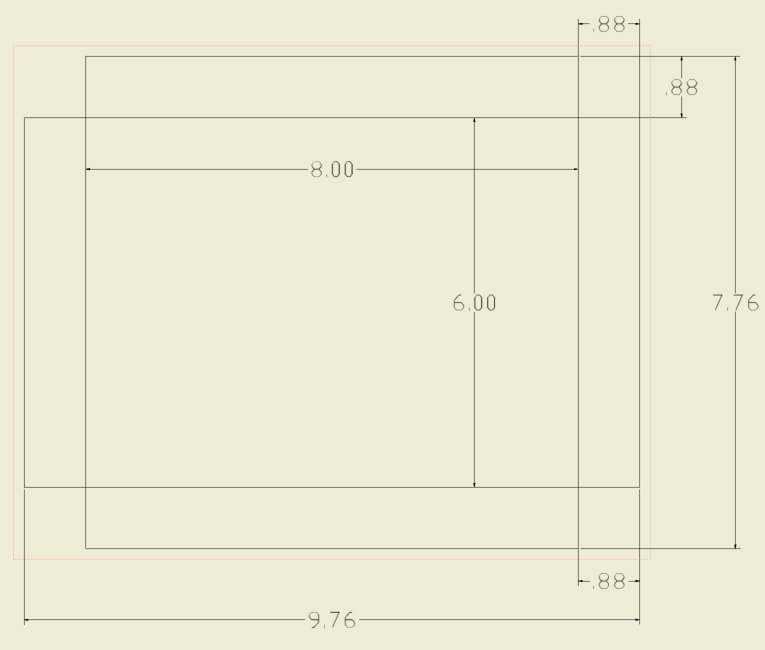
You need to pay attention to how the parts are dimensioned, inside or outside. If parts are dimensioned to the outside you will need to account for material thickness for each formed edge to properly determine Stretch-out. The Stretch-out will be based off of the inside surface. For each 90° bend .12” will be gained to overall length.
For example:

The outside dimension are 6.24” x 8.24” x 1” tall. To figure out what inside dimension is for bottom of pan for layout we need to take 2 x the sheet thickness minus the given outside dimension. The inside dimension of pan is 6” x 8” with an inside height of .88”.
To figure the stretch-out, we will need to add 6” + .88” + .88” = 7.76” and 8” + .88” +.88”=9.76”
The flat Stretch-out will look like this: