
4 Basics of Welding Symbols
Understanding Weld vs. Welding symbol
A weld symbol is not the same as a welding symbol. The weld symbol specifies the type of weld to be applied to a part. The welding symbol is made of several parts including the reference line, arrow, and weld symbol when required. The symbols in this book are a representation of what weld and welding symbols look like. There are specific design requirements when used in accordance to a blueprint.
Reference Line and Arrow
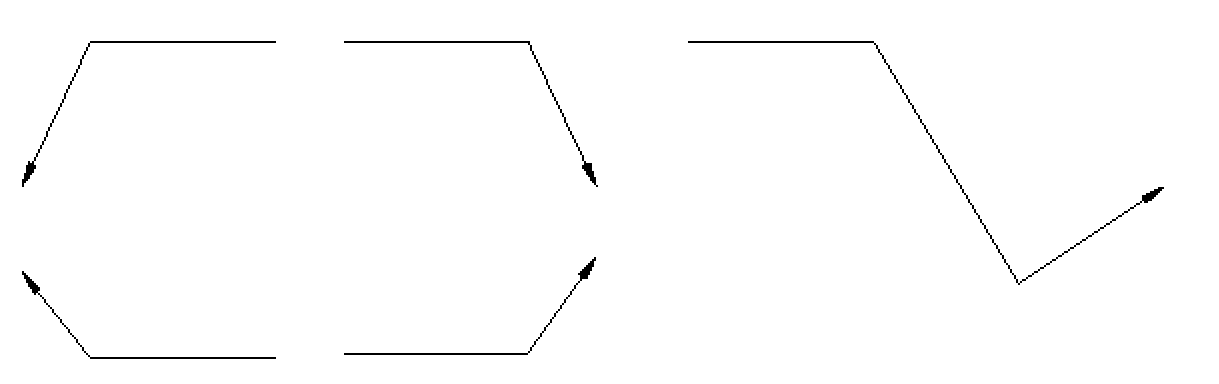
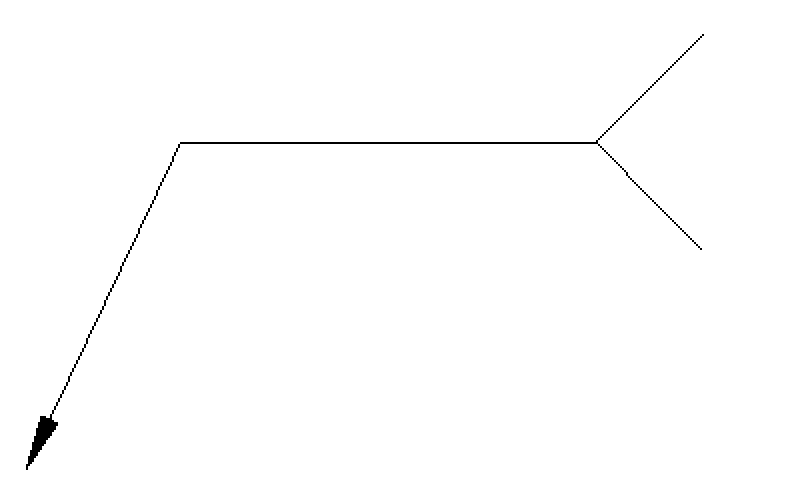
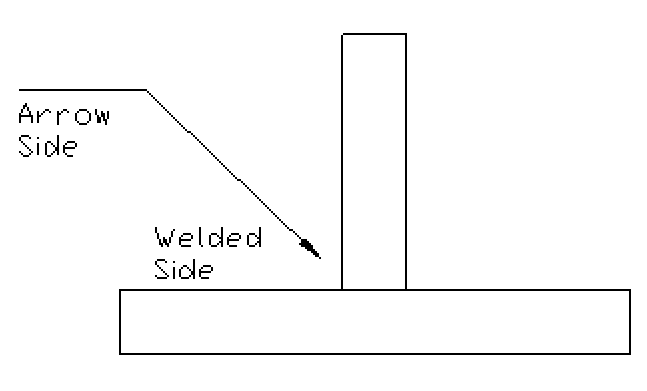
There are two parts that make up the main body of a welding symbol. These include the reference line and the arrow. The horizontal line that makes up the main body is called the reference line. This is the anchor to which all the other welding symbols are tied. The information that is pertinent for making the weld are place on the reference line in specific places. The arrow connects the reference line to the joint in which the weld(s) is (are) to be made. There are several combinations of the reference line and arrow, but the reference line will always be placed in a horizontal position. This symbol is also always read from the left to the right. If you have been around blueprints the arrow may look a lot like a leader line. They are not the same thing so be mindful when reviewing welding symbols.
The reference line may include what is called the tail. This looks like the letter V turned sideways. Such as this >. This tail gives an area to write specifics about what weld process, welding procedure, and even material specifications are required for that specific welding symbol.
Arrow vs Other Side
Placement of the weld will depend on placement of the symbol above or below the reference line. If the symbol has been placed above the reference line this is calling for the other side. If it is placed below the reference line this is calling for the arrow side. Other and arrow side define exactly what it is calling for. If the arrow is pointing to the right side of the joint the weld will be placed on the right side if an arrow side weld is called out. If the arrow is pointing at the right side of the joint and another side weld is called then the weld will be applied to the left side of the part.
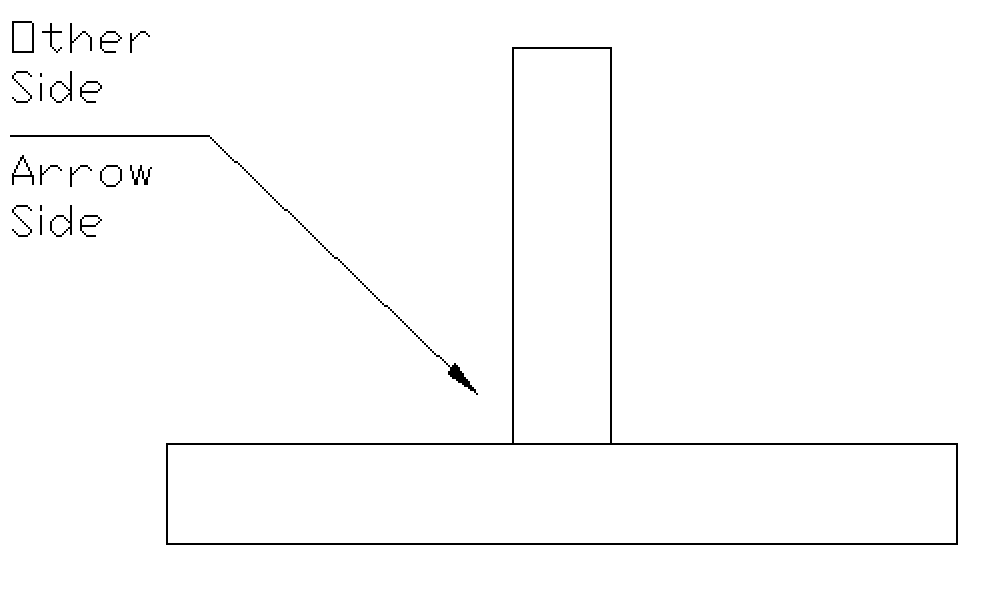
If a weld is to be placed on the other side of a joint a symbol will be placed above the reference line.
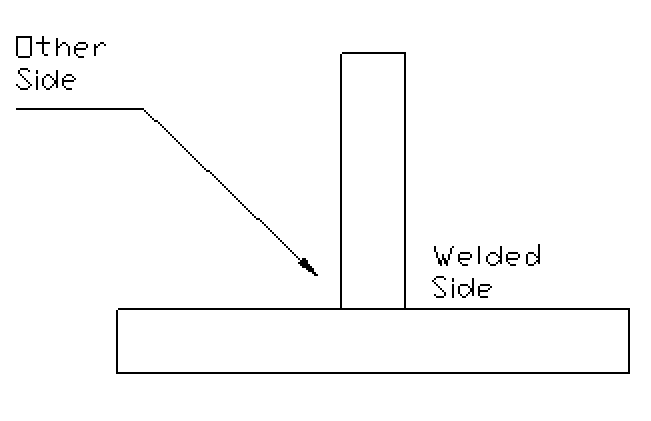
If a weld is to be placed on the arrow side of a joint the symbol will be placed below the reference line.
It is very important to understand the difference of these two sides as it could finish a product or if done incorrectly send it back to be reworked in order to get the correct outcome. The concept behind this may seem very simple at the moment but as we work through this book and start adding more elements to the welding symbol it may become more taxing on the thought process. The most important thing to do is break it down piece by piece and truly understand what the symbol is asking/ requiring for the weld.
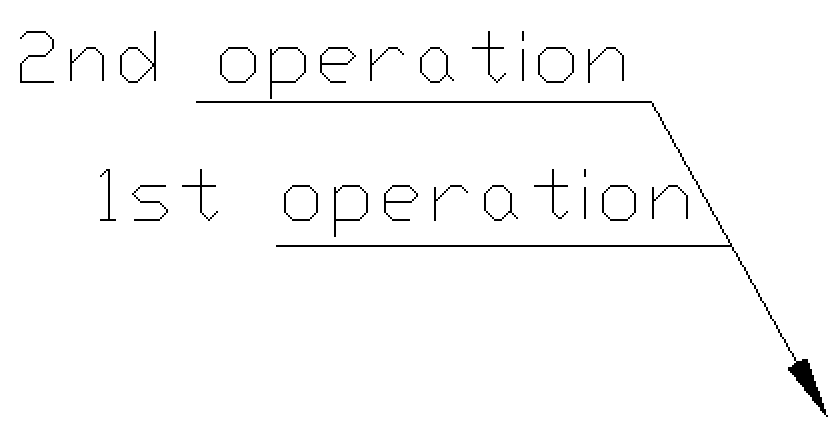
At times there may be multiple reference lines. If this is the case it is important to remember the order of which the welding is to occur. The reference line nearest the arrow will be the first operation, followed by the second, and so on until all operations are complete.
Symbol Fundamental Quiz
Label the image below with the appropriate letter (arrow/other) designation.
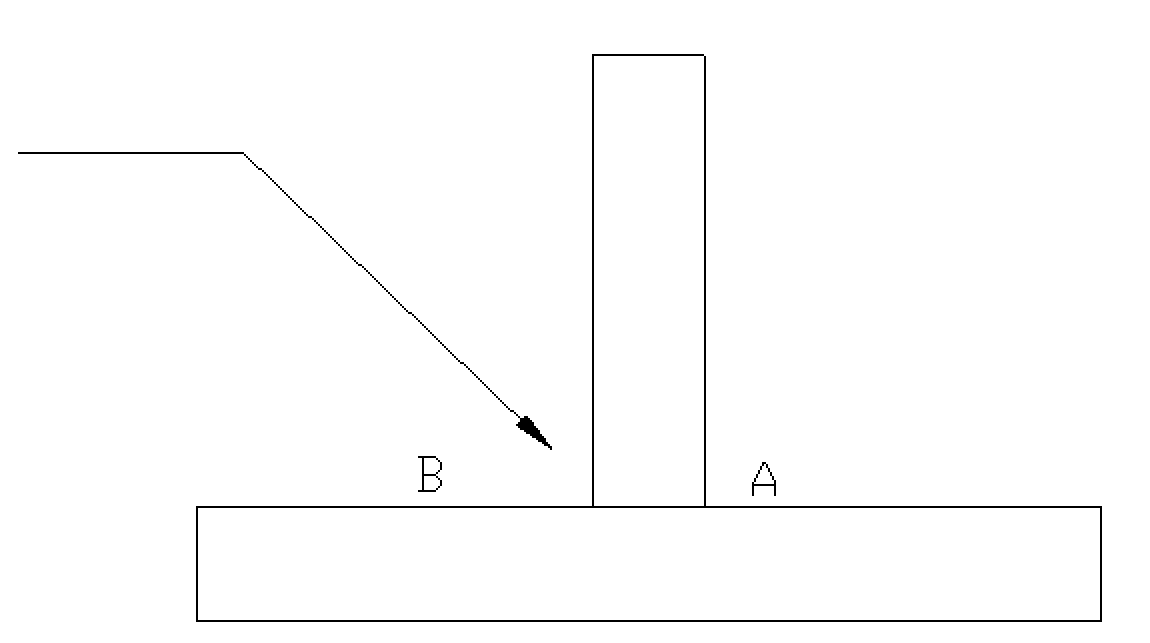
Letter ______ designates the Arrow side of the joint.
Letter ______ designates the Other side of the joint.
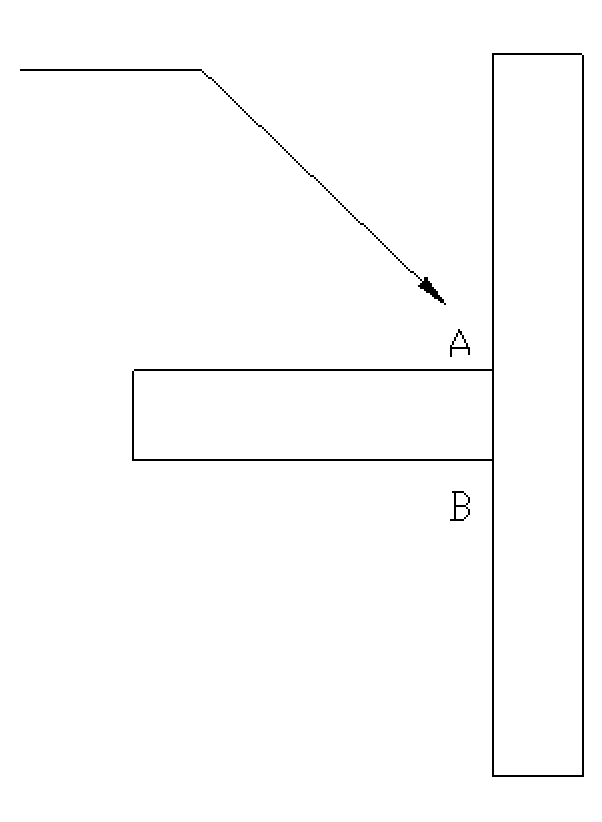
Letter ______ designates the Arrow side of the joint.
Letter ______ designates the Other side of the joint.
