Exercise 5.1 Line Drawing of a Bottle
You will draw a basic line drawing of a perfume bottle. The drawing process should use a slow and methodical approach with an emphasis on accuracy, it is not a quick sketch. Below the image of the bottle are detailed step by step instructions on how you can accomplish this drawing. Read through all of the instructions first. Once you get to the end of reading through the instructions, go back to the beginning to start your drawing, working step by step through the entire process.
Materials needed:
- Pencils – both 4H and HB
- One quarter of your drawing pad
- Viewfinder and erasable marker
Time to complete: 30 minutes
Instructions:
You will draw the bottle below and making sure the measurements are correct. The drawing will only need to be a line drawing. No shading is necessary.
- Start with a hard 4H pencil.
- The object should fill your drawing area as much as possible.
- Keep all setup lines and tick marks. Don’t erase any extra lines that were used. Try your best not to erase. The setup lines should be lightly done with your hard pencil. Do not push hard.
- After the lightly drawn object looks correct, go in and darken the main features with your HB pencil to darken the lines. Don’t trace around the entire object in one pass. Draw each section at a time and try not to push too hard on the pencil.
- Take a photo of the drawing with the rest of the exercises for chapter five once you complete all of them. Exercises 5.1, 5.2, 5.3, and 5.4 should all be in the same photo file.
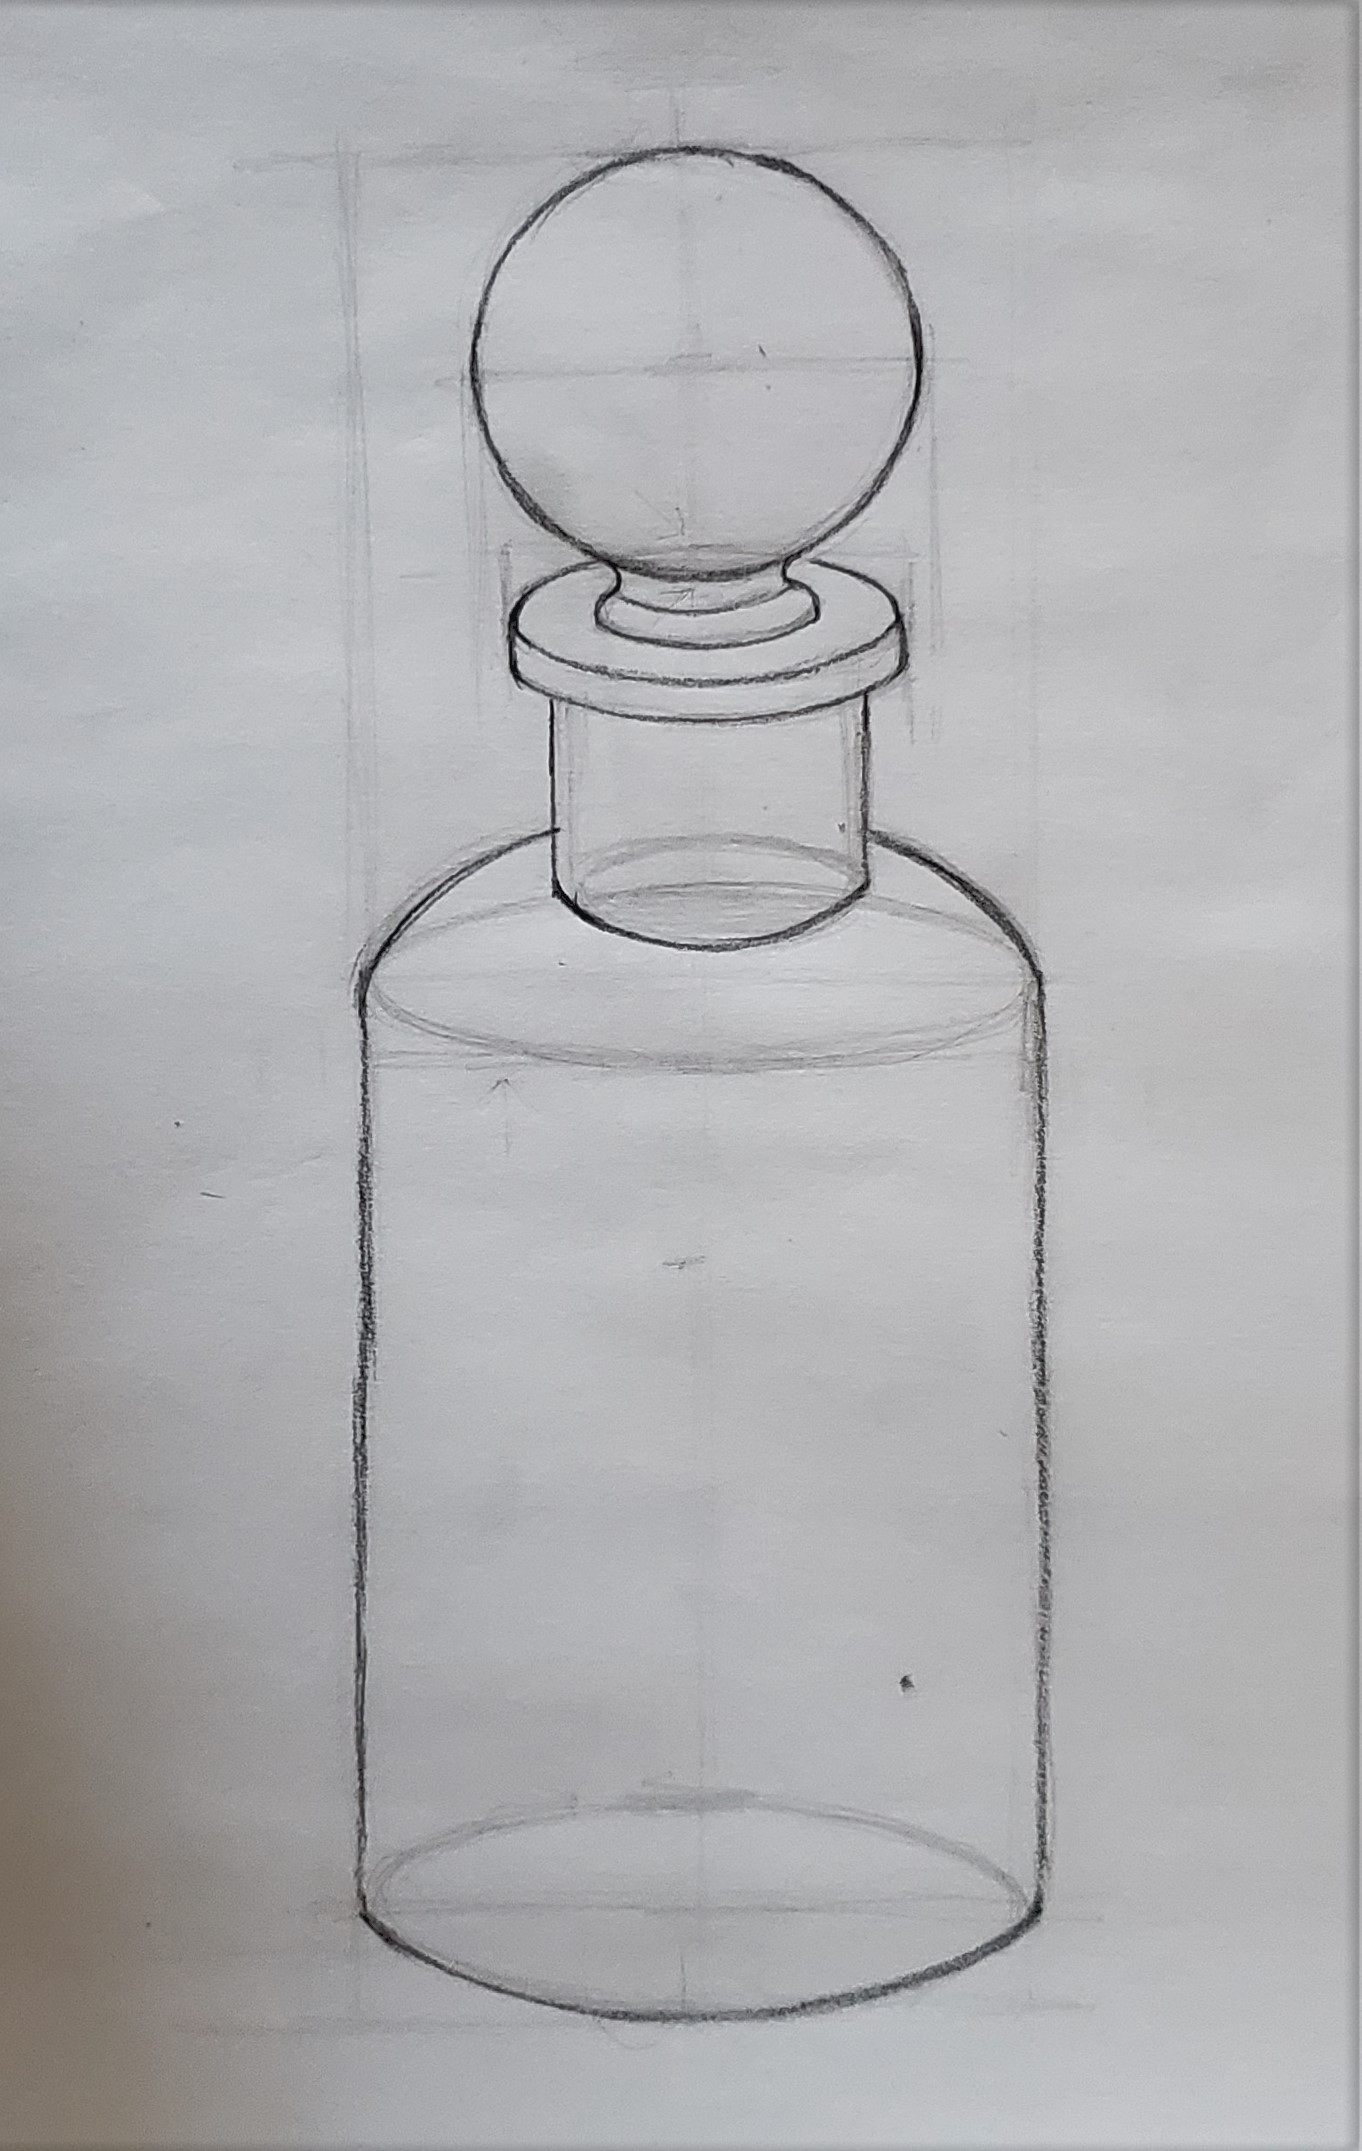
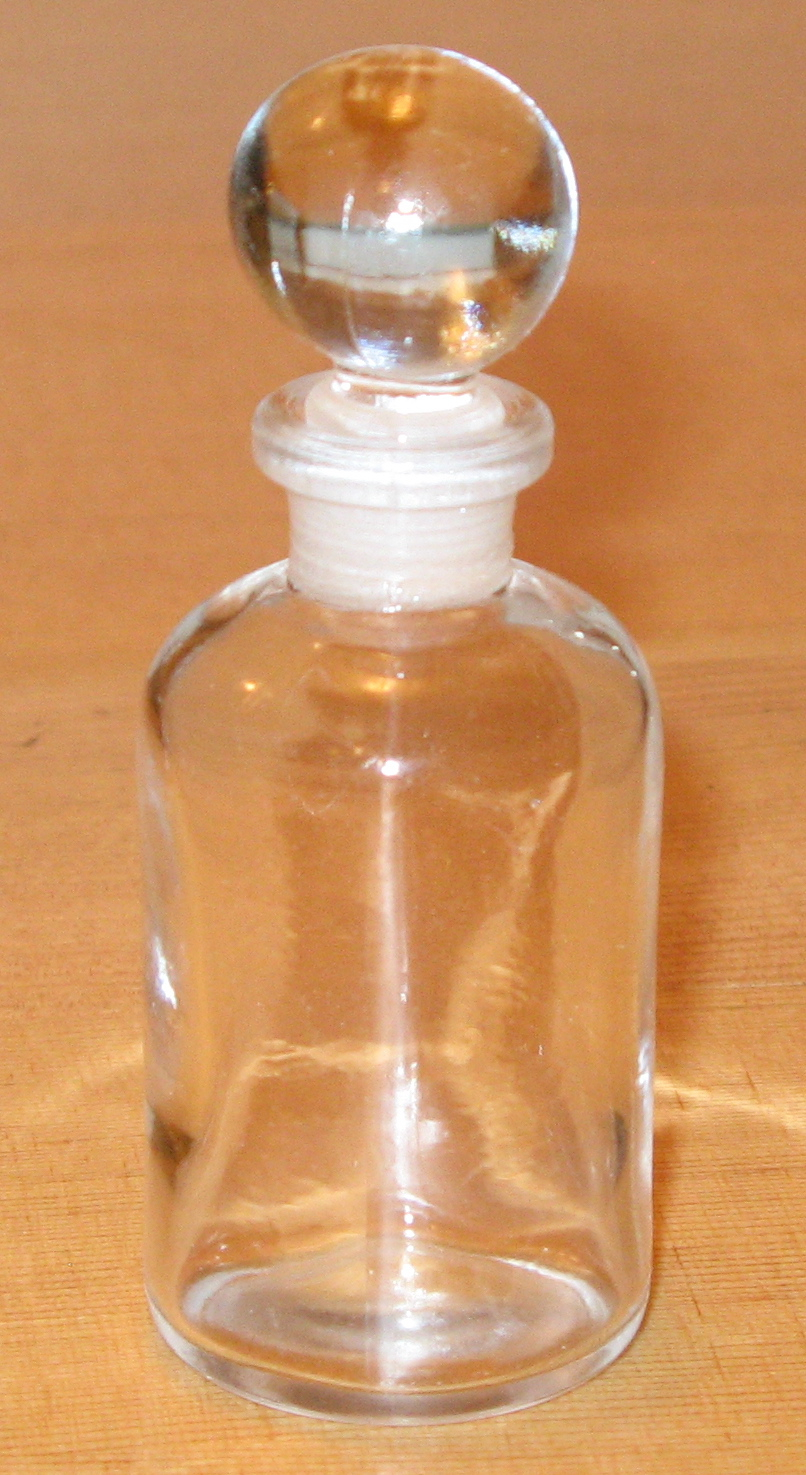
The image to draw:
Some helpful notes:
For a little extra help, below is a step by step process for starting this drawing.
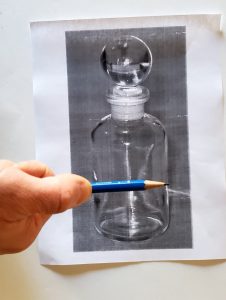
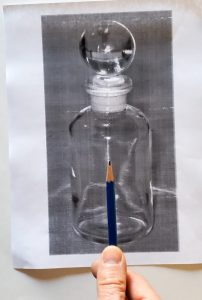
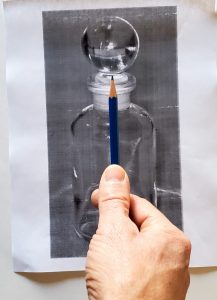

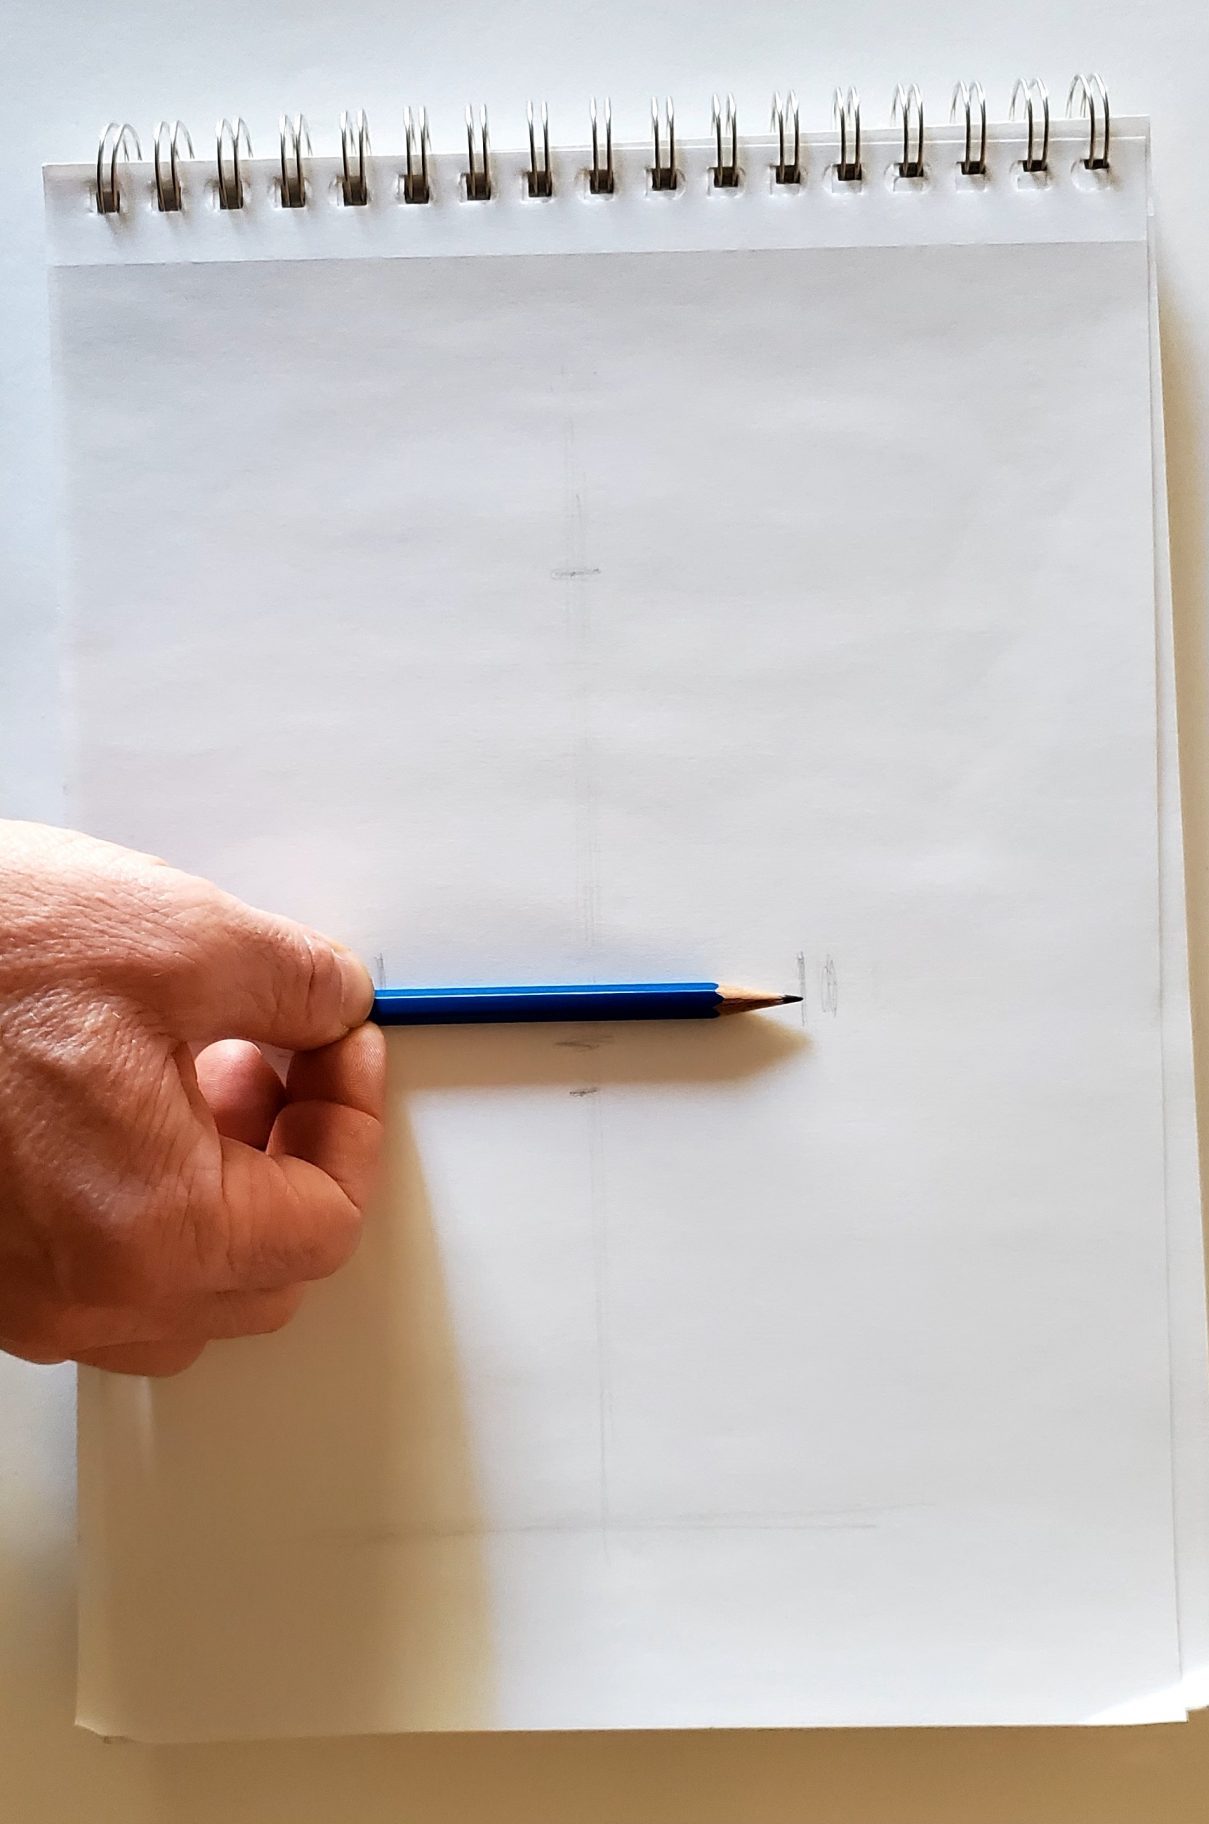
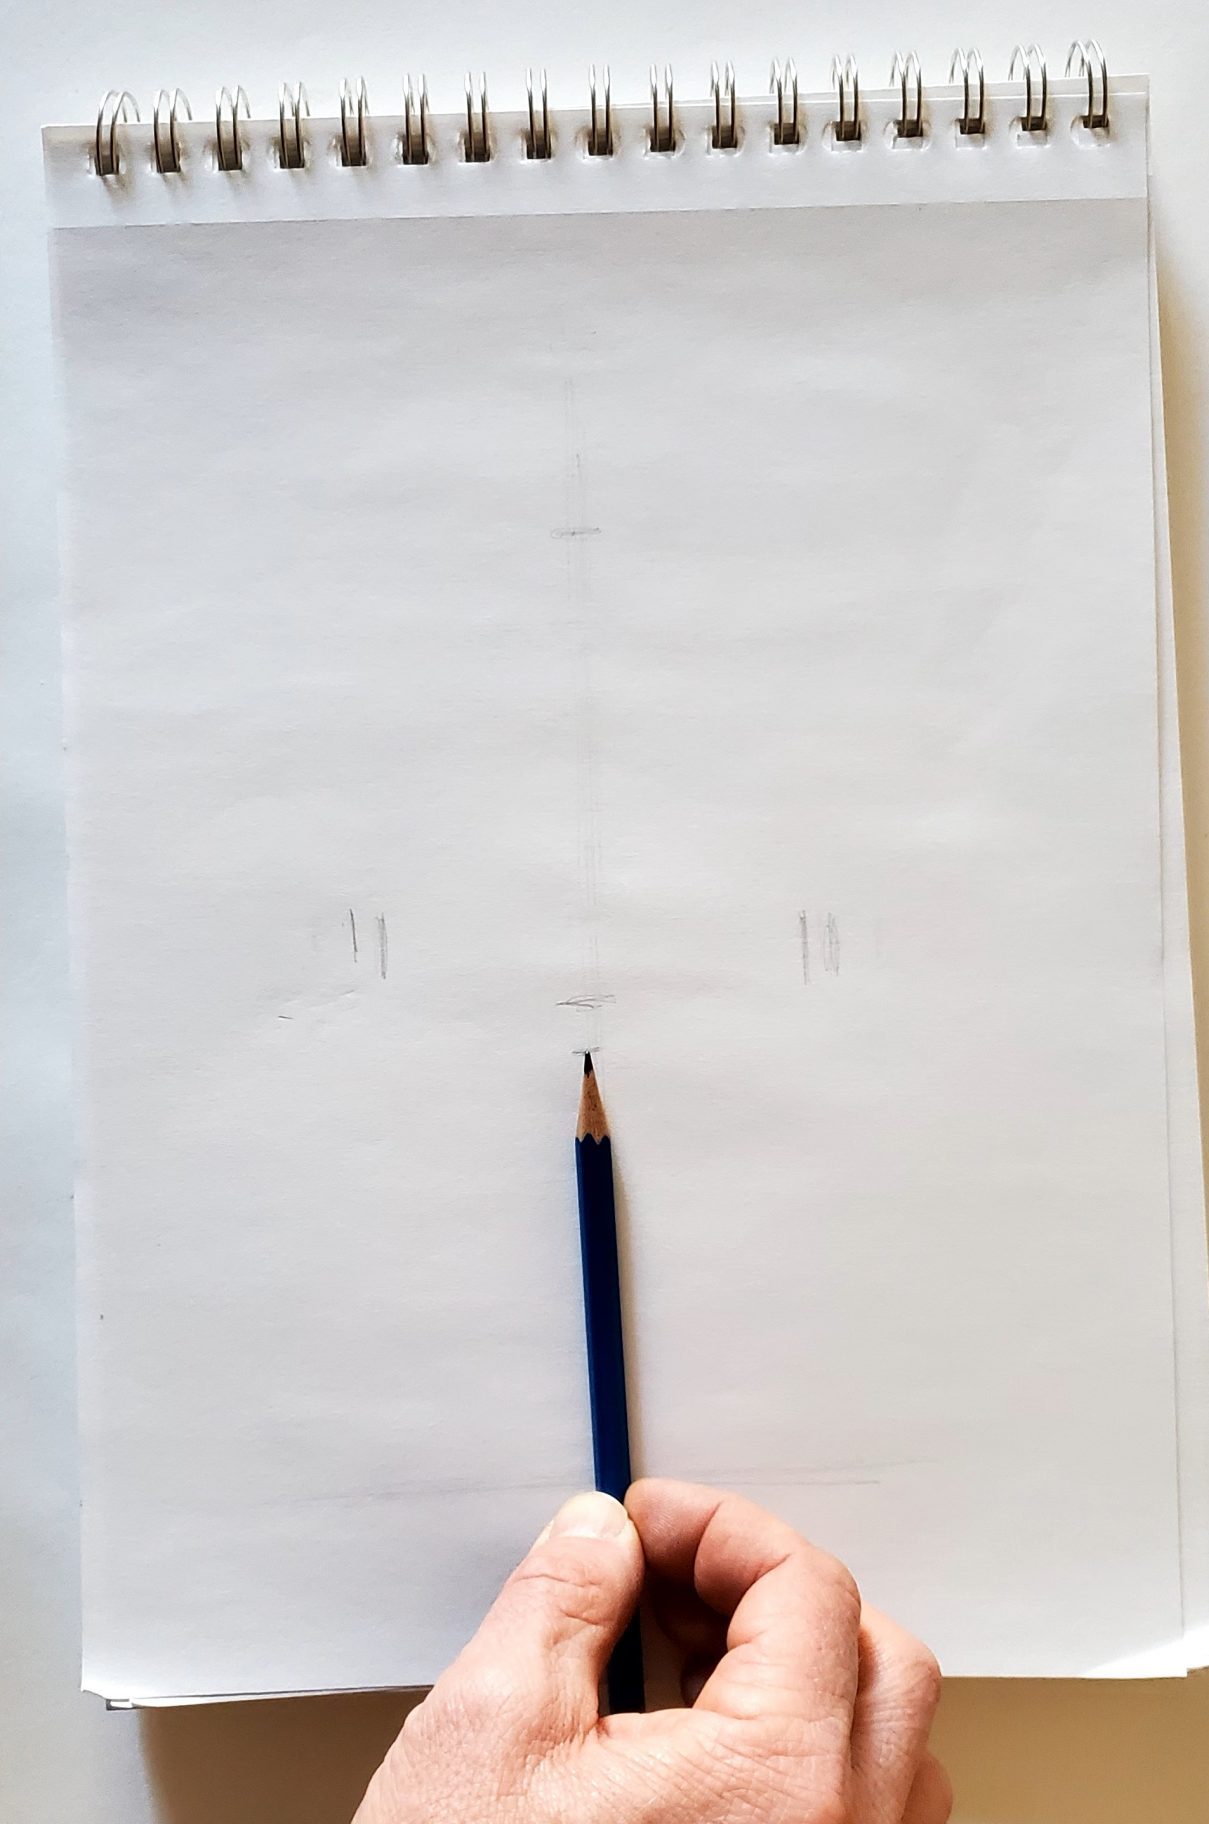
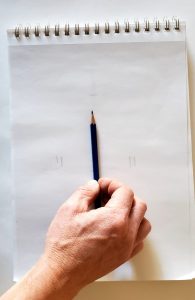
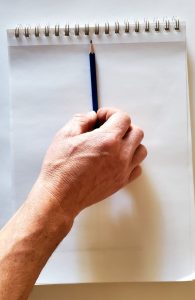
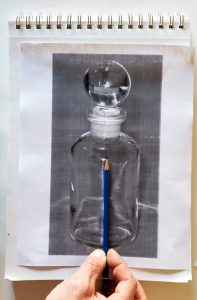
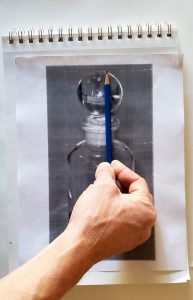
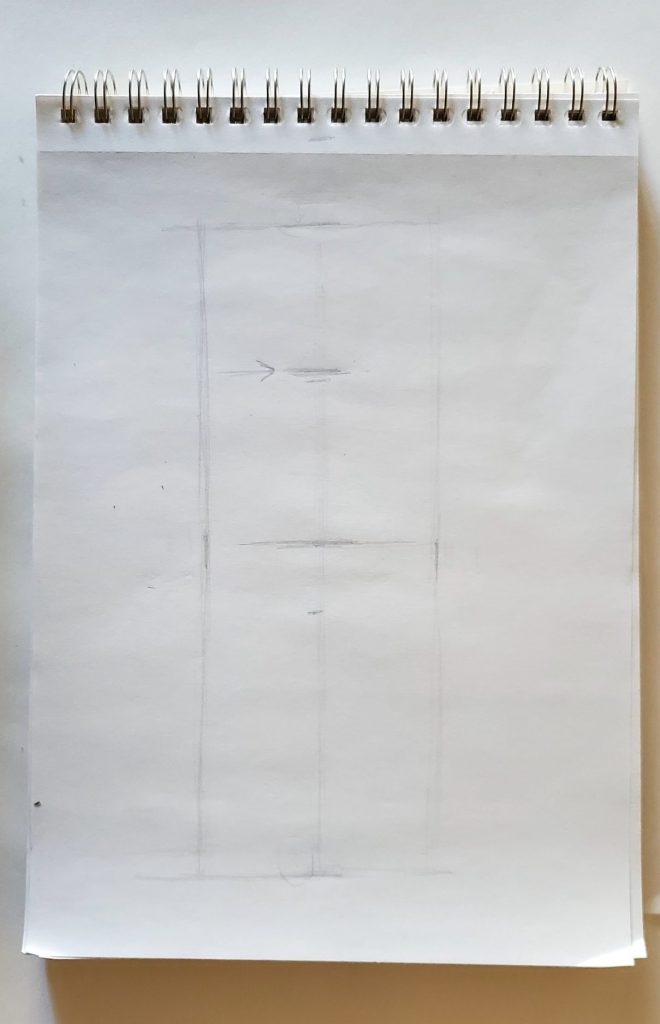
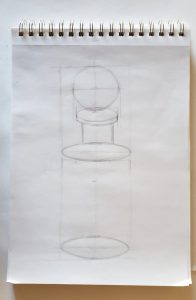
The images above show how you can start with obtaining a basic unit using the width of the bottle. You next turn the pencil vertically to find how many basic units make up the height. You should find the height is a little under three units high. Also, note in the third image from the left how two basic units are below the spherical topper of the bottle. We will talk about this clue later.
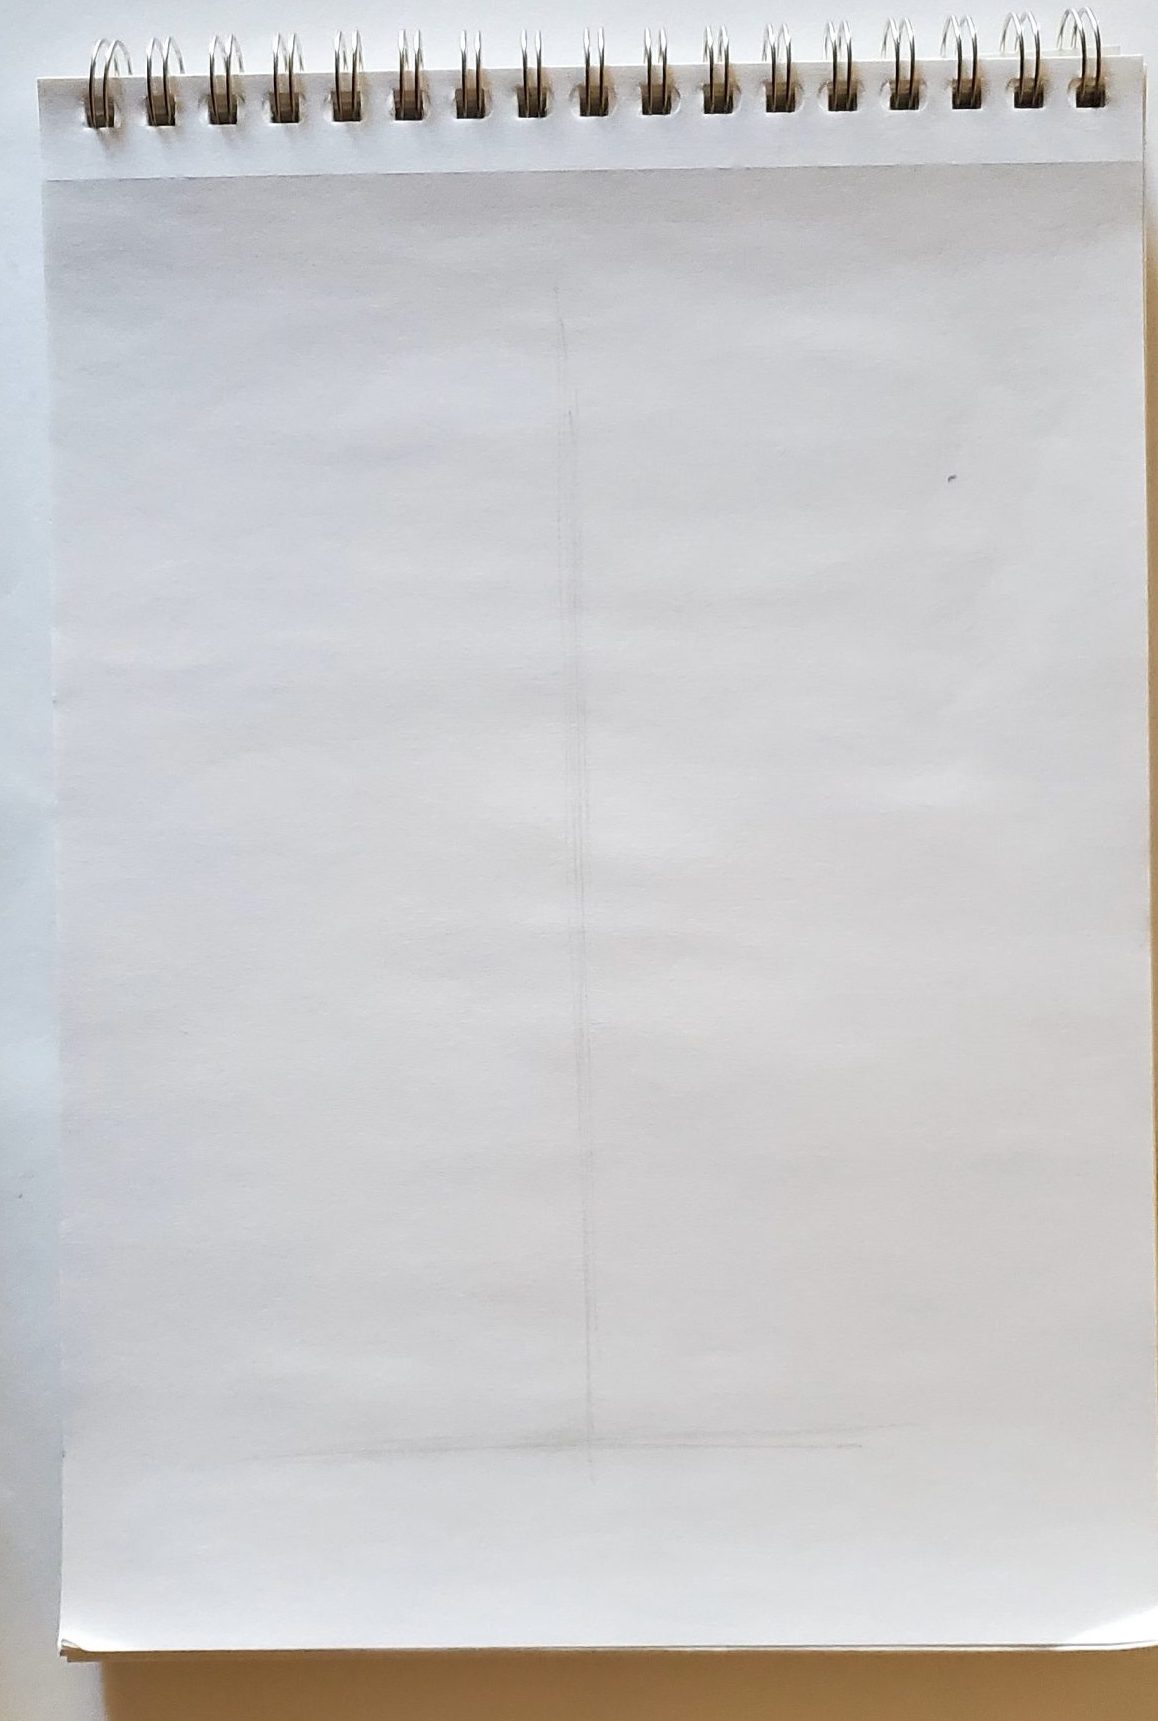
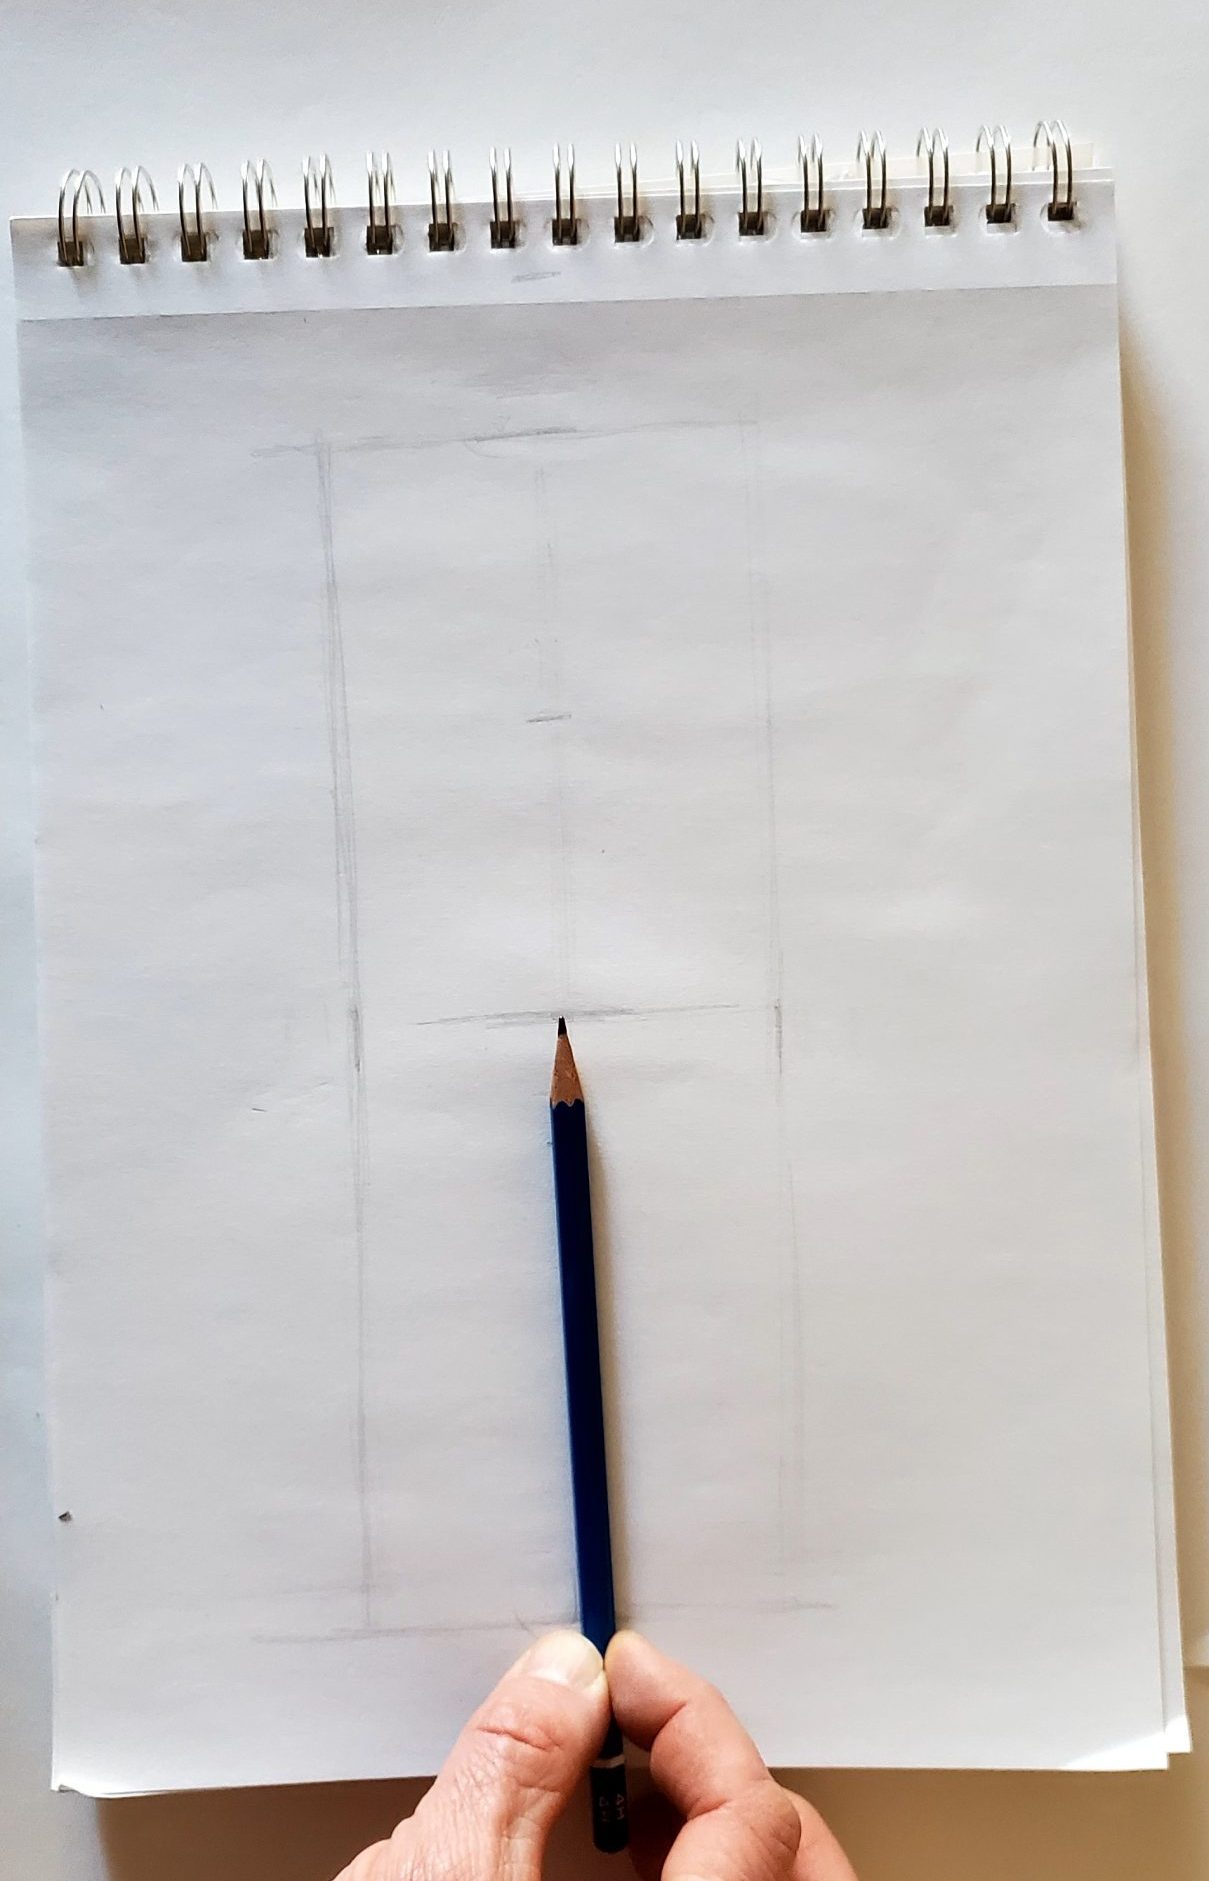
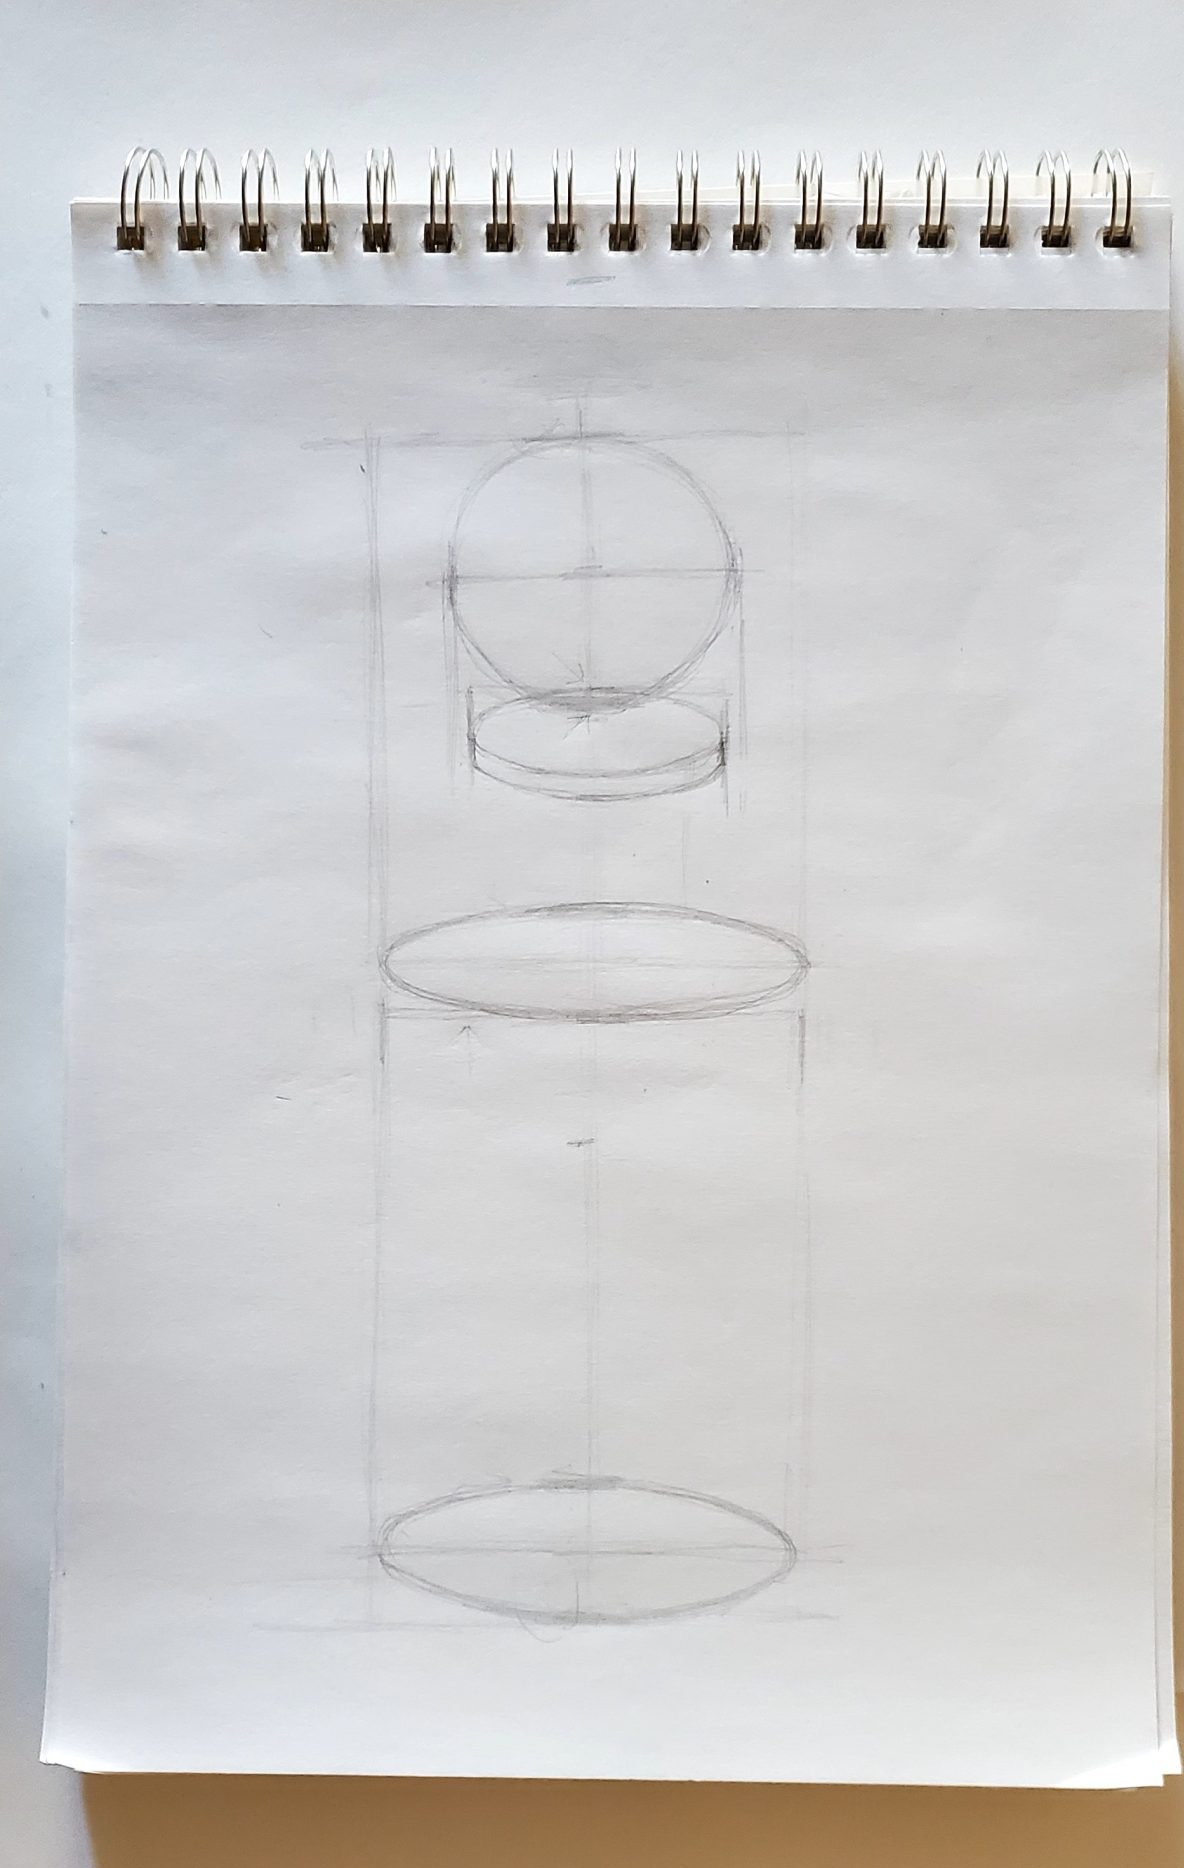
In the above left image, there is a light vertical line drawn down the middle of the drawing. Next, a light horizontal line is drawn at about where we want the bottom of the bottle to be placed. Next, you need to guess or estimate what you think is the width of the bottle to create a basic unit. Two tick marks equally distanced from the center line are then added to indicate the estimated width. You can then obtain a basic unit with your pencil from this estimated width.

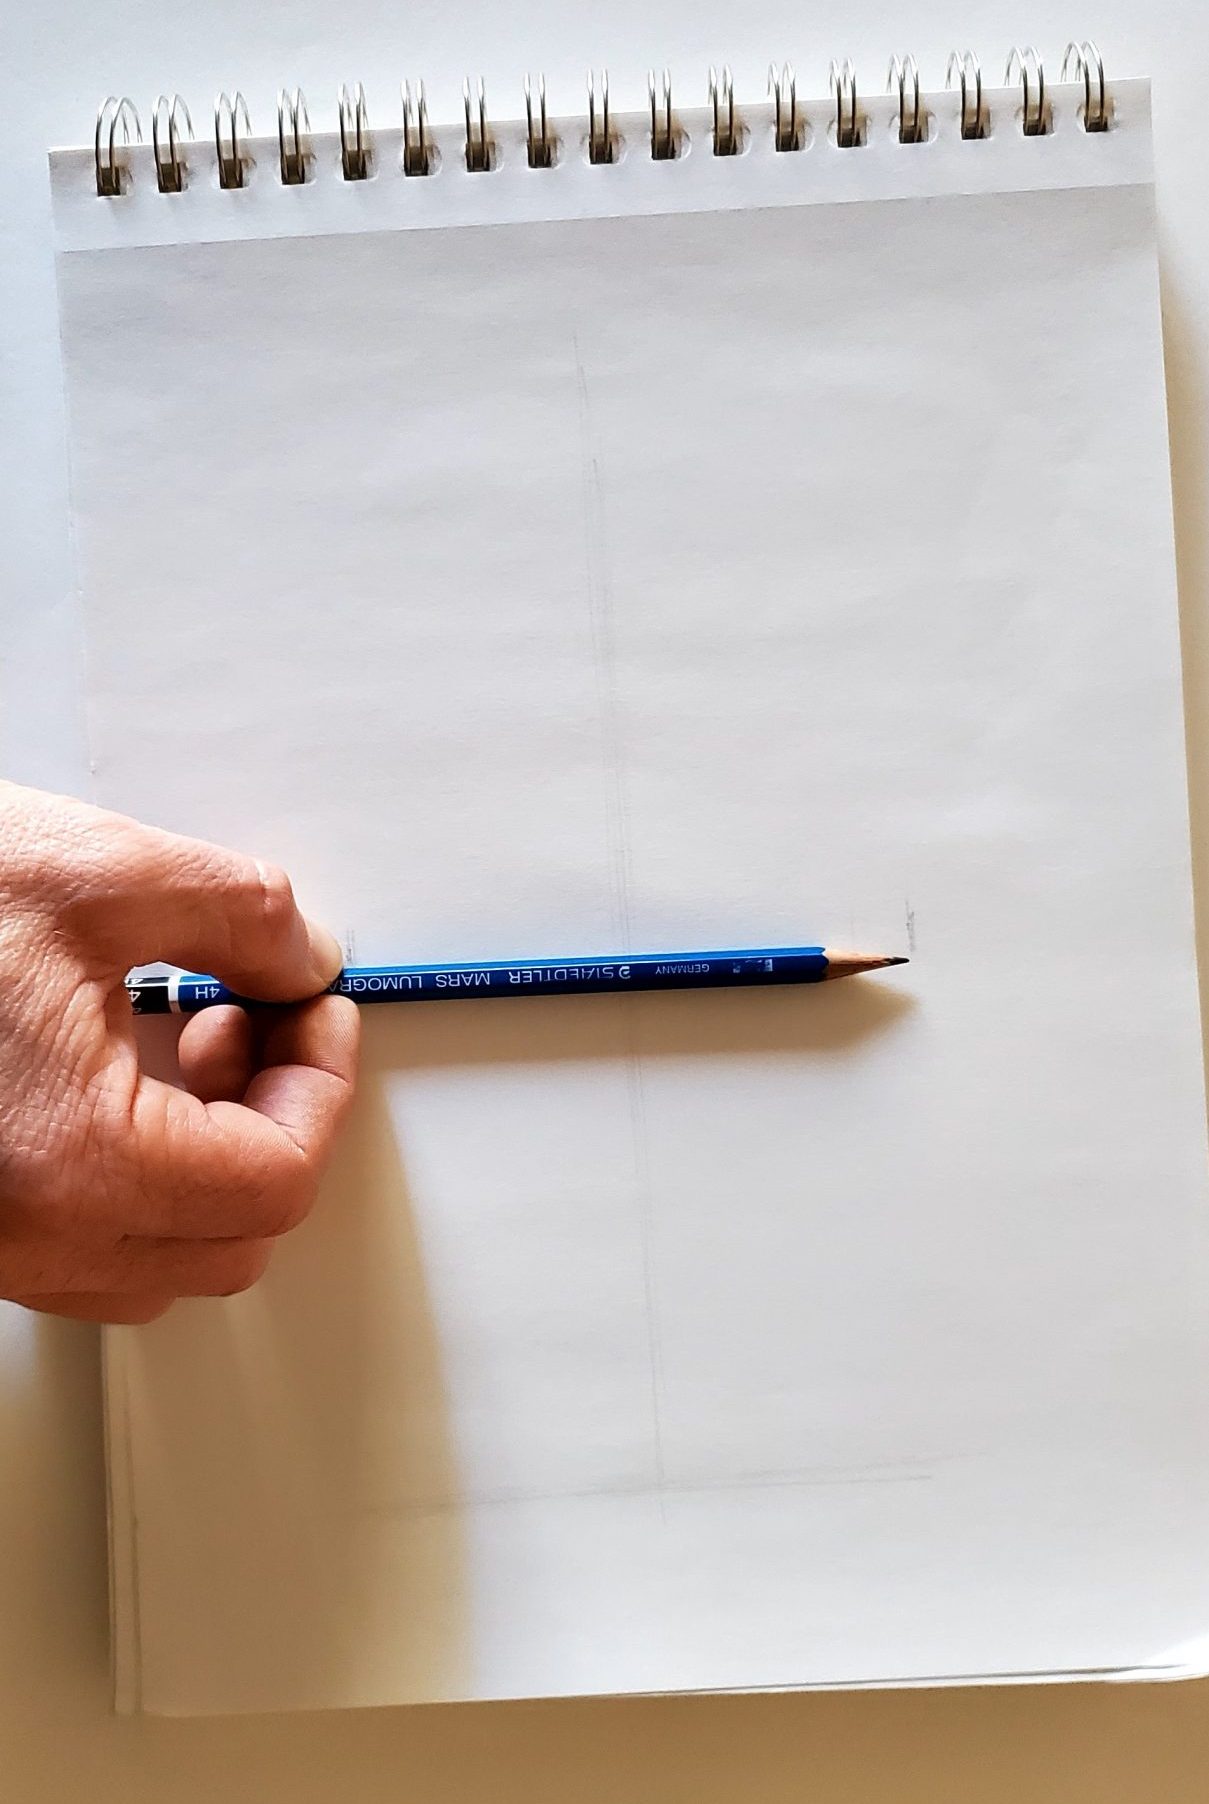
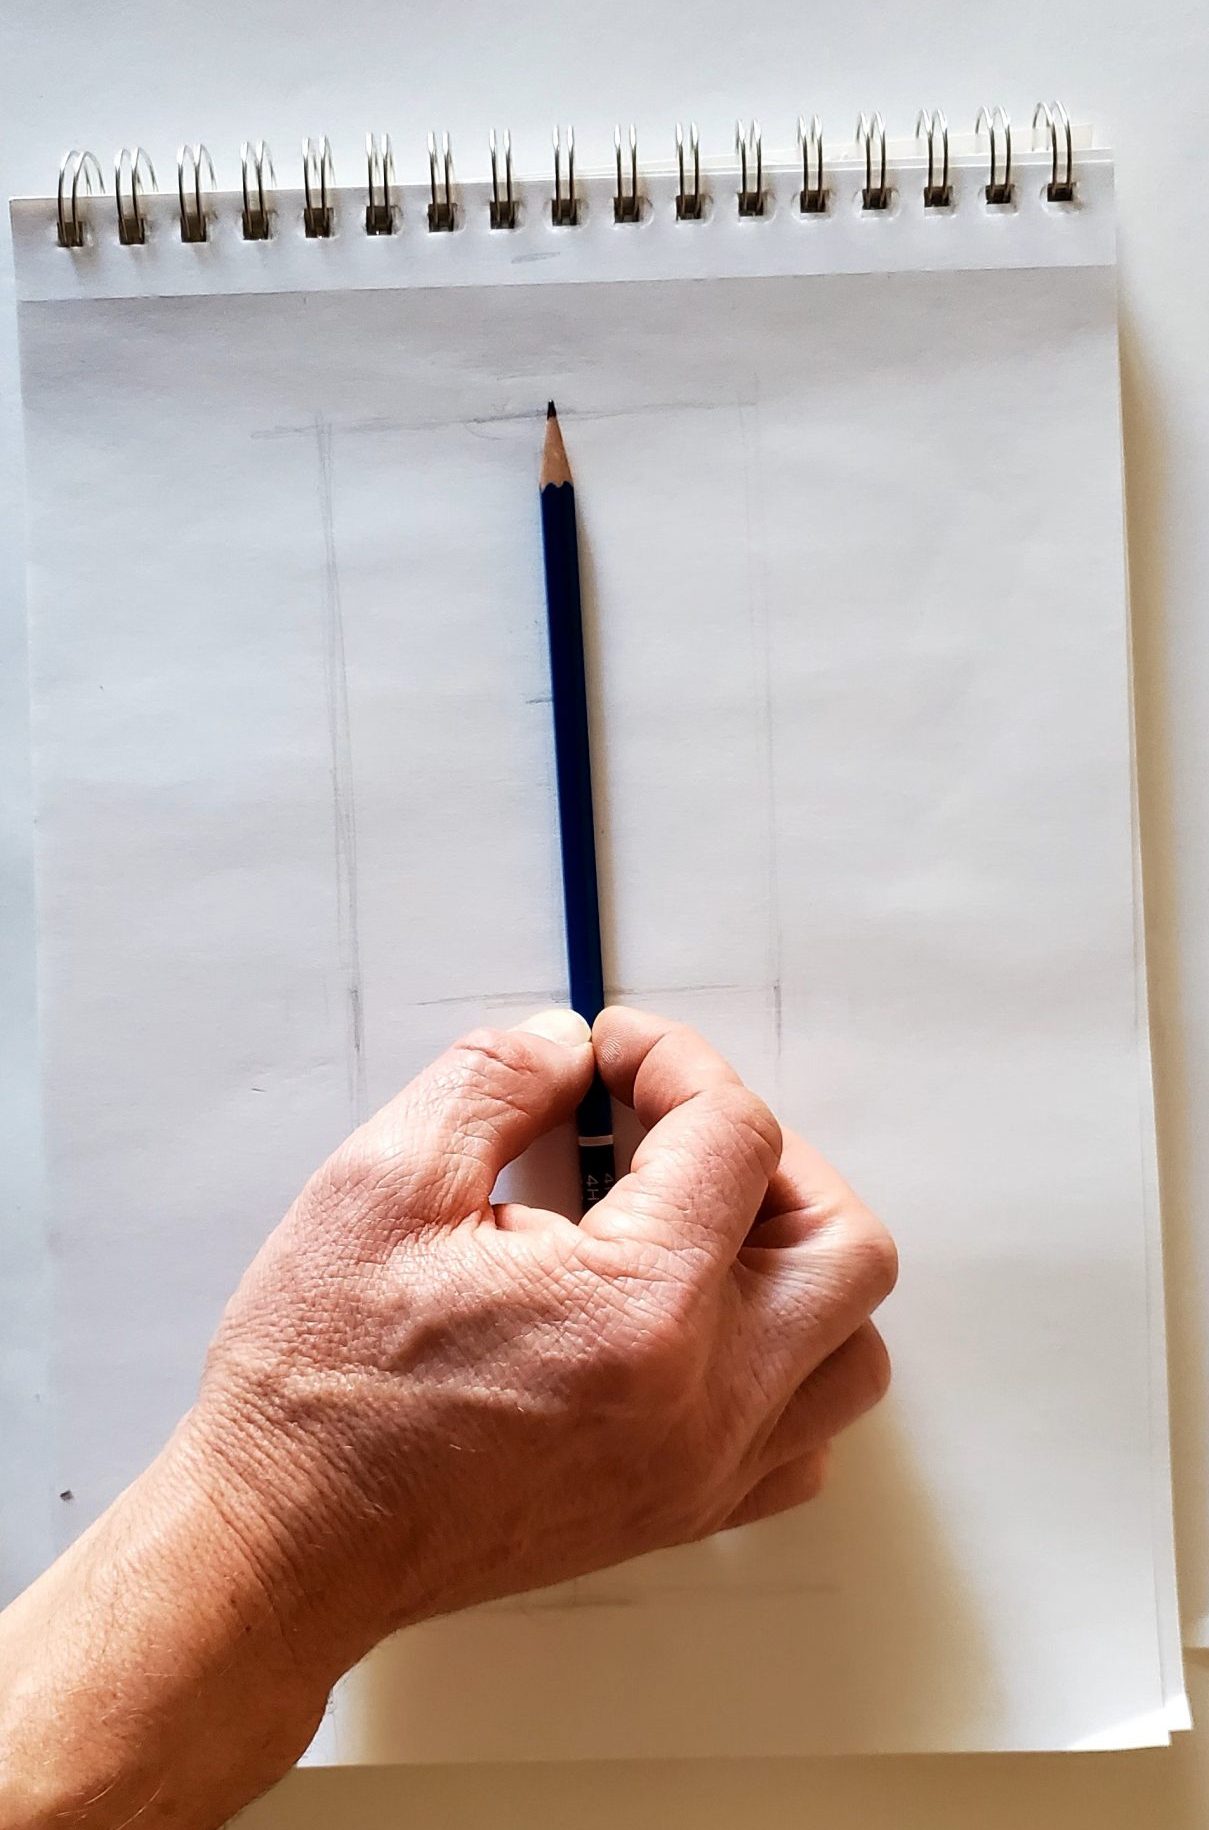
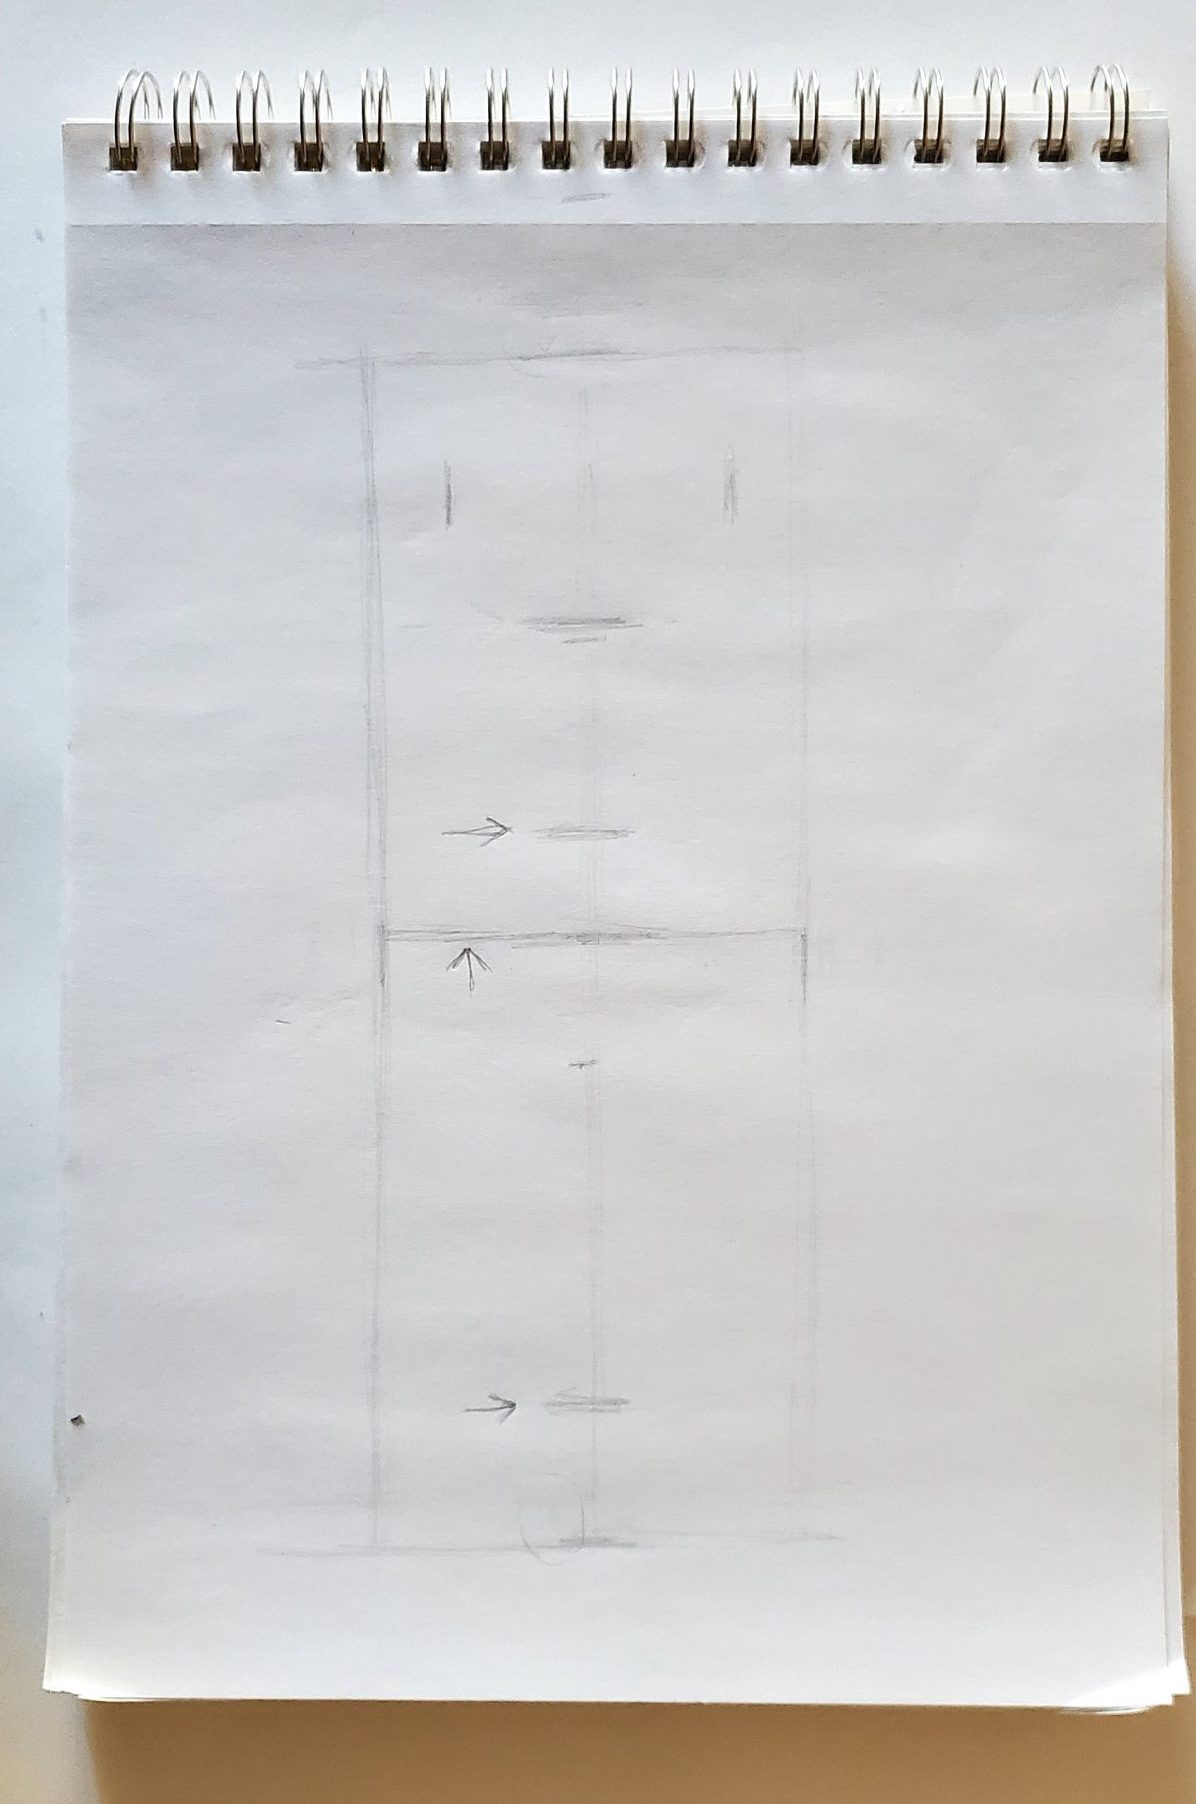
Using the estimated basic unit width helps build the bottle’s height. Based off your previous observations, the height should be a little under three units tall. However, your first estimate may not be correct. As you can see above, two units of this estimated basic unit width are too tall for the drawing area. The second basic unit is close to the top of the page. If this happens, you need to shorten the bottle’s width and check again with a new, narrower basic unit.
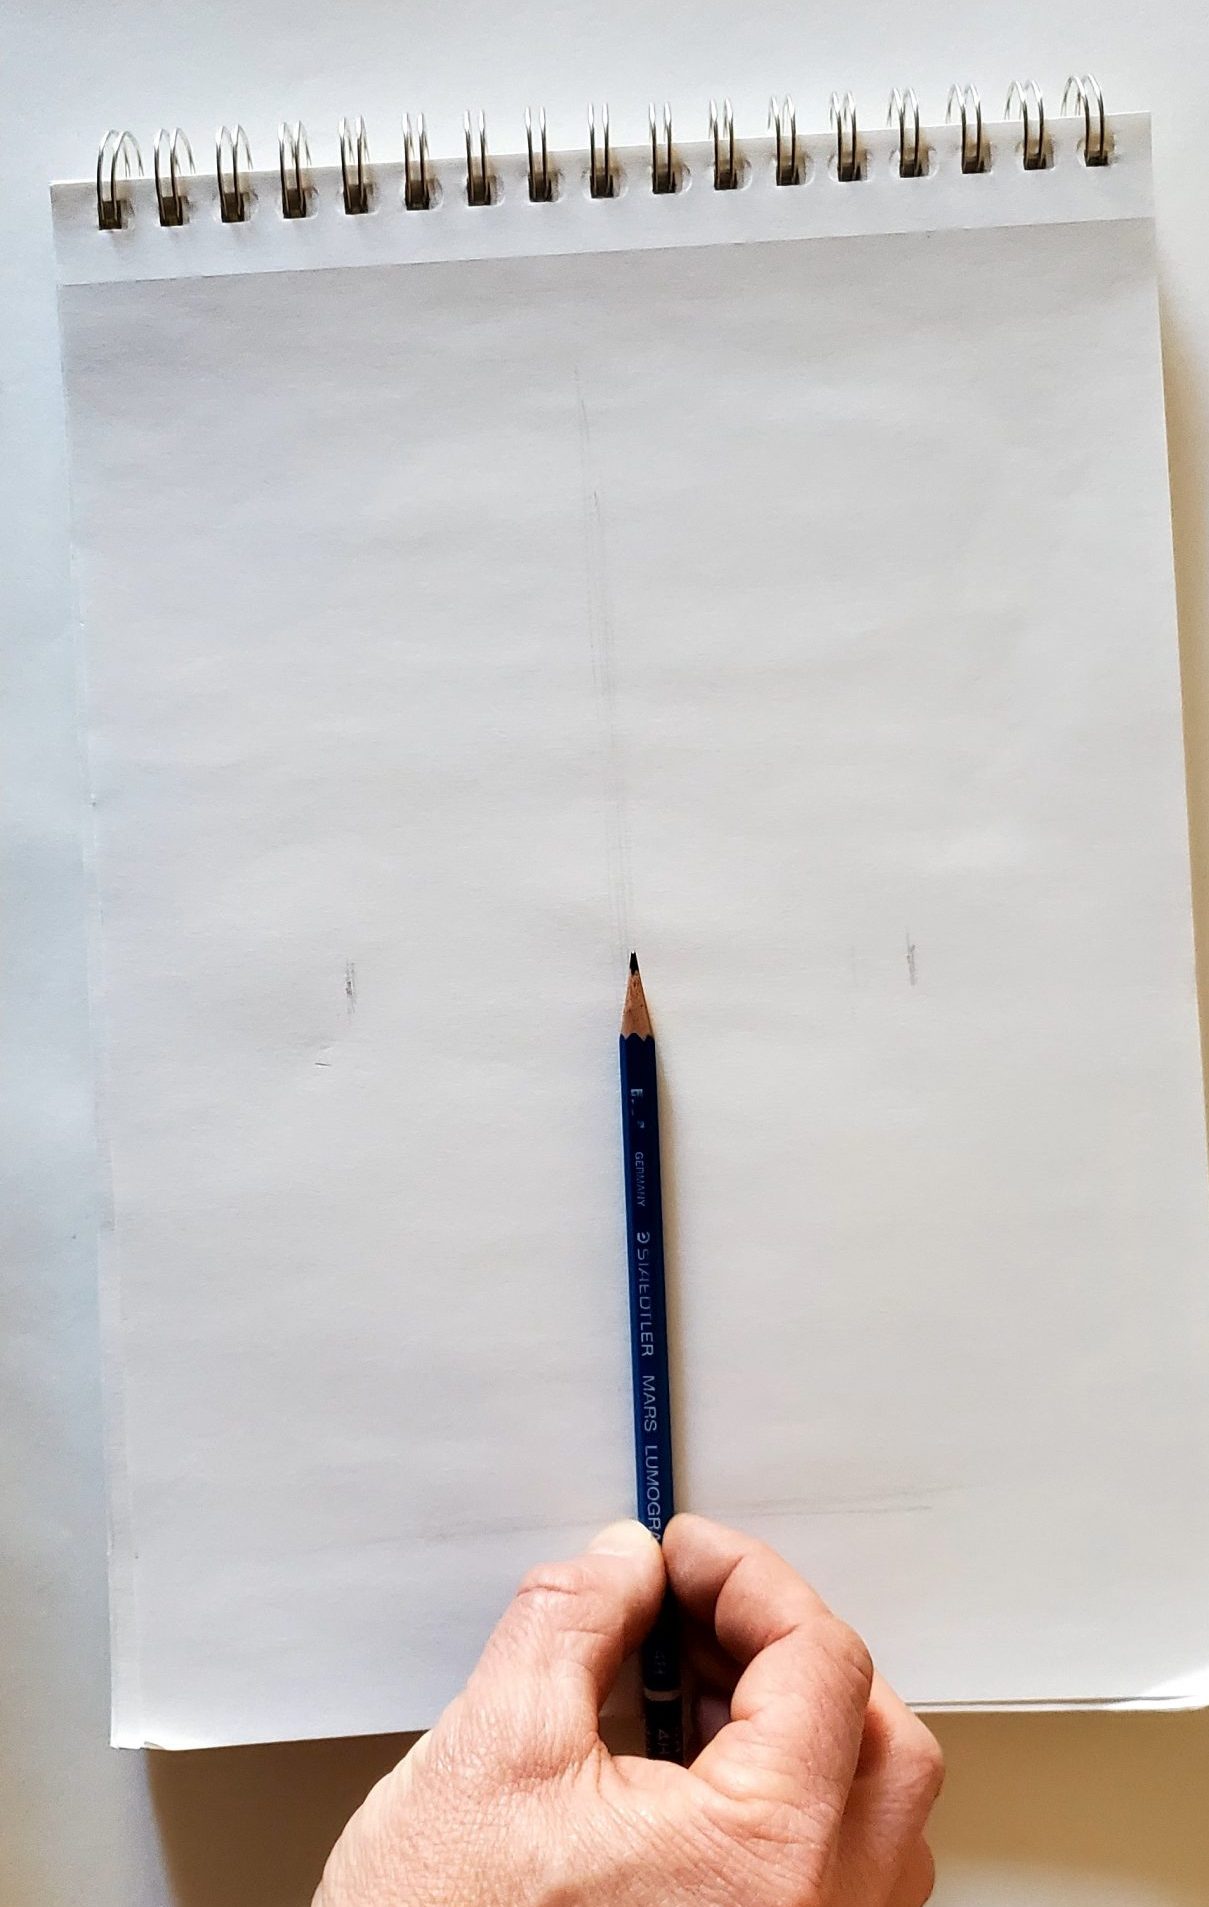
In the sequence above, you shorten the bottle width with two new tick marks slightly narrower than the last time. Then, with your pencil, obtain a new shortened basic unit. You then use the new shortened basic unit to check the height again to see if the height is almost three units high. Note in the last image above you will not use the full length of the pencil or the full basic unit. The height now looks correct and you can mark the top of the bottle. You have the correct height to width ratio of the bottle and can box in this area if you like, with vertical and horizontal lines.
In the sequence above through your use of observational skills, notice there is a small distinct round white reflection at around the center point of the whole object. In the upper left image you take a measurement from the bottom of the bottle to the reflection. You then use that distance as a new basic unit and use it to see if one more basic unit makes up the whole height. You will notice that it comes up a little short, however, you now know that the half way point of the height is slightly above that round reflection.

 The image on the far left shows the round topper is just a touch above the top of the second unit. When using the basic unit, it helps to find helpful clues, and this is one of them. You can now add a mark slightly above the tick mark created by two units from the bottom, indicated by the arrow in the image on the right.
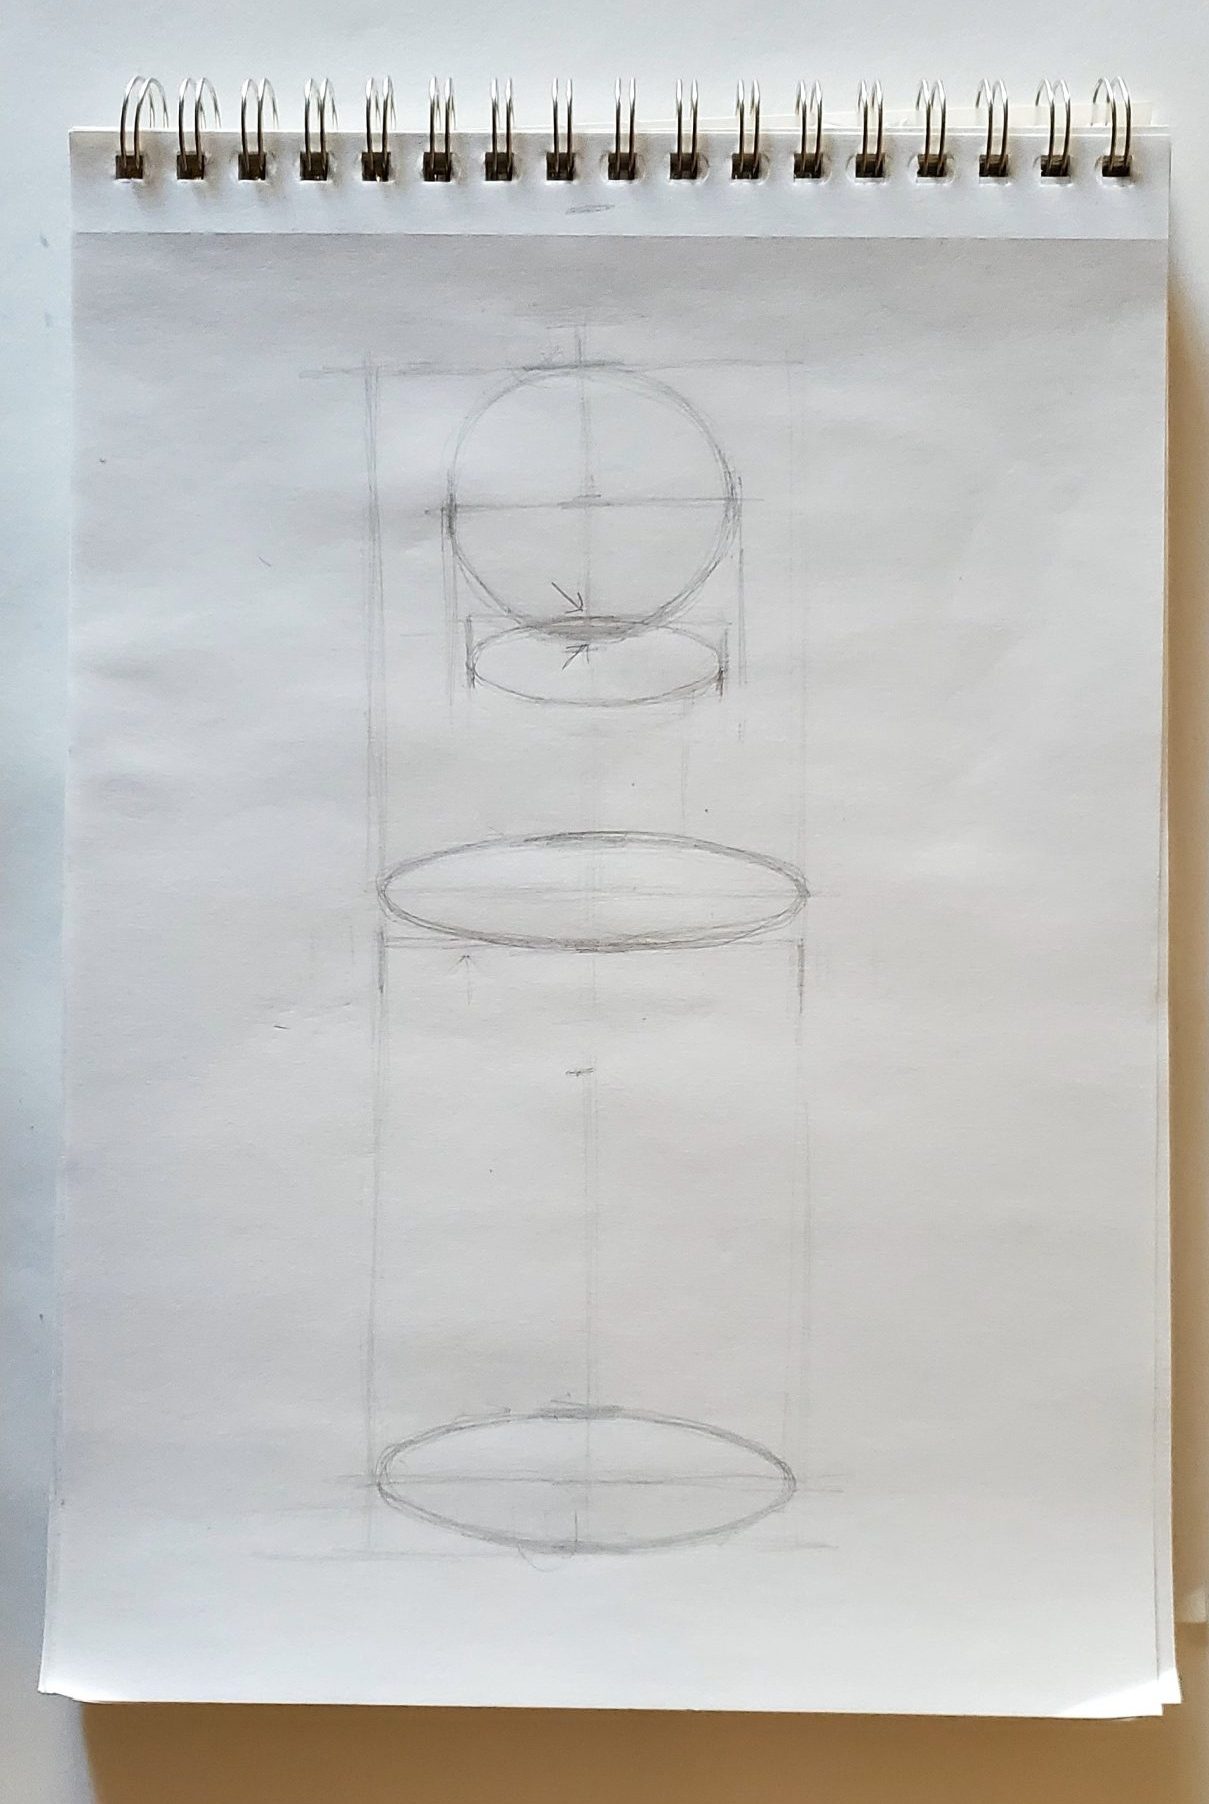
 Regarding the image to the left, you know the height of the round topper, so you can use this dimension to find the width. Add two tick marks in the area that you think is the widest spot of the circle (two short vertical tick marks near the top).
Next, you can start working on the two largest ellipses. For the lowest ellipse, you already know its width and its bottom. You only need to get the height correct. The lowest arrow in the image shows a guess as to this dimension. You could also use a basic unit to help if needed.
Since you are looking for clues, notice the lower part of the upper large ellipse is close to the half way point, noted with the arrow point up. You can add another line above the halfway point to indicate the top of this ellipse, noted by the highest arrow.
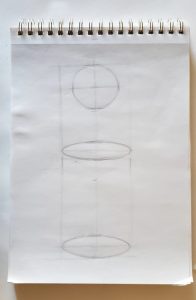
In the first image above, the two large ellipses and the round top are added. You can add the ellipse created by the lip or top of the bottle opening. Note how the outer width of the lip is just a little narrower than the width of the round topper. Also, note how the highest part of this ellipse is just above the bottom of the round topper. You have the width and top of this ellipse, now you just need to find its height. You can guess that it’s generally the same shape as the top large ellipse. Once the ellipse has the correct shape, you can add the matching lower ellipse just below it. You can then add two vertical lines on the sides to connect the two ellipses, creating the lip.
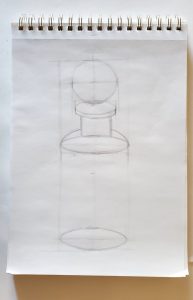
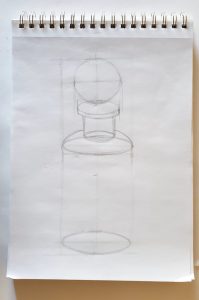
In the sequence above you form the rest of the bottle. The first image shows the neck, which is slightly narrower than the lip. In the second image, the rounded line that goes down from the neck to the upper large ellipse is added on each side. The third image shows a little ellipse added to the lower portion of the neck. In the final image, the little area below the round top and above the lip is added. You now have all of the main elements and everything should look close in proportions to the original image of the bottle.
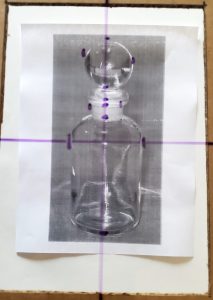
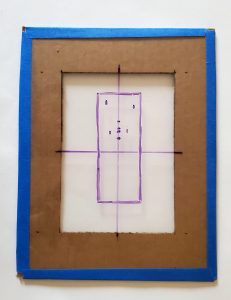
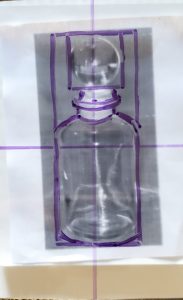
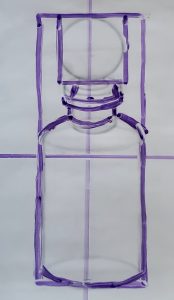
The images above show a sequence that uses the viewfinder to help compare the subject to the drawing. The first image shows a cross hair added to the viewfinder. In the same image, a few tick marks are added to find the height, width, and placement of some of the main features. Due to the difficulty of keeping the viewfinder still, it sometimes helps to make quick short tick marks instead of long lines. The next image shows the viewfinder with a rectangle shape that represents the overall height and width based of the outer most tick marks. The rectangle can now be easily drawn based off the tick marks when the viewfinder is placed on a stable surface. The next image shows some more lines added to build up the entire object. Once this is done you can now hold up and align your viewfinder drawing over the image to see if it is the same. If your viewfinder drawing matches your image, you can use this as a tool to check your drawing. All you need to do is line up the viewfinder drawing with your pencil drawing to check the to see if they are the same.
Again, this process may seem tedious, however, with practice you will get more efficient and be able to just “see” these relationships.
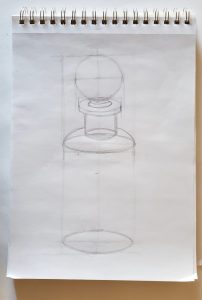
Below is a finished line drawing of the object with the outer border of the object darkened and all guide lines still visible.