
Chapter 3 Getting Started
Getting Started
Learning Objectives
By the end of this chapter, you should be able to:
- Utilize different medium holding techniques and how to move your hand and arm when drawing.
- Apply line in different methods.
- Practice various warm up exercises.
Now you know a little about what to draw with and what to draw on. The next step is to create some lines. For this section, you will practice lines and complete warm up exercises. You are probably thinking, “no problem, I have done this many times and can easily make some lines”. However, when drawing there are may ways to create a line and there are many things to consider. How dark or light do you want the line and how does pushing harder on the paper affect this? Will the medium being used create a dark enough line? How wide is the line and, if you need to widen it, how do you go about doing so? What part of the hand or arm will work best for a certain line? Next, we cover what to think about when creating something as simple as a line.
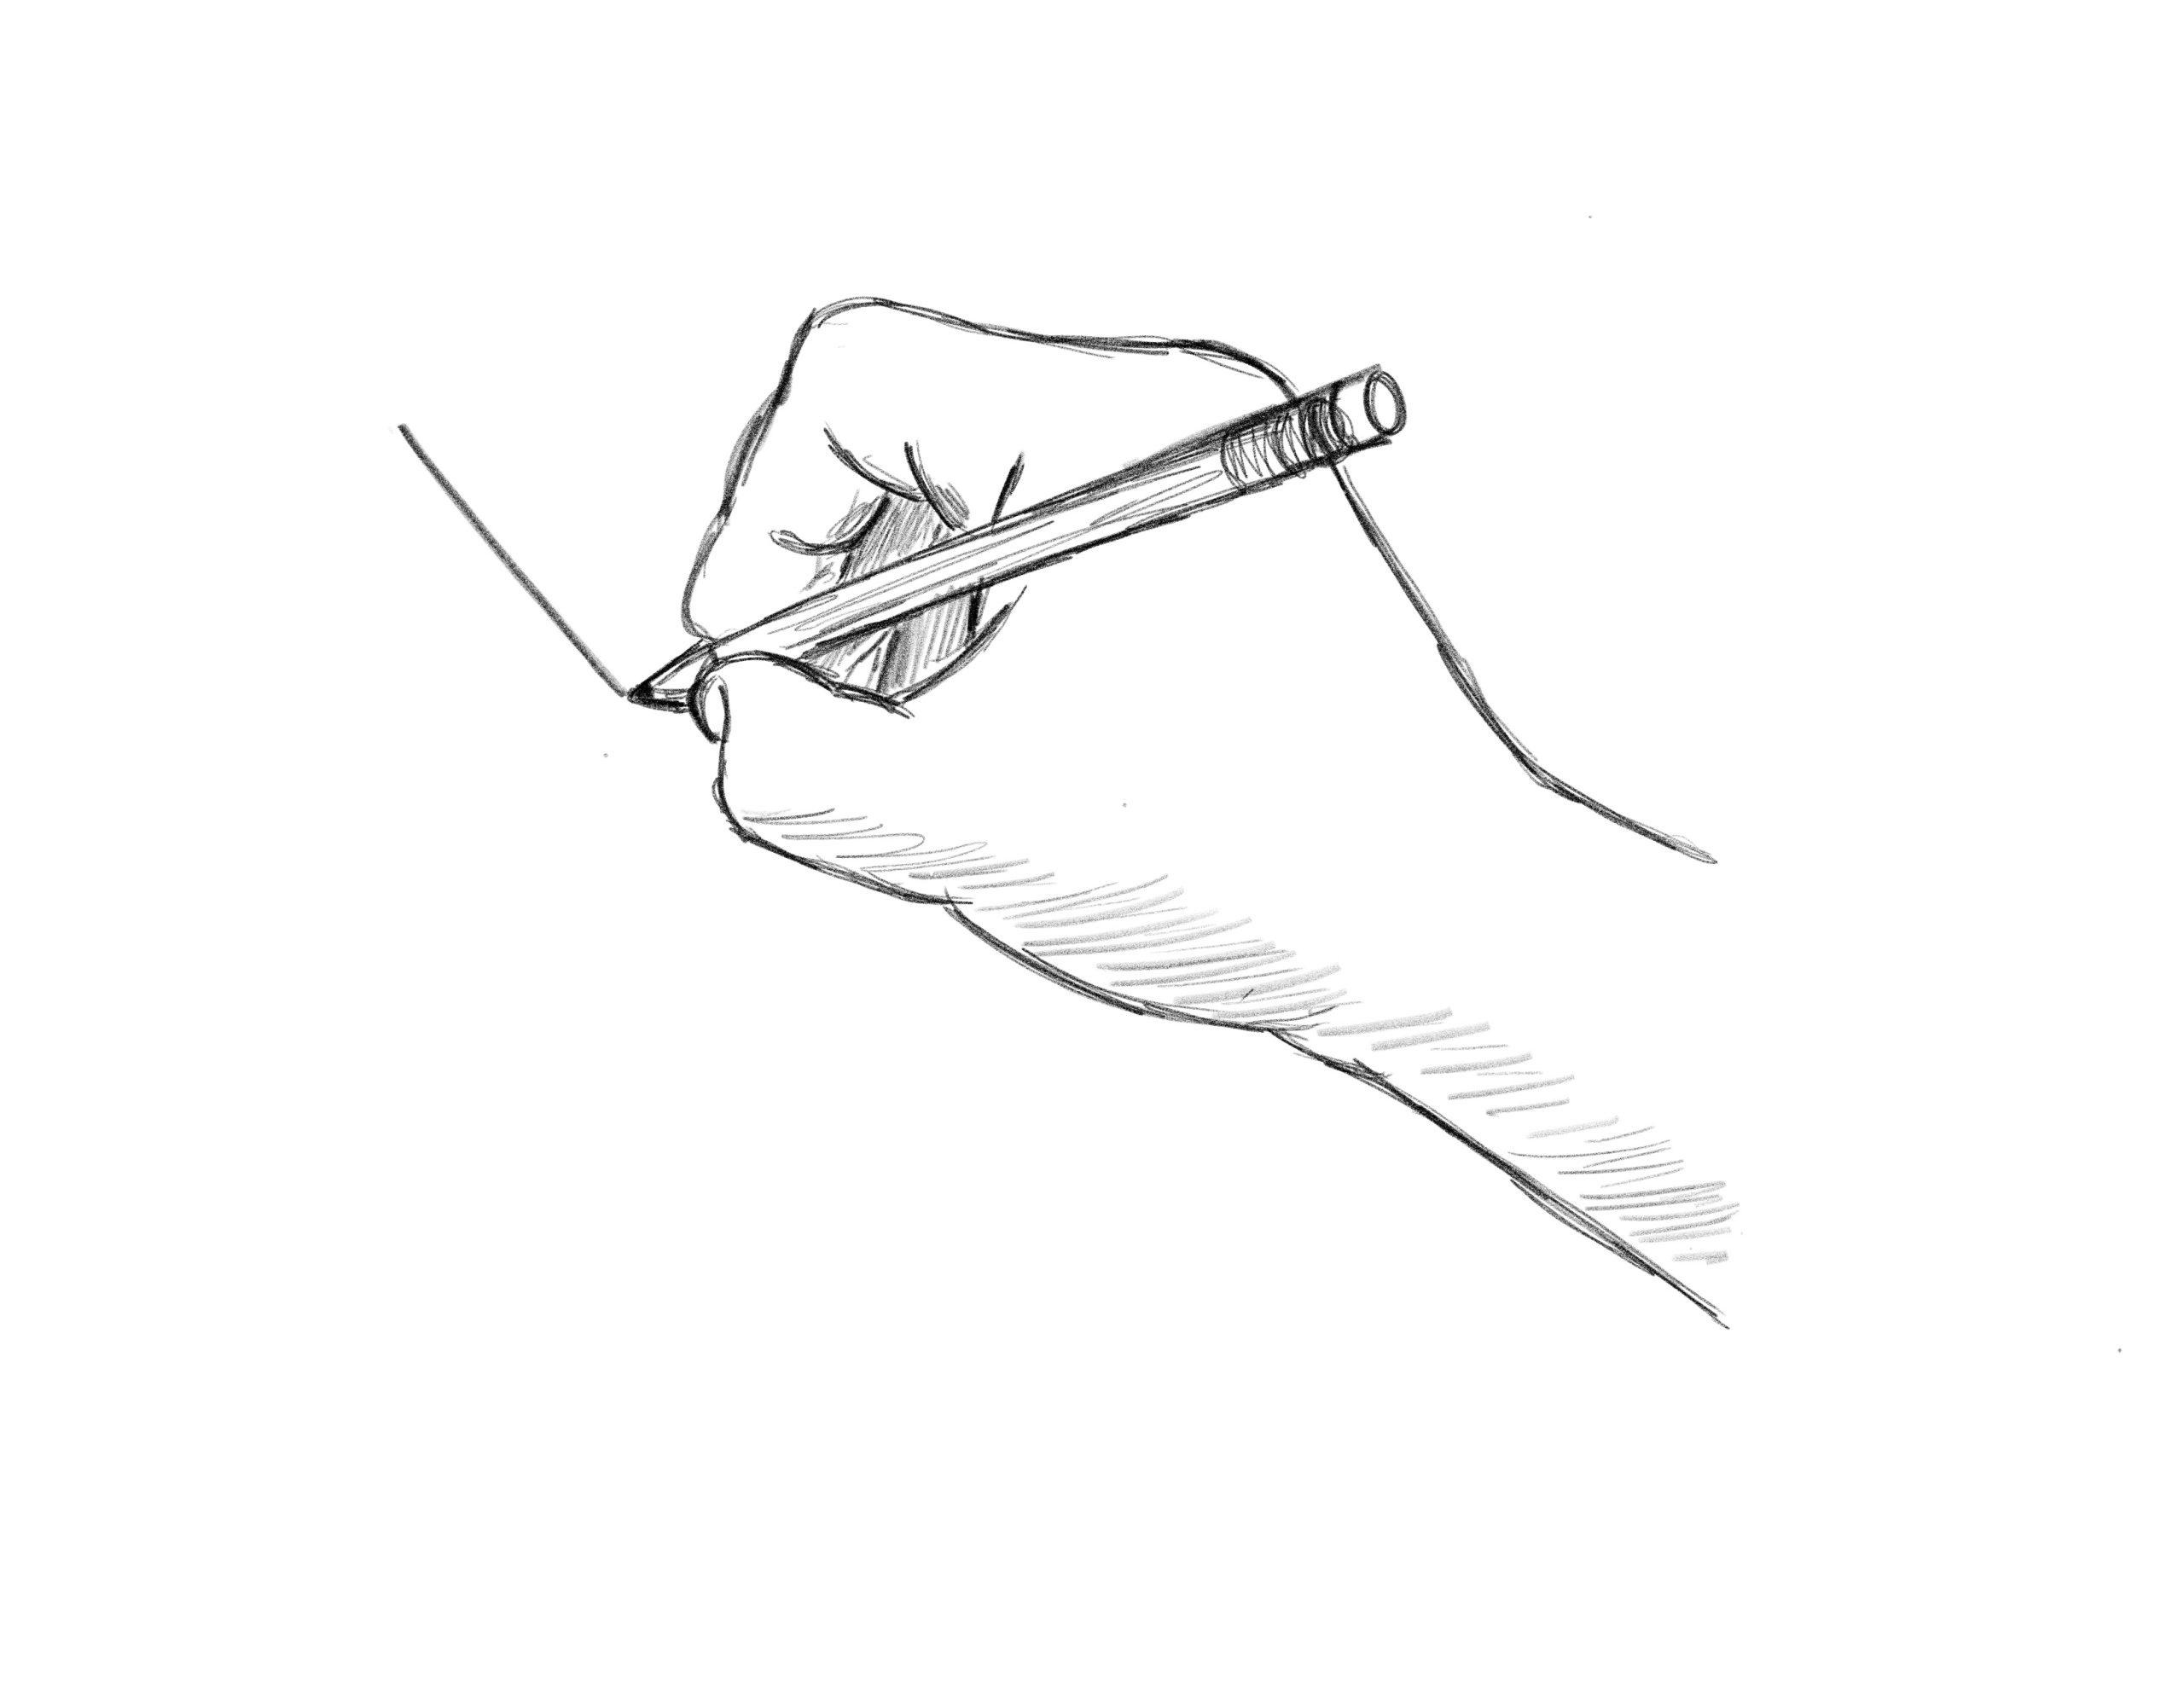
Holding a Pencil
When starting a drawing, one of the first things to do is to pick up your pencil and put it in your hand. More than likely you will grip the pencil in a manner you use for writing. This way works well for detail work, due to the ability to rest your hand on the paper for stability. When holding the pencil this way, the angle of the pencil is pointed, rather vertical, in relation to the paper. This grip method will produce a narrow line from the tip. The only way to widen the line is if the tip wears down. As your lines get shorter or your details get finer, the more you will rely on this grip.
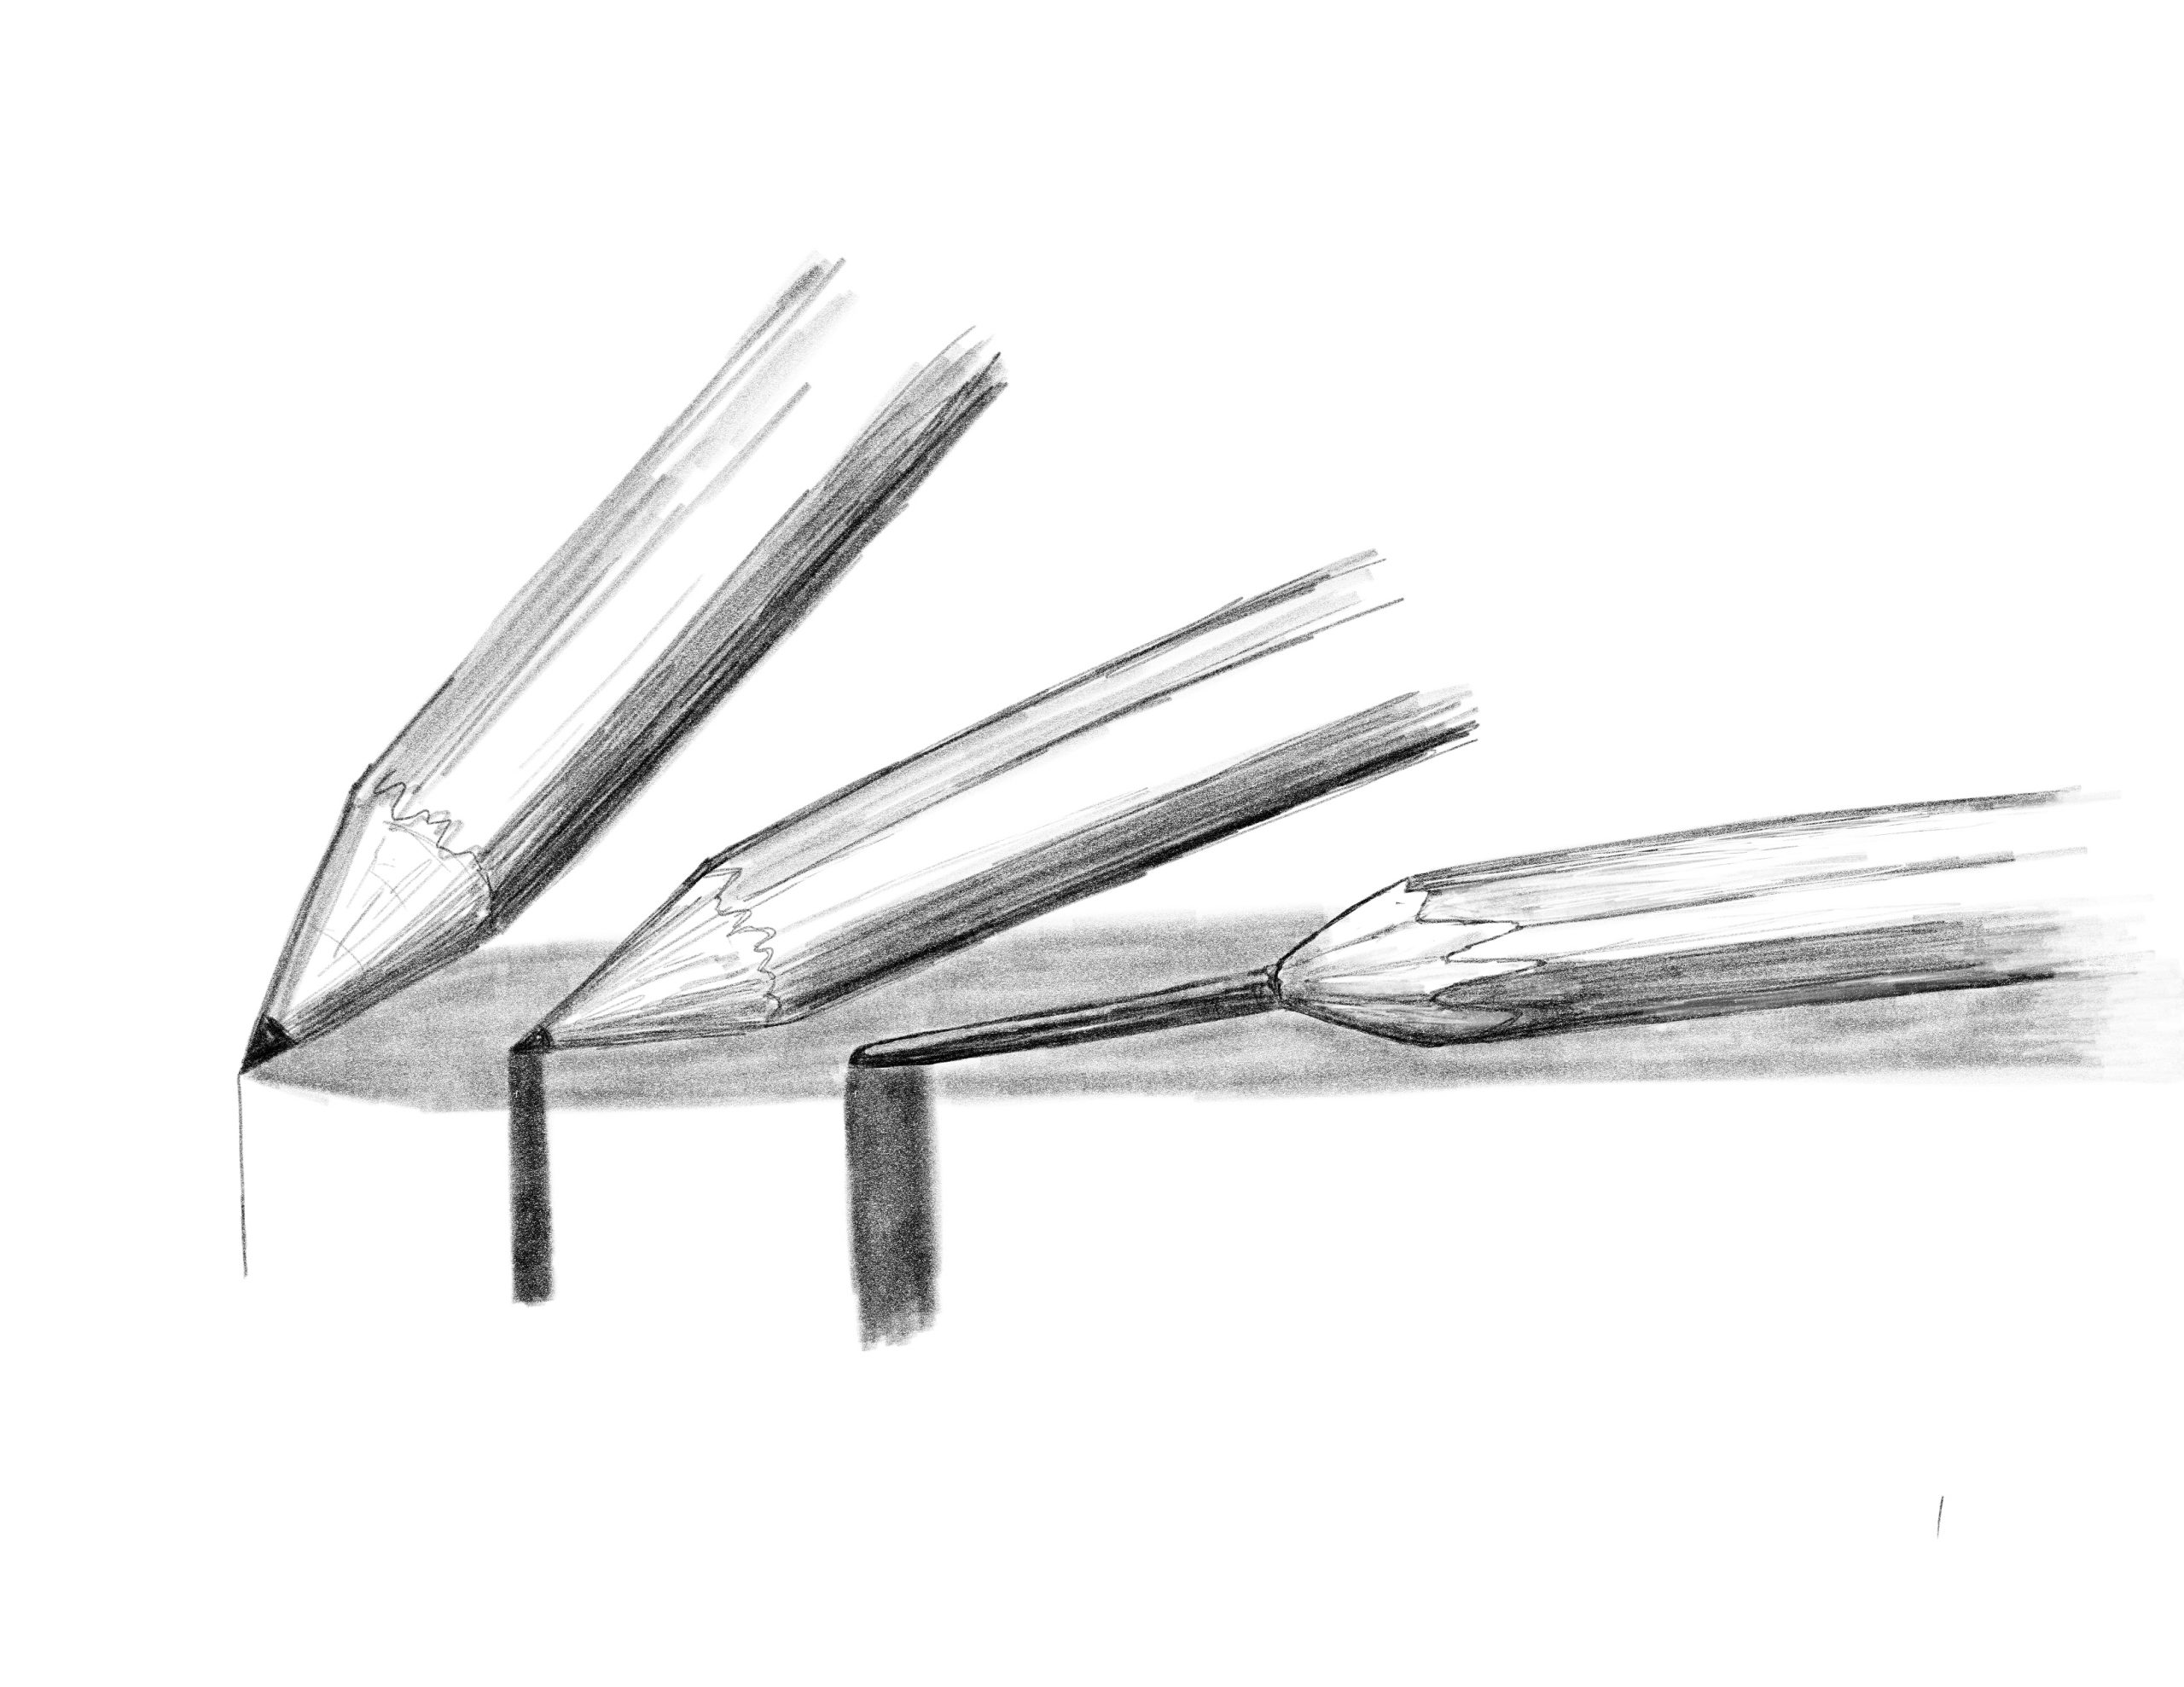
What if you want to draw with a wide line or shade a large area? If this is the case, you will want to use the side of the pencil lead and not the tip. As you angle the pencil. lowering the top of the pencil closer to the paper, you are able to open up the lead, which creates a wider line. If you want a very wide line, you can whittle the wood encasement back so more lead is exposed. Another option is to use a solid graphite pencil, which does not have any wood. Below shows how the angle of the pencil can affect the line width.
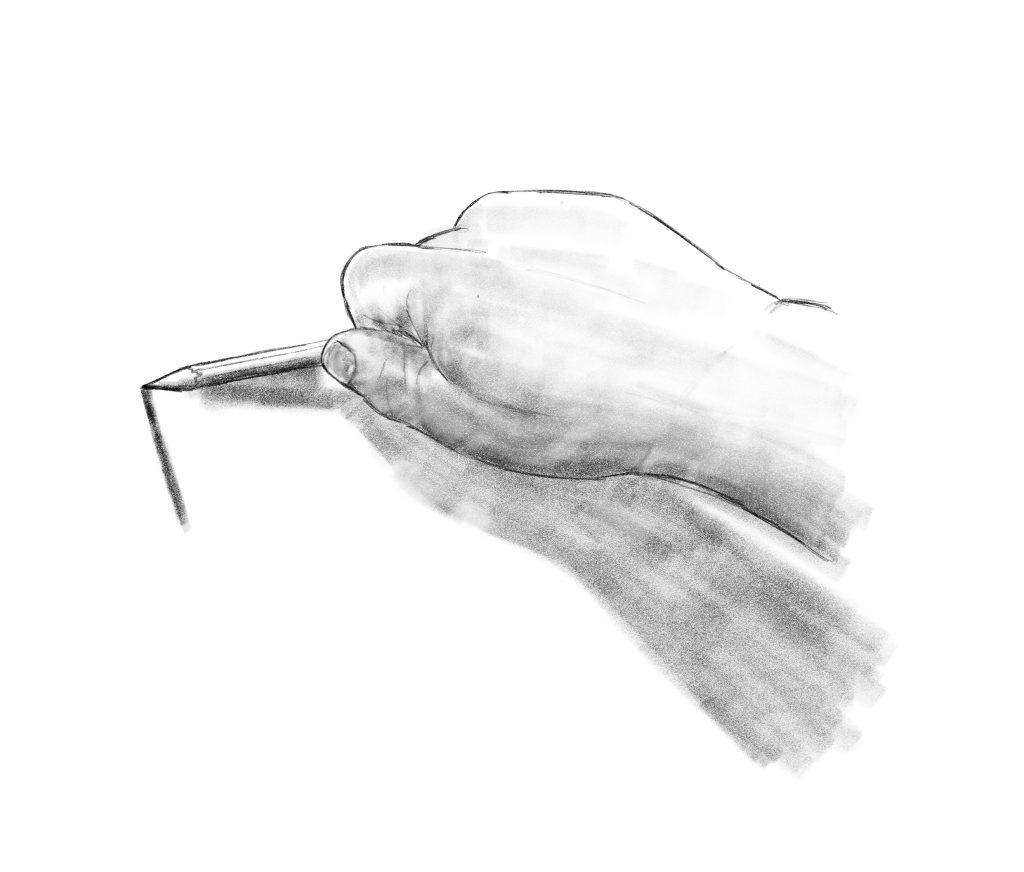
In order to obtain flatter angles, a different way of holding the pencil will be needed. Below shows an alternate grip in which the pencil is held in the palm of your hand. This can be done by holding it tight in your palm or lightly with your finger tips. With this grip you can quickly go from using the pointed tip to the side of the lead, allowing you to vary the line width as needed. This grip may not work as well for small details, due to your hand not being supported by the drawing surface. Since your hand is not supported by the paper with this grip, you are prevented from rubbing your hand on the paper, which could disturb any marks previously put on the paper. Smudging is another issue that can arise with the writing grip. This problem becomes especially noticeable when using dusty material like charcoal or pastels. Using the palm method may help alleviate this.
When using various grips, be aware of how tight you are holding your pencil. A lighter grip will produce a lighter line. However, the lighter you hold the pencil, the less accurate you will be. The lighter and further you hold your pencil from the tip, the less you will be able to draw details. This method works the best at the start of a drawing. Alternatively, the closer to the tip and tighter your grip, the more you can draw with accuracy. This method works best at the end of the drawing, though be careful not to rub your hand on your drawing.
One option to alleviate the problem of dragging your hand through your drawing is to use a tool called a mahl stick. The mahl stick is a long stick held on one end with your non drawing hand just off your paper with the other end resting outside of your drawing area. Now your drawing hand can rest on the mahl stick instead of on your paper. A mahl stick can be made of any sturdy material that will support the weight of your hand.
Moving Your hand and arm
Now that you know how holding a pencil can affect your drawing, the next item to consider is how your arm influences your drawing. Think of our arm as having multiple hinges. Our fingers and wrists are for making small arcs and lines. As we move up our arm to our elbow and shoulder, the larger our lines and arcs become. When making a long line you have two choices – either multiple short lines moving only your hand or wrist to produce each line or one long sweeping gesture primarily moving your elbow or shoulder. Using your hand and wrist may make it hard to steer the line and keep it straight as you move along. Since multiple strokes take longer to get from point to point, your hand may get off track. However, if you move up your arm and draw with one continuous fast line, it will have a tendency to be straighter from start to finish. The longer the line, the more you want to utilize the movement of your arm. The shorter the line, the more you will use your fingers and wrist. Below shows the three main pivot points, other than your fingers. As you can tell, the arc created naturally gets bigger as you move the pivot point up your arm.
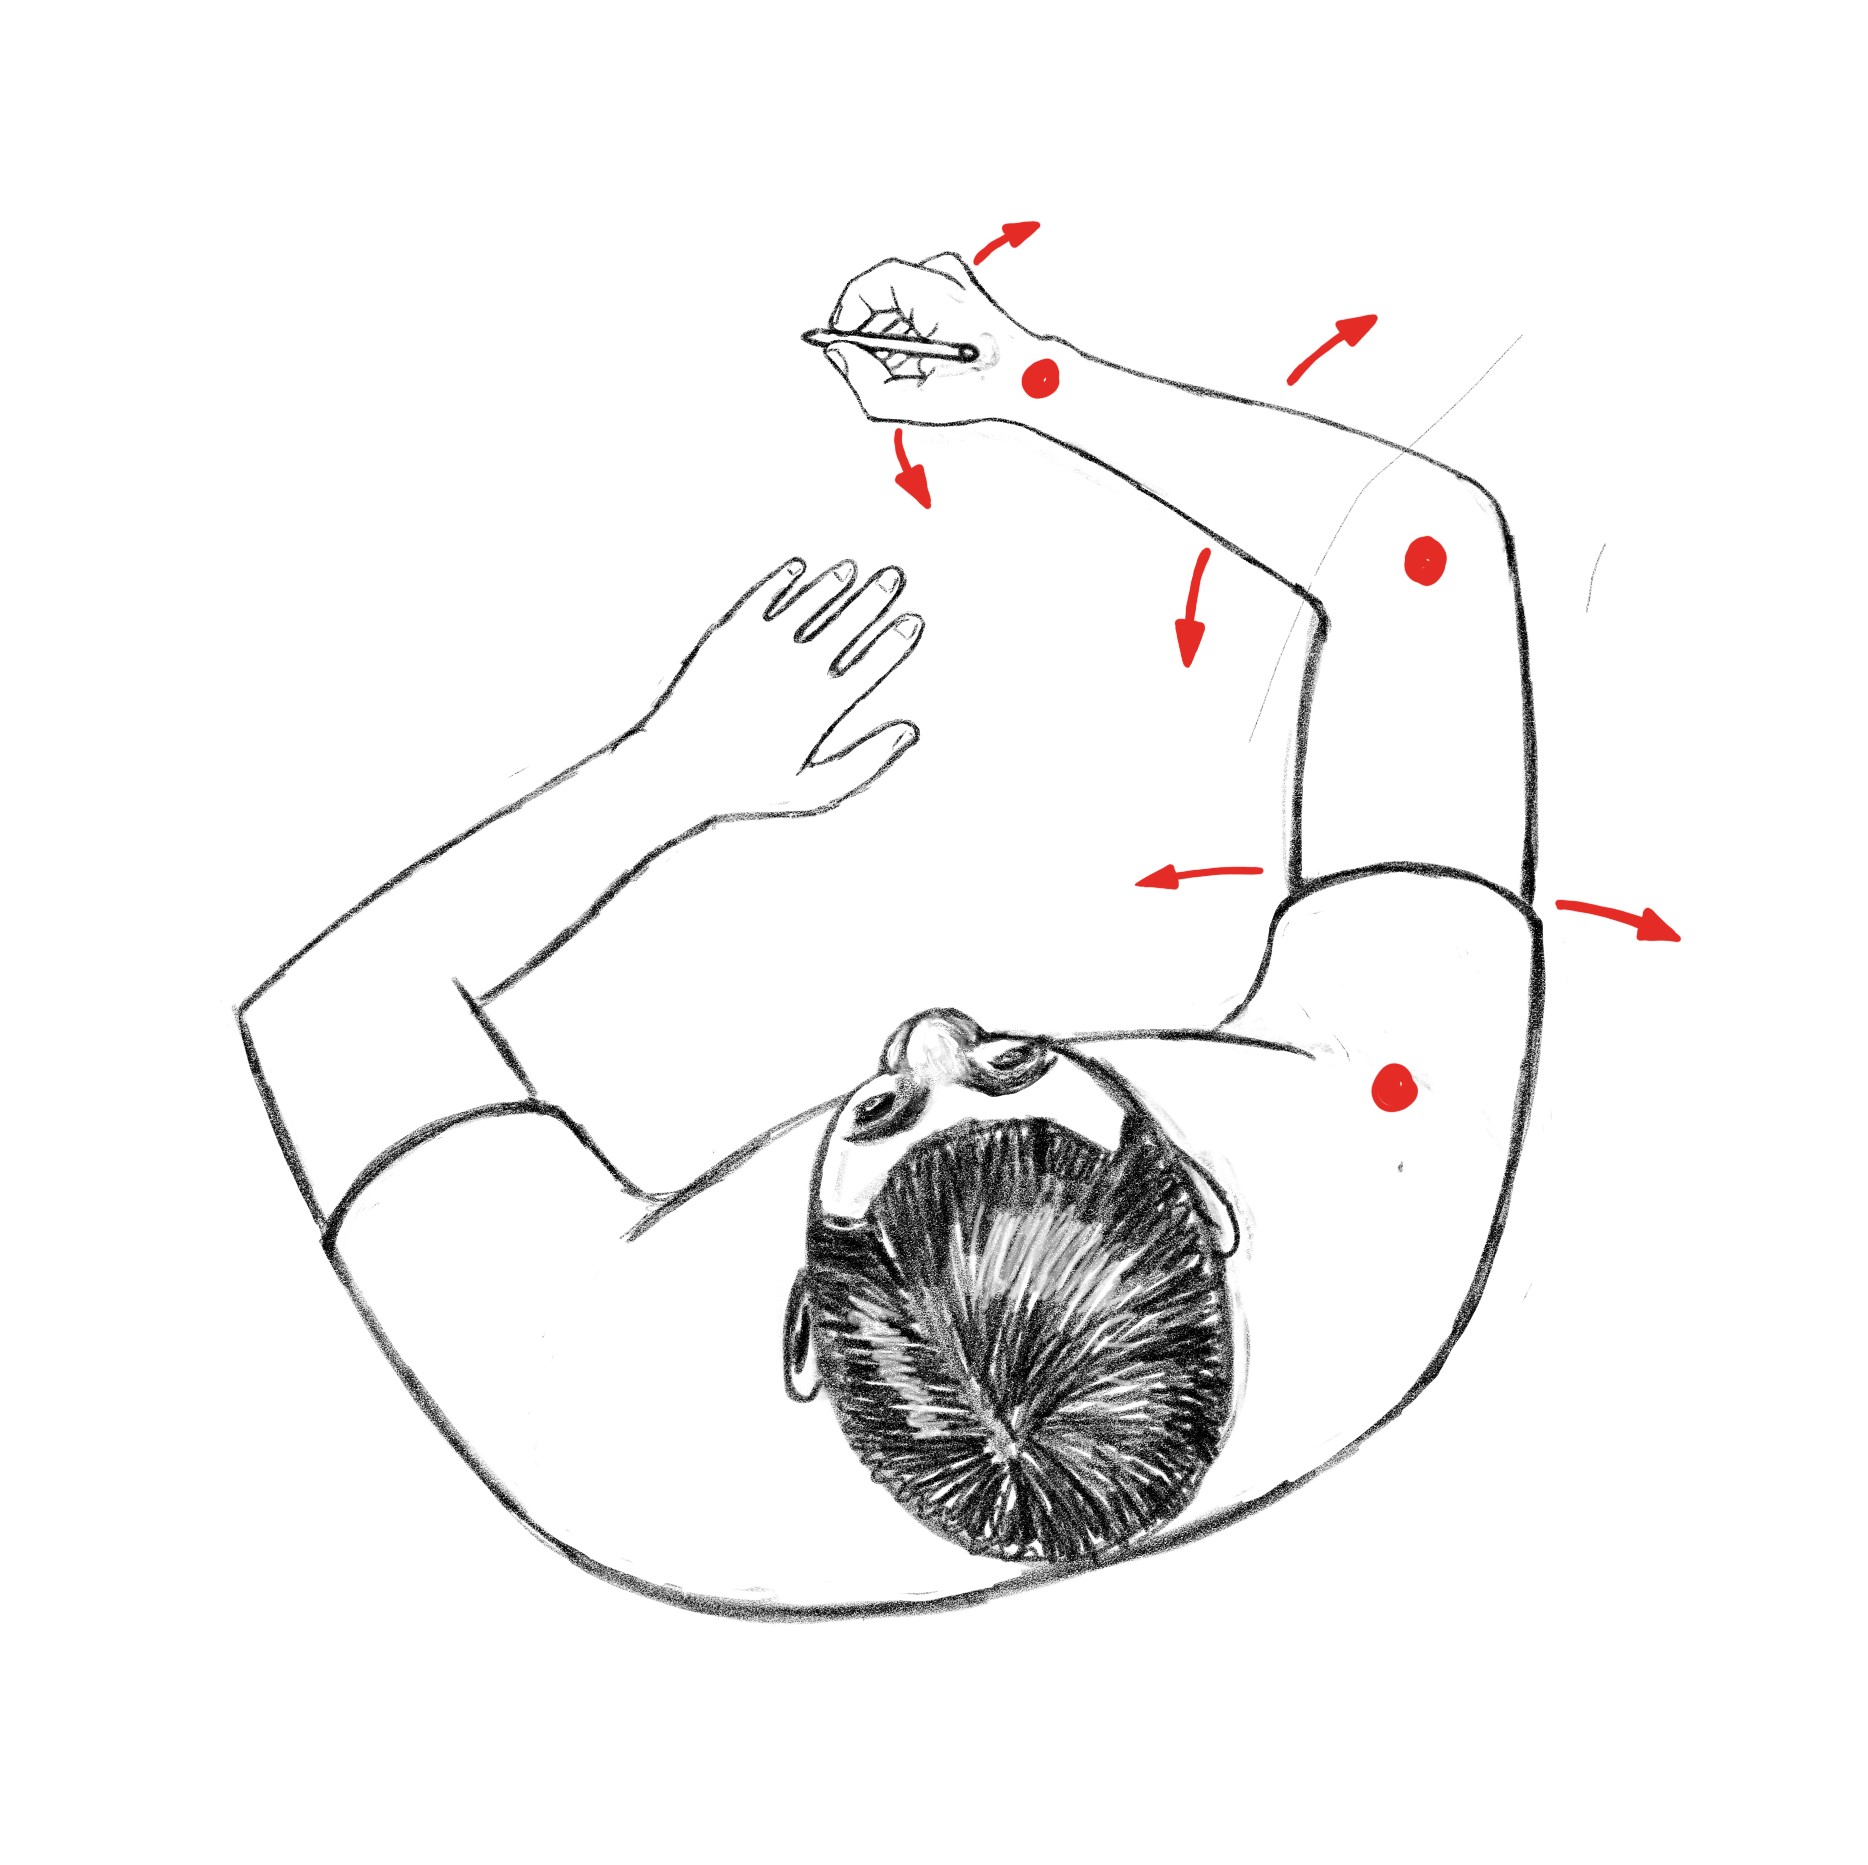
Points of arm movement
Practice lines and Warmup Exercises
Now that you know how to hold a pencil and what to do with your arm, you will create some lines. The following practice or warm up examples are great if you are just learning to draw or you already have experience and would like to warm up prior to starting a drawing.
Below are two groups of lines. One group has a long line made up of short lines and the other group of lines are made up of one continuous line. With practice, long continuous lines will be cleaner looking, easier, and faster to produce.
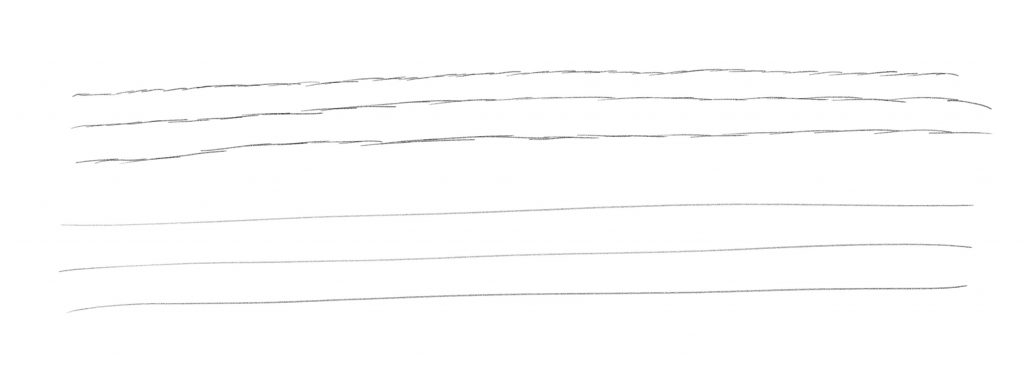
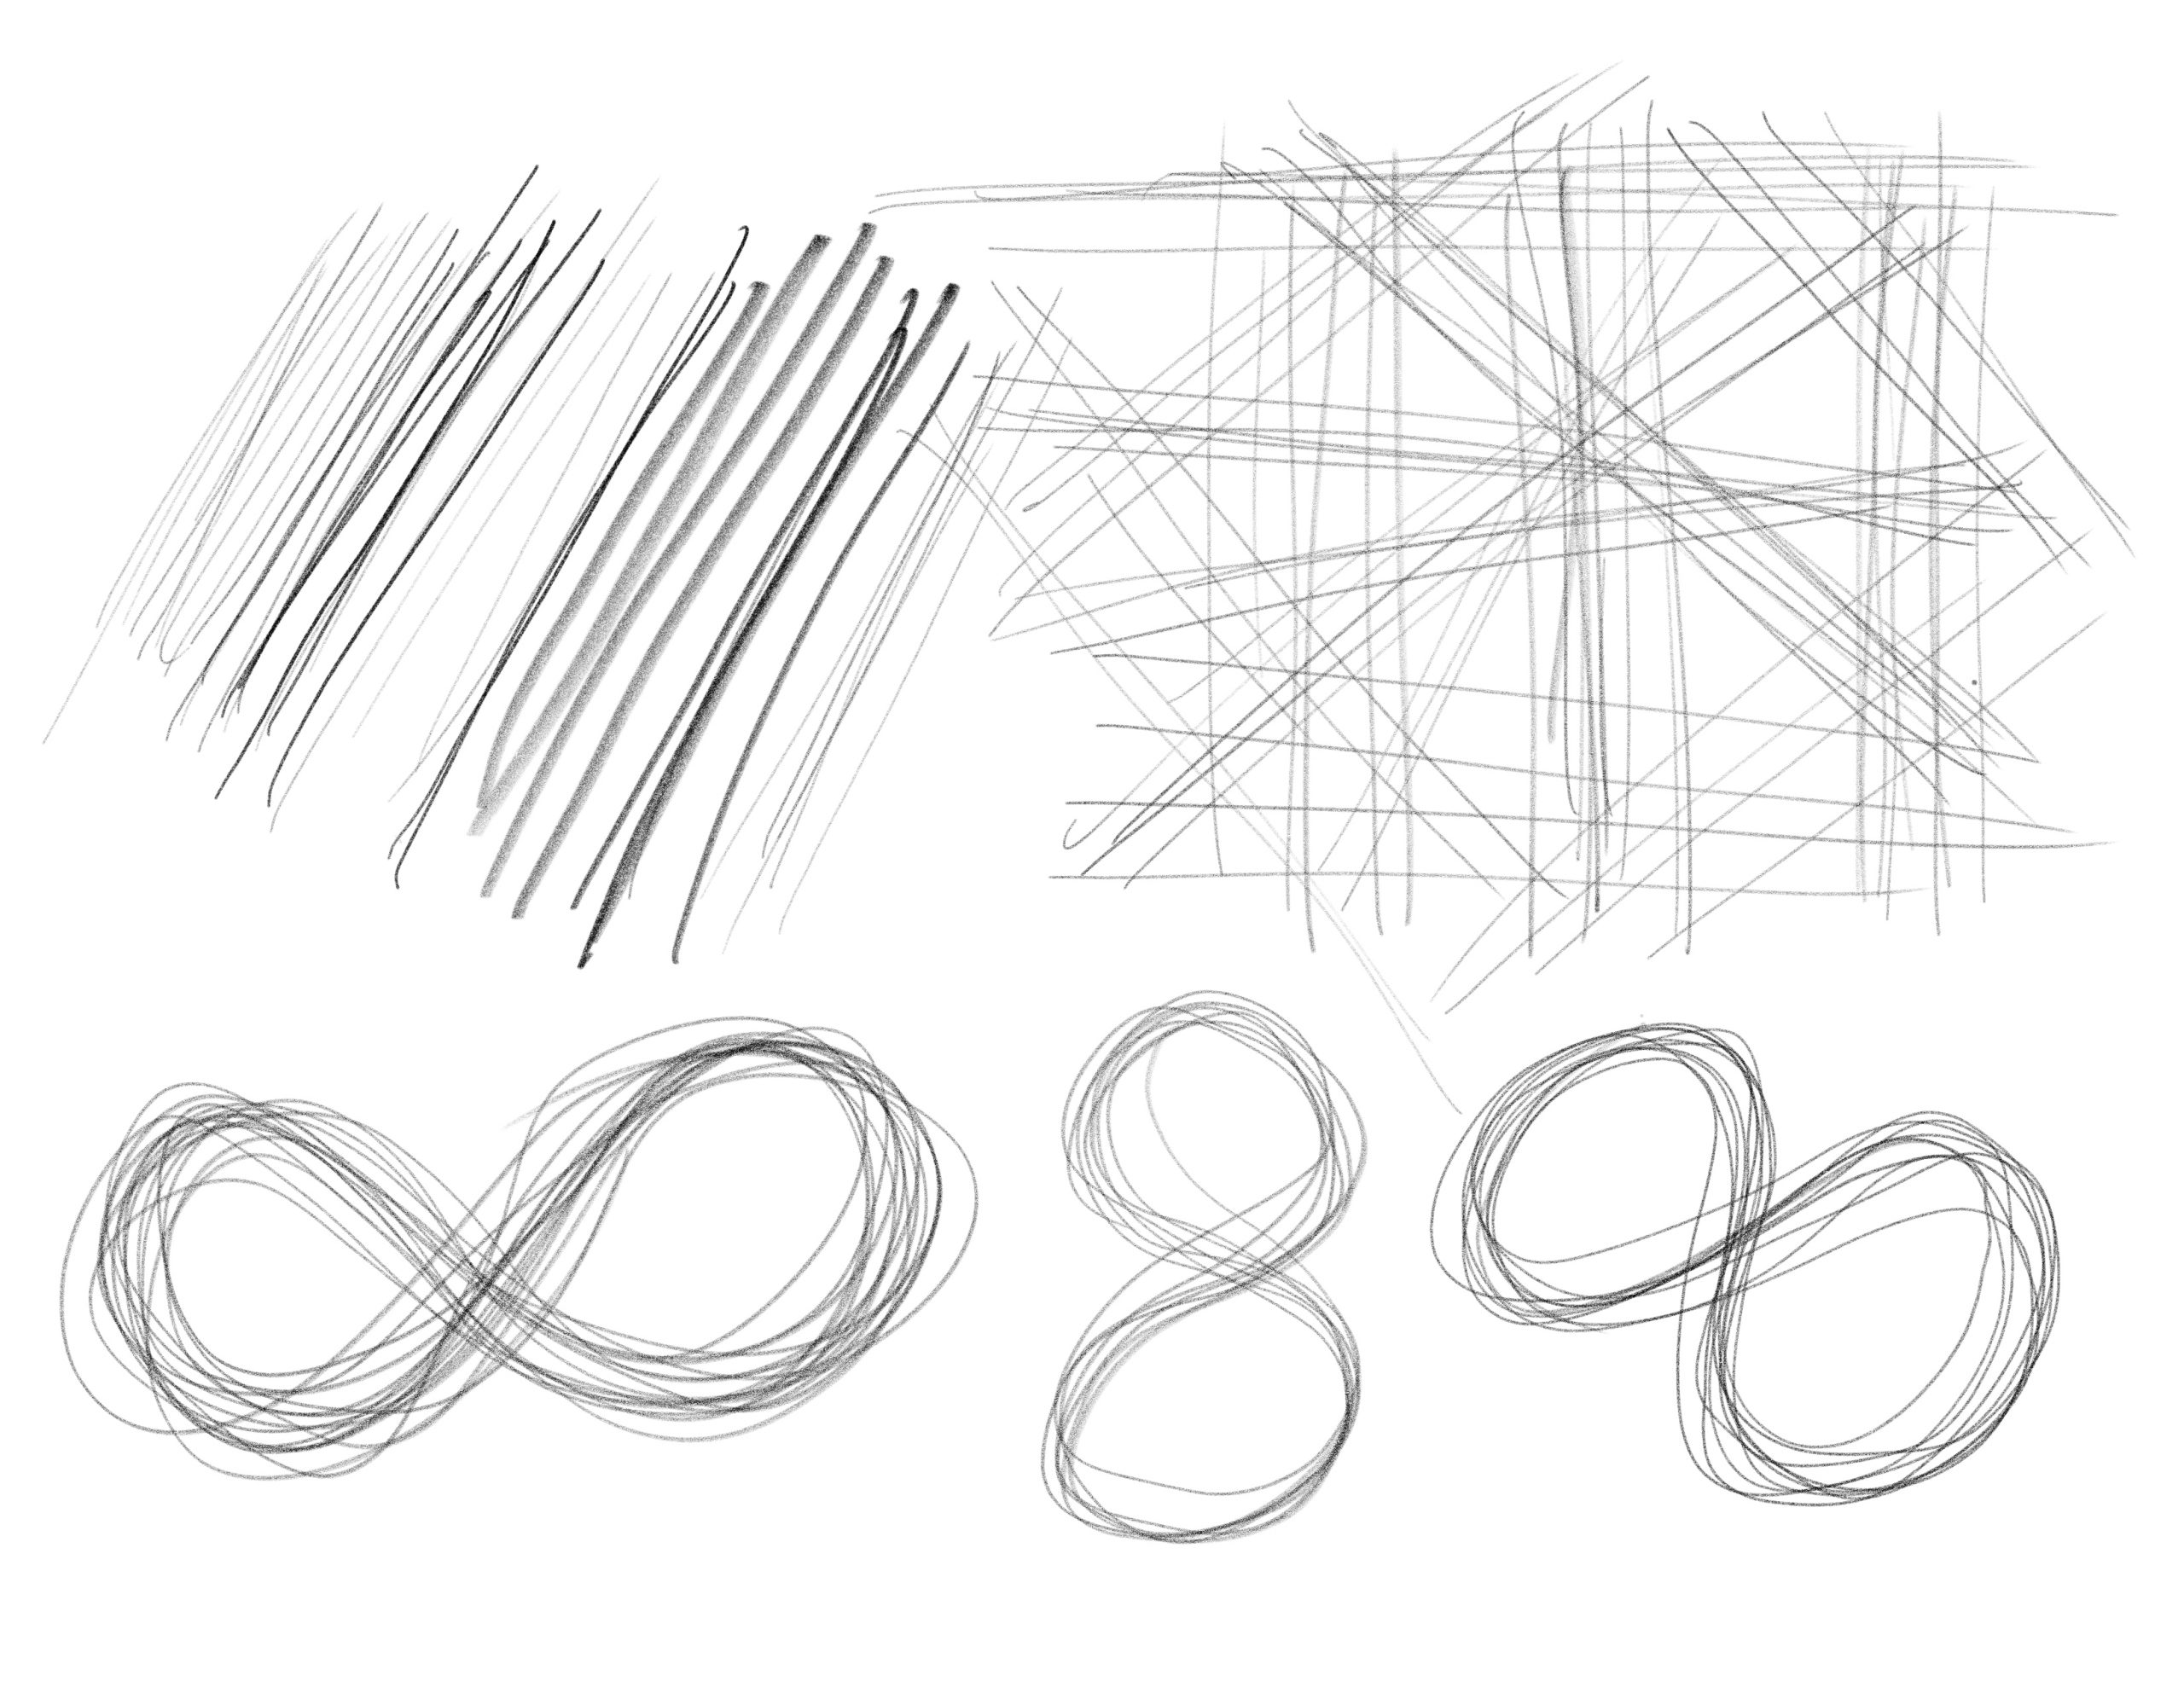
A warm up exercise you can do is draw some quick lines with various pressure to create light and dark lines. Next, you can produce some straight lines at various angles and line widths. Also, some figure eights at different angles will help your coordination.
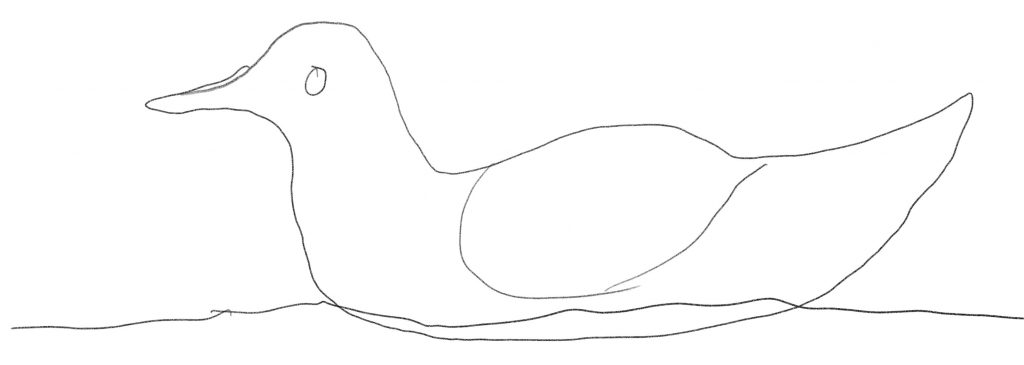
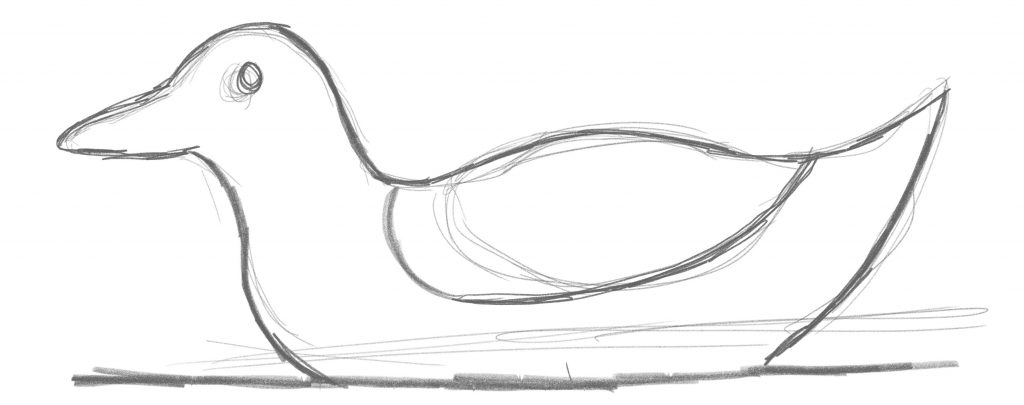
Long continuous lines should be done at a relatively fast pace. Below are three basic ducks. The first duck was done with the perimeter as one continuous line produced slowly. When drawing in this manner it is easy to get off track because it is difficult to steer your hand as you move around the object. Also, the line may have a tendency to look wiggly as you correct yourself and try to get back on track.
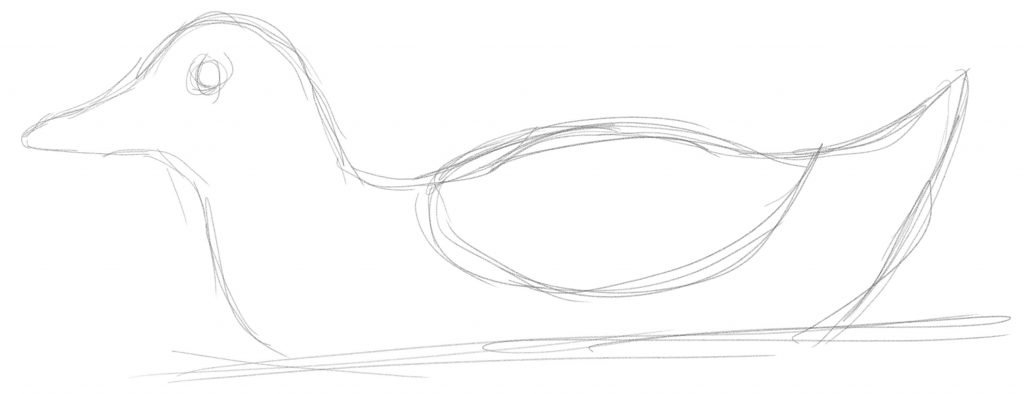
The second duck is made up of many lines and may be easier to navigate while going around the duck’s contour. Each major curve or straight line has multiple lines. Notice how the lines are light and quickly done. Drawing this way will help you feel out the duck’s shape and allow you to make slight alterations while moving around the subject. If the initial lines are drawn really lightly, then you can go over the perimeter with a darker line and make adjustments if needed. Notice how the third duck has darker finalized lines and the unused light lines can be easily erased or covered with shading. In these three examples, the lines are darker than needed for the start of a drawing.
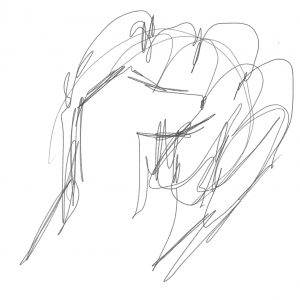
Another fun warm up exercise is to draw an object and not lift the pencil off the paper. This may seem like tracing, however, for this exercise you would move around the object, feeling out the object throughout its area and not just around the perimeter.
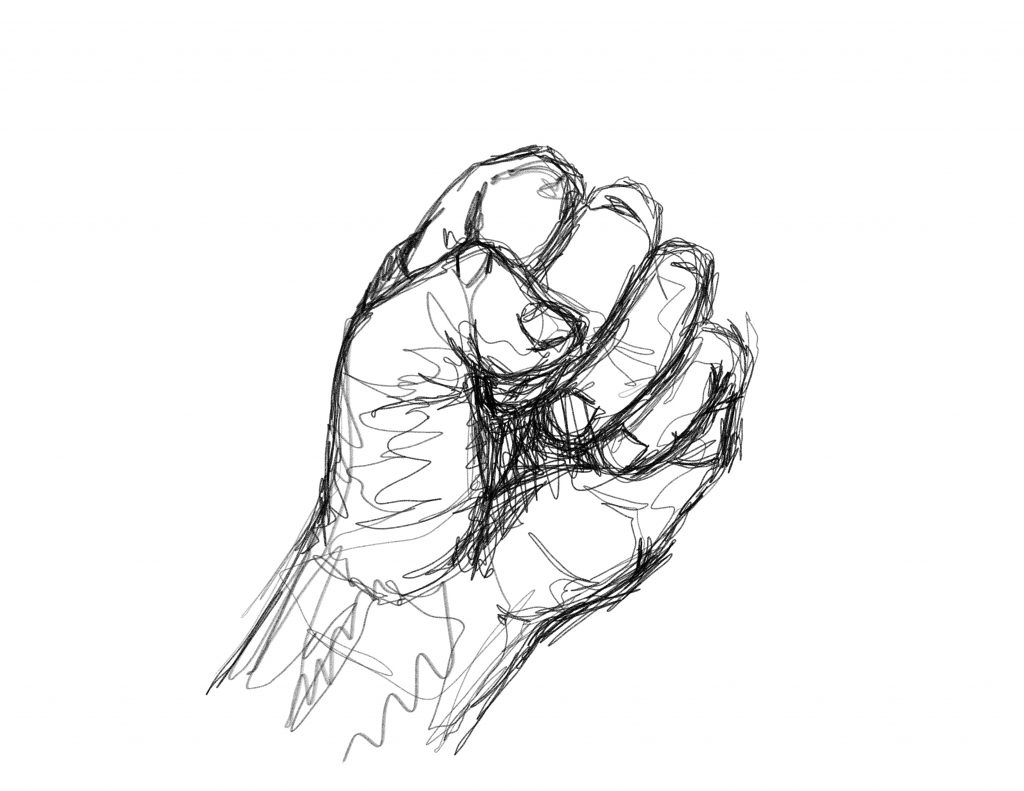
An additional fun warmup exercise is to draw an object without looking down at your drawing. It is interesting what can come out of this exercise, however, the important thing is to focus on the subject. The fist below was done while not looking down at the paper.
Basic Shapes
Now that you have warmed up and got your arm moving more fluidly, you can start with drawing basic shapes. You will start with shapes like squares, ellipses, and circles. You can then create some shapes that have the illusion of depth, such as cubes, cylinders, and cones.
Circles
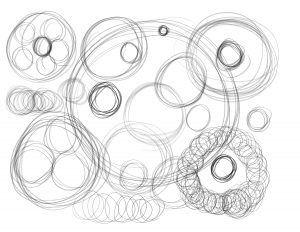
If you go around and around in a circular motion enough times, you will get accustomed to making circles in various sizes. Try to speed up and slow down to see how this affects your circles. It helps to start light and fast to feel out the circle size as you continue to go around multiple times. You can darken the circle when you get to the size you need. The light initial lines can be erased or covered with shading.
Cubes
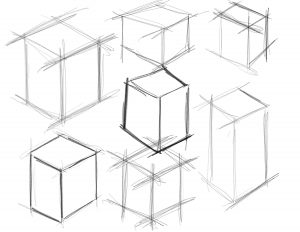
Drawing basic cubes helps in drawing parallel lines at various angles. The cubes for a warm up will have nine lines, so assume they are solid. That is, you will not draw the back sides or edges that you cannot see. It helps to start with the line closest to you at the front. Next, you can draw the lower two angled lines at the bottom and then the two vertical side lines. The top of the cube consists of lines that are parallel to the bottom two angled lines, which will form a diamond shape. Remember, try to keep corresponding lines parallel. There will be three sets of three parallel lines.
Ellipses
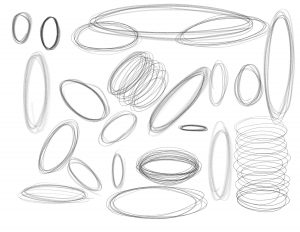
Creating ellipses is quite similar to drawing circles. When drawing ellipses it is important to notice how the ends look compared to the width. If the ellipse is thin, then the ends will be more pointed. If the ellipse is wide or more round, then so will the ends. One helpful tip is to not stop at the ends, otherwise they may become points instead of curves. Make sure to keep the pencil moving around the ellipse.
Cylinders
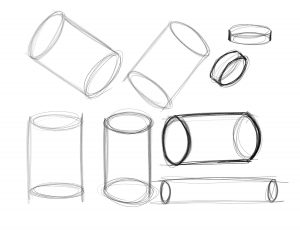
To make a cylinder, you will make two ellipses the same size and in the same plane. Once the two ellipses are established, two parallel lines can be added to create the cylinder. If the cylinder is a solid form, then one half of one of the ellipses will need to be erased due to one of the ends not being visible. Darkening the lines of one ellipse and half of the other, along with the two parallel lines, will help show a solid shape.
Cones
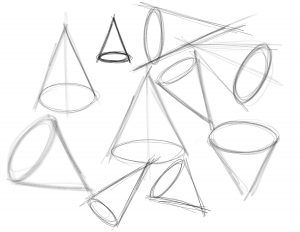
When drawing a cone, it is important to make the two angled lines that form the V perpendicular to the plane created by the ellipse, so both straight lines are the same length. If you see the surface of the bottom of the cone, then all of the ellipse will be seen. Like the cylinder, only half of the ellipse may be seen if you are looking at it from an above angle.
