
Chapter 2 Drawing Materials
Drawing Materials
Learning Objectives
By the end of this chapter, you should be able to:
- Identify drawing materials and their uses.
What makes a drawing material suitable for drawing is the speed at which your art can be produced. Relative to other two dimensional art forms, such as painting, the drawing process can be a fairly quick and easy means to creating art. Drawings also have a tendency to rely on line, rather than solid forms, especially solid forms of color. Drawing materials are typically dry, other than ink or markers. Paints are considered another form of art, due to their wet nature, solid colors, and slower process, though a quick sketch can be done with paint and a brush.
When drawing, a medium is applied to the support. The support is the paper. The medium is the material you use to make marks on the paper.
In this book we will focus on pencils, paper, erasers, and stumps. This is mainly due to the simplicity of the medium. Charcoal, even though it can be erased, is a rather messy material that can leave black dust all over your work area. This makes it somewhat unsuitable in a home environment. Many of the other mediums are difficult to erase, which is not ideal for the beginner who is just starting and going to be making mistakes throughout the learning process.
Traditional drawing mediums are listed below. Digital art media are not included.
Pencils
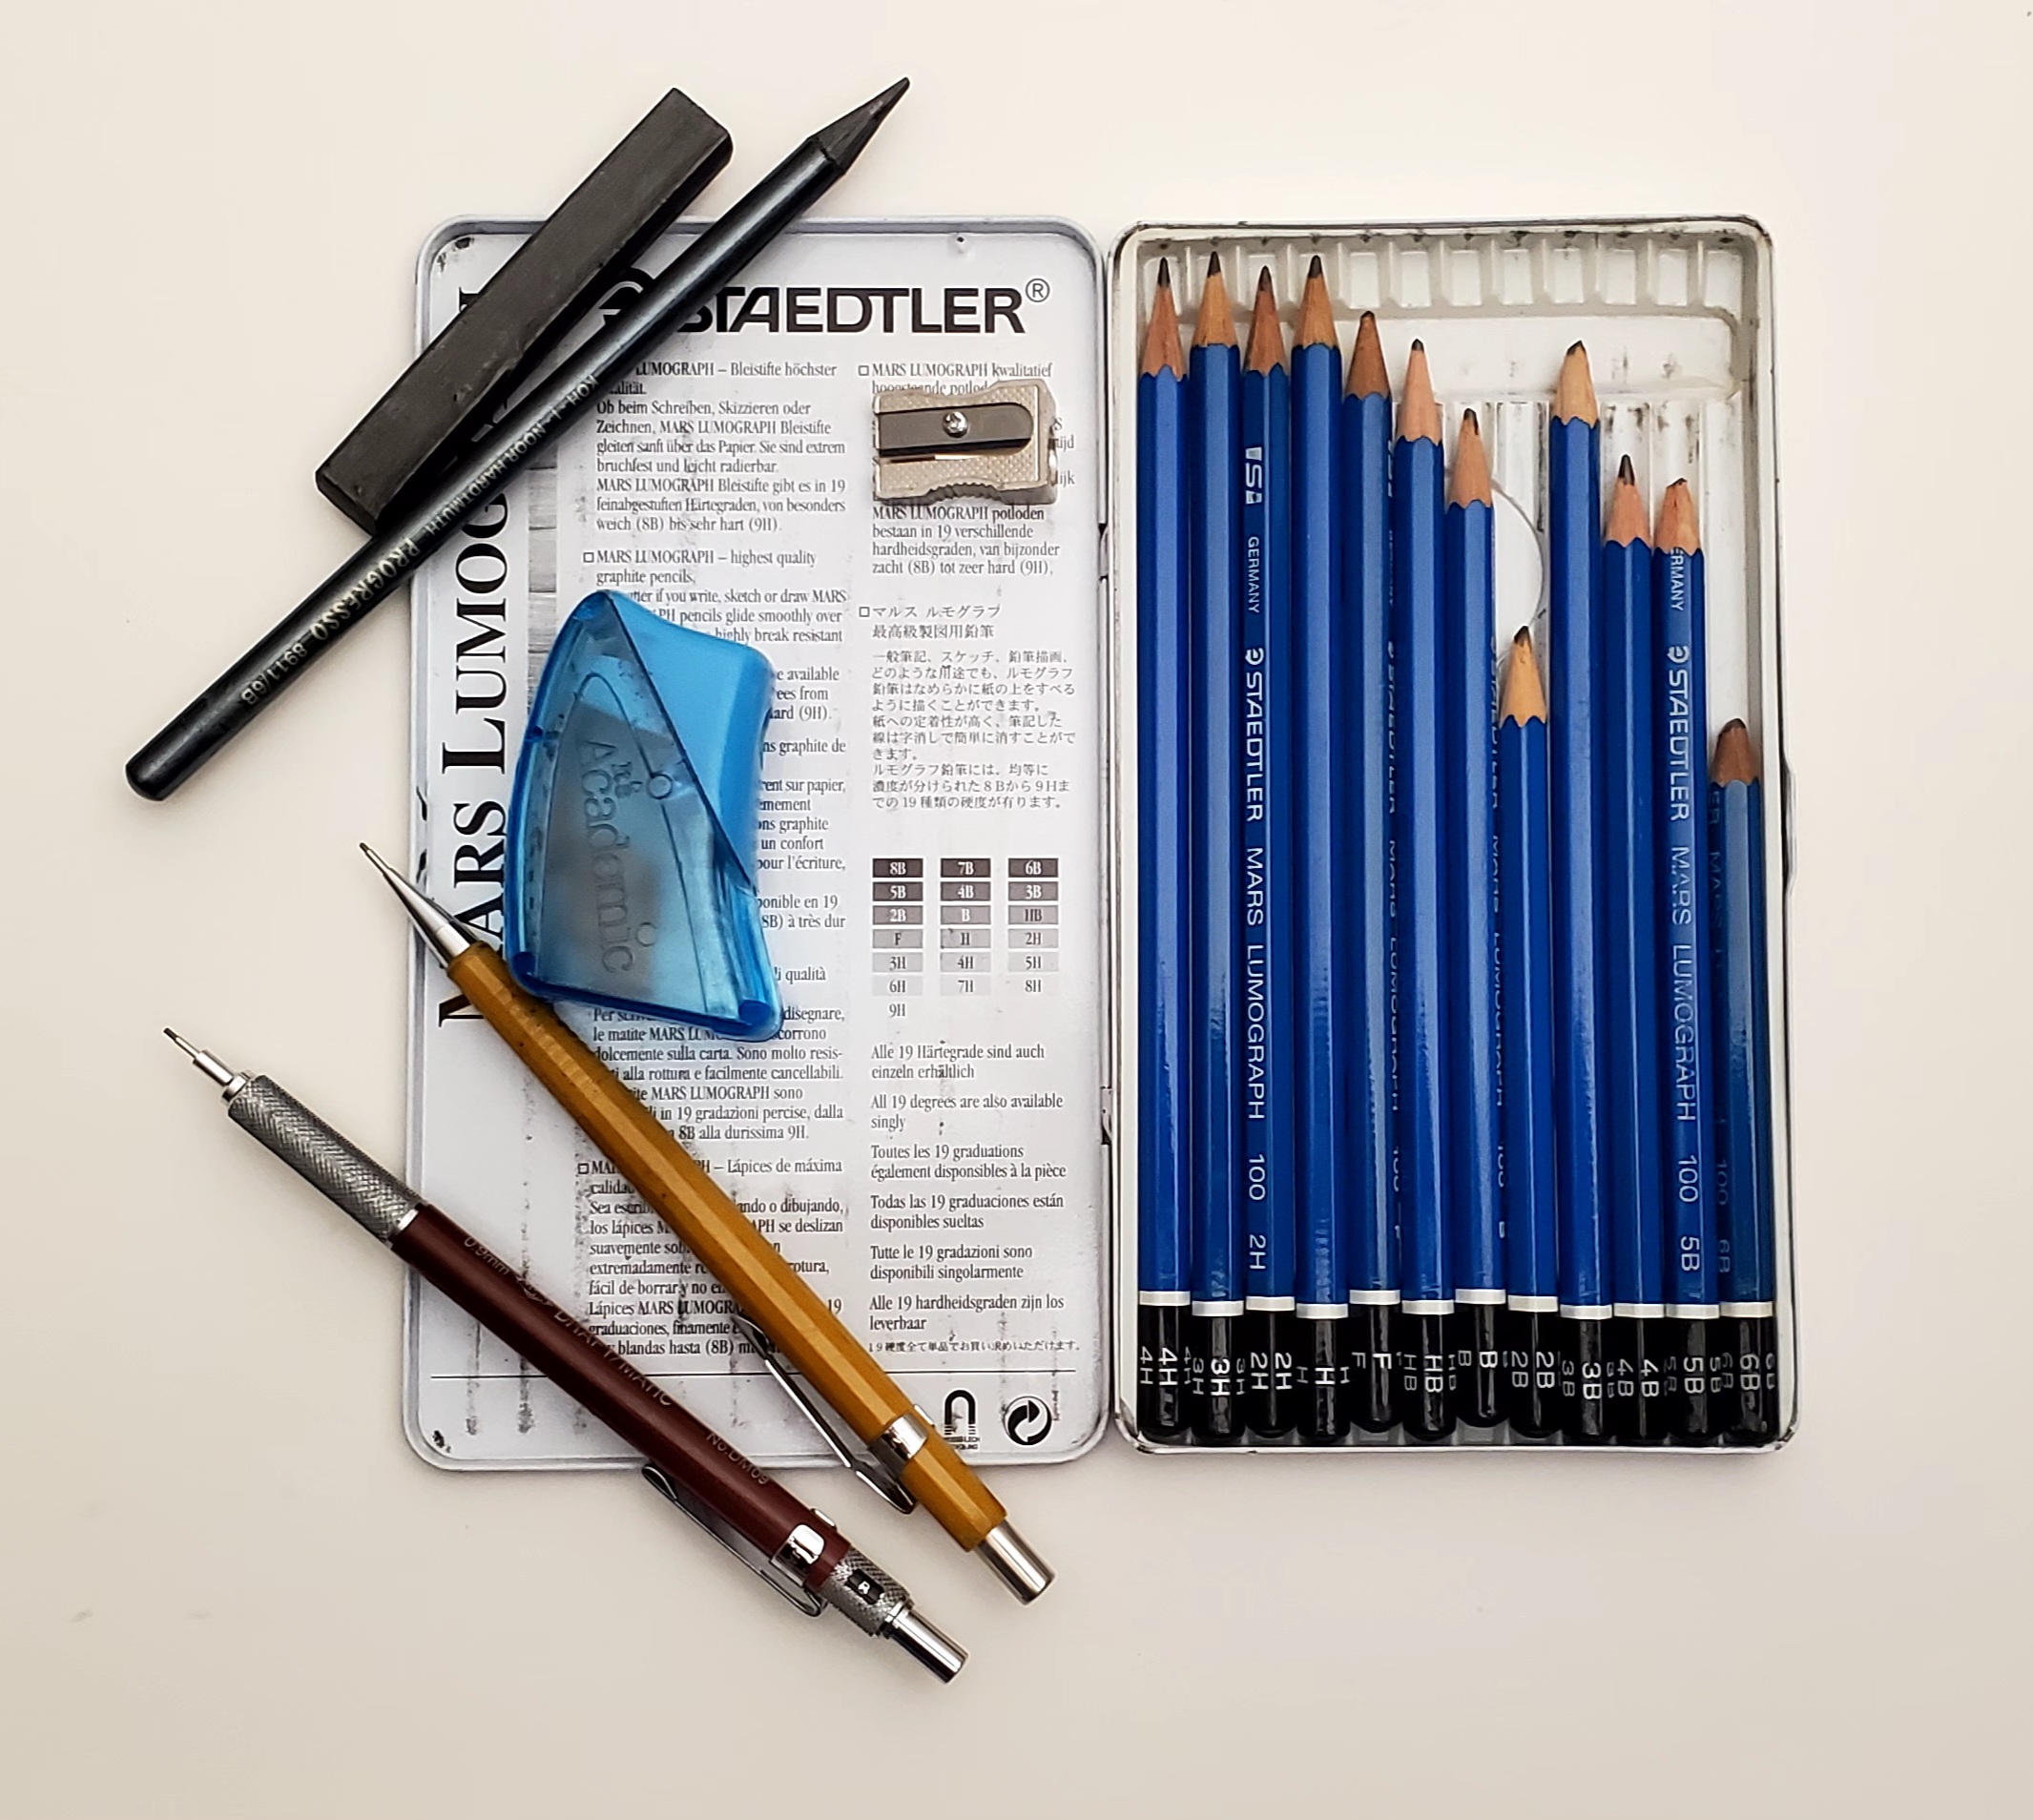
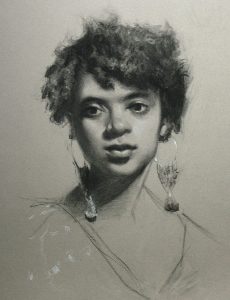
Pencils are one of the most used mediums in producing art. A pencil sketch is usually the first step prior to producing many forms of art, including many famous works.
What sometimes is referred to as “lead” in a pencil is actually graphite. Graphite comes in many diameters and levels of hardness. It is often surrounded by wood, but can also be a solid piece not encompassed by wood.
The main criteria when choosing a pencil for drawing is the hardness. Art pencils have numbers and letters that represent the hardness of the graphite. The letters commonly used are H for hard and B for soft. The higher the number next to the letter, the softer or harder the pencil will be. For example, a 4H pencil is harder than a 2H pencil and a 4B pencil is softer than a 2B pencil. Why have pencils with these various grades of hardness? The graphite will create a mark on your paper and, no matter how hard you push on the paper, the mark will only get so dark. The level of darkness depends on the hardness. The harder the pencil, the lighter the mark will be. Conversely, the softer the pencil, the darker the mark will be.
You will also find HB and F grades, which fall in the middle between H and B. An HB pencil is closest to your typical yellow #2 pencil.
Pencil Tip #1: If you are drawing something with a pencil and you want to produce a darker mark, pushing harder will not help . The marks can only get so dark , depending on the level of hardness. Pushing harder on your paper will only dent your paper and make erasing more difficult. If this happens, go to a softer pencil. However, a dark pencil can draw lighter by putting less pressure on it. Why use a hard pencil if you can just push lighter on a soft pencil and get the same effect? A hard pencil will hold its point better and sometimes you just need to restrain yourself from going too dark (see tip #2).
Pencil Tip #2: If you are starting a drawing, sometimes it helps to start with a harder pencil and draw or push really lightly. This way, the light lines a hard pencil produces will be easier to erase. Sometimes, you don’t need to erase at all, especially if you know the lines will just be covered with something, such as shading. Also, starting light will help maintain your paper’s surface, which will start to break down with too much erasing.
Paper
Paper is considered a support and any type of paper will work for drawing, however, some paper works better than others. Good quality drawing paper is usually thicker and heavier than your typical 8.5”x11” printer or notebook paper. You may see a weight associated with a paper description. The higher the weight designation, the thicker the paper will be. Various paper will have different textures or roughness, which is considered “tooth”. The benefit of having more tooth is that it will help grab material off of the medium. If the paper is too smooth, then the medium will just slide over it without laying down material. Paper can be purchased based off what medium you plan on using. Pastel, watercolor, sketching, and drawing paper are all paper types.
Erasers
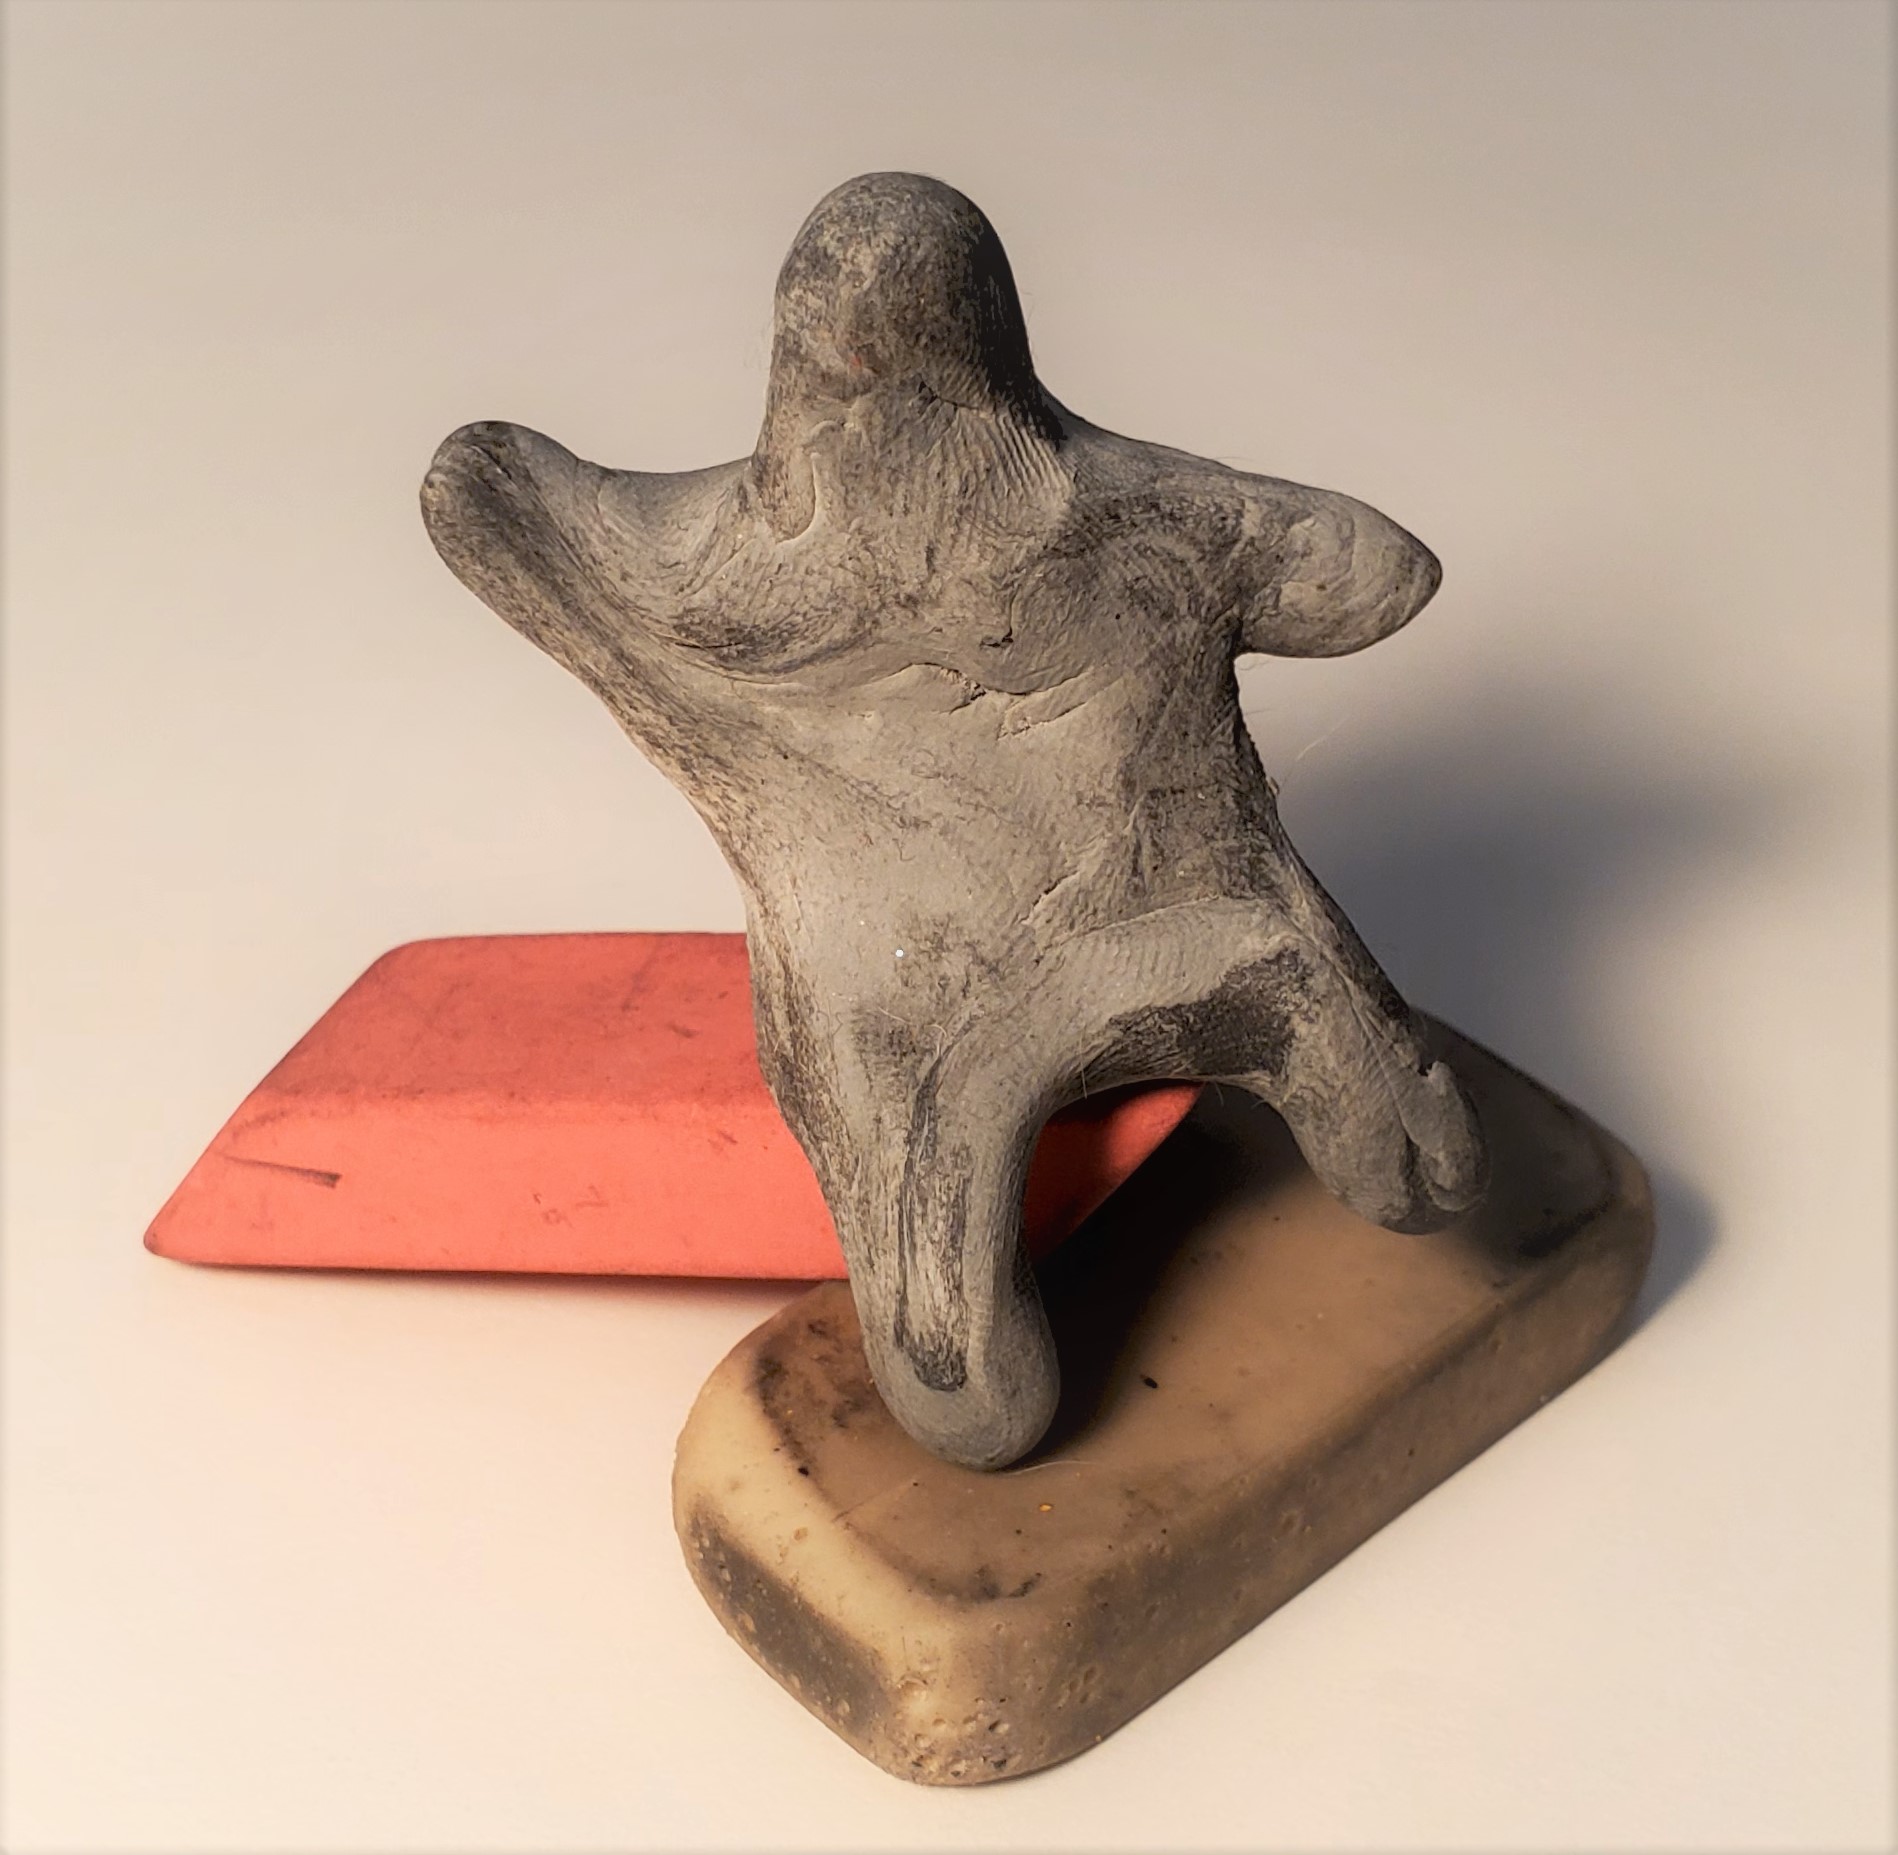
Erasers can come in any shape and color, however, the main types used for drawing are white, gray, pink, and gum.
Pink erasers will work on any type of paper and will not damage paper as easily as white, due to it being a little softer. Both pink and white erasers tend to harden after some time and can damage your drawing, so test the eraser first to see if it is still soft. Pink erasers can harden more so than white erasers.
Gum erasers (not pictured) will typically break down and crumble and are not good for erasing detail, however, they work great for large areas.
Gray, or pliable, erasers do not work like the other erasers, as the other erasers wear down as you use them. A gray eraser can be formed into any shape you like. In order to erase, you push the eraser on the area you want to erase and lift off the material without the typical rubbing. These work great for details, since you can form the eraser into a point, if needed. Or you can form it into a sculpture for fun.
Eraser Tip: The harder you push on your paper while drawing, the harder it is to erase.
Stumps

These are used to smudge or blend your drawing mediums. They can be used to make a drawing look softer. They can also be used to blend different colors together, such as with pastels (discussed below). Stumps are tapered on both ends and are made of tightly rolled paper. The tip of a stump can be sharpened with sandpaper, if needed. Tortillons are similar to stumps. They are similarly constructed, but only one end is pointed.
Blending tip: Many things can be used for blending, just as long as it doesn’t leave residue on your drawing. Paper towels, rags, and paint brushes are all examples of items that can be used for blending. Watch out if using your fingers, though, as they have oils and dirt that may affect your drawing.
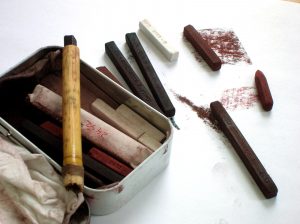
Charcoal
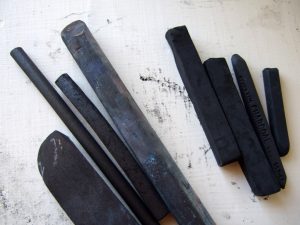
There are two main types of charcoal, stick and compressed. The stick form will look like a stick right from a tree because that is what it is. The stick is usually made from a willow branch or a vine that has been baked to the point when it turns to charcoal. The compressed type of charcoal is ground up charcoal in powder form that is pressed together with other materials to form the desired shape, such as a pencil. Charcoal can vary in hardness from soft to hard.
Charcoal Tip #1: Keep a sharpener or a piece of sandpaper handy if you are working on details. Charcoal loses its point quickly.
Charcoal Tip #2: Try not to use graphite and charcoal together. Charcoal tends to overpower the grays of graphite. Also, charcoal gives a matte finish, where graphite can give a glossy shine. These two can work together, however, it can be tricky due to these differences.
Charcoal Tip #3: Blending and smudging work great with charcoal.
Chalk
Chalk is simply the same material that you use on a chalk board or sidewalk. It comes in many colors and is relatively inexpensive. One interesting method of using this medium is in combination with charcoal on black or colored pastel paper. The nice thing about chalk and charcoal is that each medium is the other’s eraser. Chalk erases charcoal and charcoal erases chalk. The two materials blend well together, which can create a very soft and smooth transition from light to dark.
Conte Crayons
Conte Crayons can come in stick or pencil form and are made up of various materials, such as pigment, graphite, oil, and other fillers. They can produce dark values onto your paper and are somewhat erasable. These do not behave like the crayons you used when you were a child, which are mostly made of wax.
Conte tip: Conte crayons tend to work better on paper with more textured tooth.
Ink

Ink comes in many types and colors and can be applied in many ways. Water can be added to ink to lighten the tonal value if needed. Ink can be applied by dipping a brush, metal pen, bamboo, or quill in a well of ink as needed and then applied to the support. Ink can also be contained within the pen, such as with technical, fountain, or ball point pens, which allow for continuous use. Some inks are waterproof after they dry and some are not.
Pastels
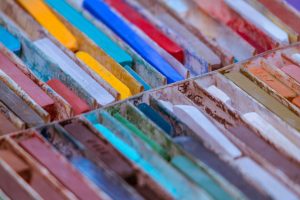
Pastels are a mix of pigments and other materials that produce either a chalk like stick or a hard oily stick. Pastels can produce lines and solid blocks of color. They blend together nicely when made of the same material. Oil and chalk pastels are not used in conjunction with each other.
Fixative
Fixative is sprayed on to the support to help hold loose material, such as chalk, charcoal, and pastels, onto your paper. It comes in an aerosol can, looking similar to a spray paint can. It can be applied throughout the drawing process with a workable fixative. It can also be applied at the end with a permanent or final fixative. The final fixative layer comes in a variety of finishes, such as matte, satin, and gloss.
Digital
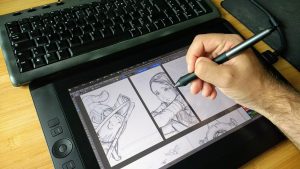
Digital media isn’t necessarily considered traditional, however, it is gaining ground rapidly and can produce a variety of effects, offering endless possibilities. You will need hardware and software, with many options available for each. On the hardware side, you will need a pen display or pen tablet, along with a computer. For software, you need a program, such as Photoshop, Affinity, or Procreate, just to name a few.
Other drawing materials
There are many other materials that can be used to produce a drawing, such as colored pencils and markers. Many great ideas were hatched and documented with just a napkin and a ball point pen. Sometimes, if you need to make a sketch before you lose the idea, you will use whatever is readily available.
