
Bleeding Control (Direct Pressure, Pressure Dressing, Tourniquet, Junctional Tourniquet, Wound Packing)
The mantra for an EMT’s response to bleeding is to “find it and fix it.” This skill encompasses all severities of bleeding from capillary bleeding which appears as oozing to arterial bleeds that demonstrate blood spurting.
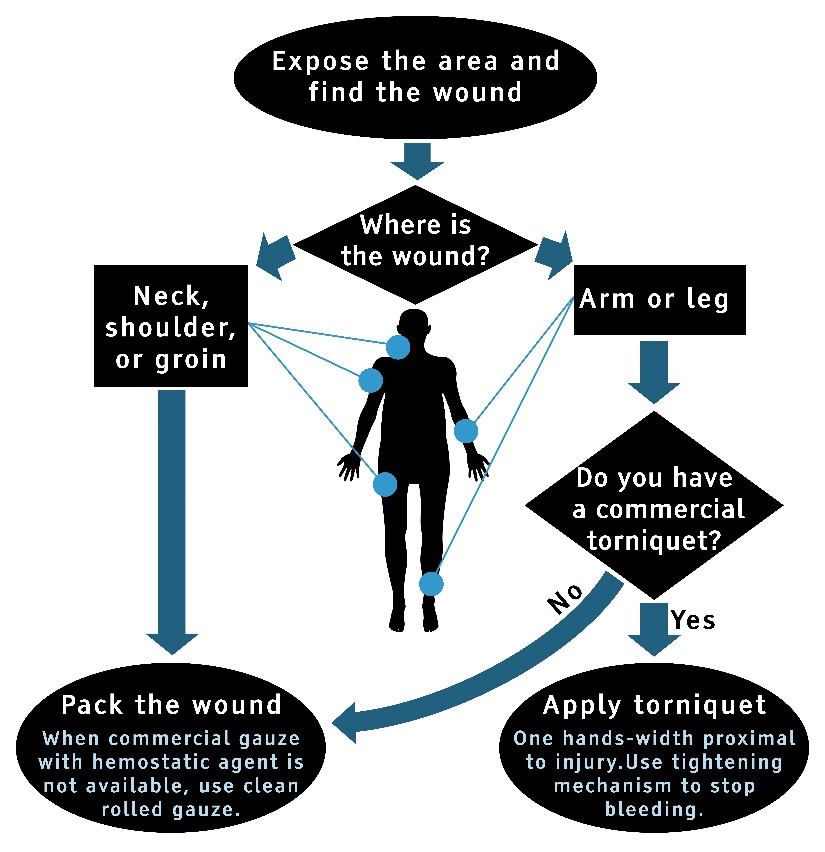
Start by exposing the area to locate the source of the bleeding.
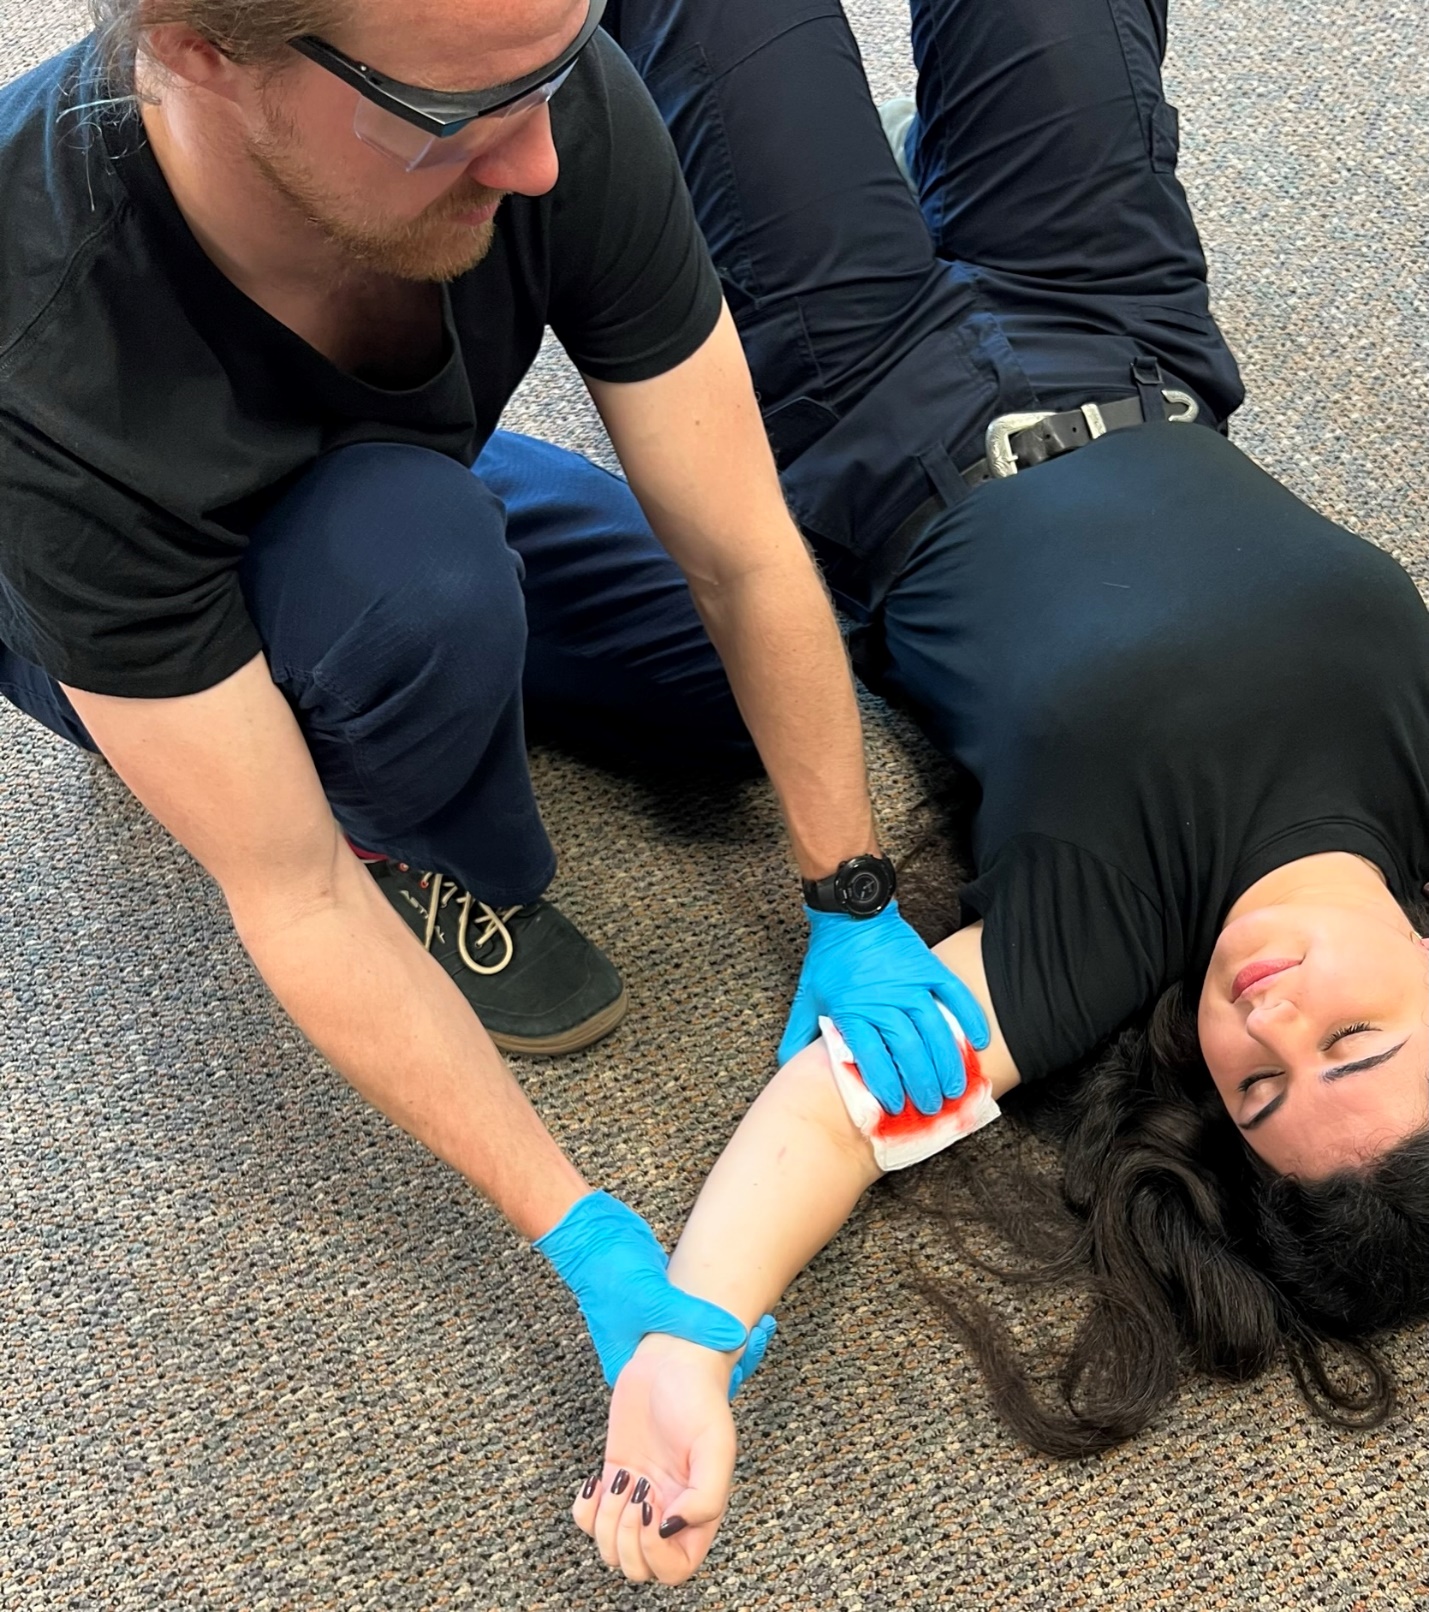
Direct pressure technique requires placing an appropriate amount of pressure on the wound. The amount of pressure required will depend on the wound. For bleeding from a large vessel, extreme pressure may be required. Use body weight to assist in providing needed pressures if needed.
Focal pressure may be applied when bleeding from a major vessel is obvious. This includes using just a few fingers to place focused pressure on the vessel.
Pressure dressings include any bandages that apply mechanical pressure without requiring the EMT to hold direct pressure all the way to the hospital. These should only be applied when direct pressure is effective in controlling bleeding, but bleeding continues after direct pressure is removed.
Pressure dressings can be improvised using additional rolled gauze placed directly on the wound and wrapped tightly with additional rolled gauze. Commercial devices are available however, are not widely available in EMS. Do not waste time and red blood cells attempting to control bleeding with a pressure dressing.
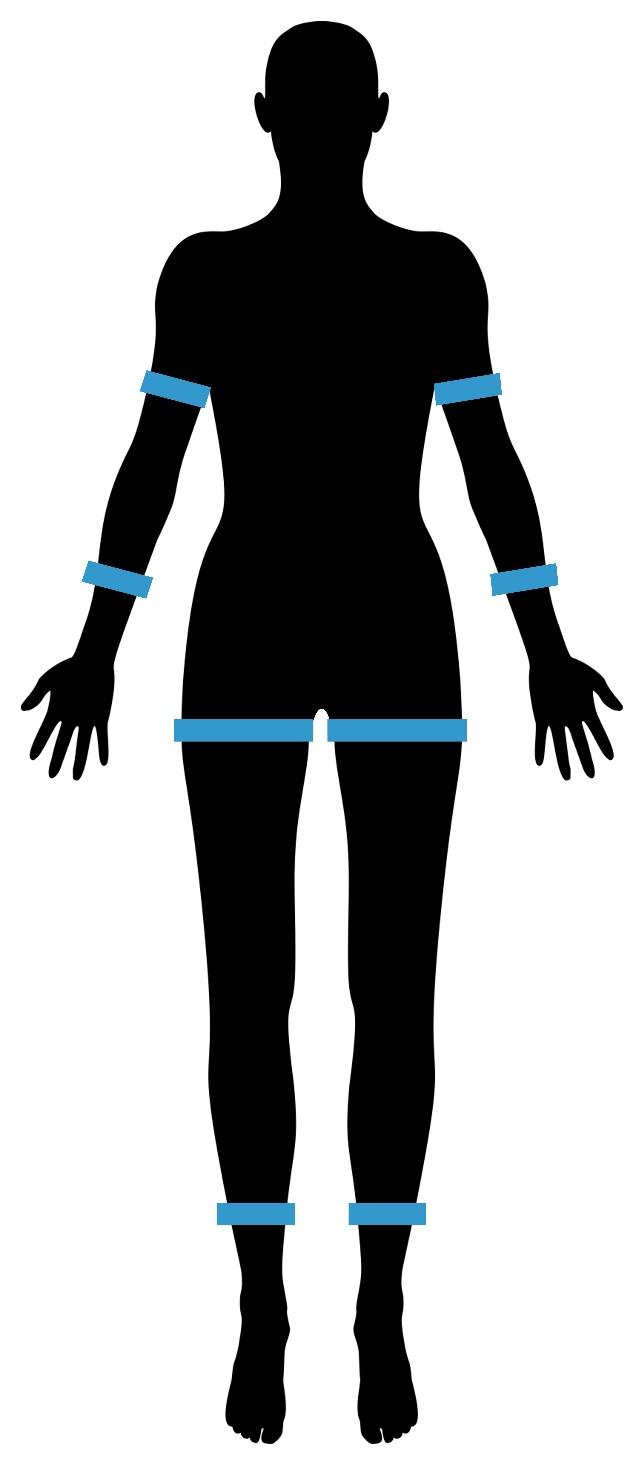
Tourniquets should be applied on a limb anytime direct pressure is insufficient to control bleeding. Many commercial devices are widely available in EMS. There are commercial versions of junctional tourniquets for wounds in the groin and axilla, however, they are not widely available at the time of this text. When presented with junctional bleeding the EMT should use commercial devices if available, otherwise wound packing is recommended. Improvised tourniquets are not recommended unless no other option is available.
- Appropriate PPE
- Place the tourniquet approximately 1 hands-width proximal to the injury.
- Use the tightening mechanism to completely stop bleeding and circulation.
- Confirm pressure by the absence of bleeding and no distal pulse.
- Mark the time the tourniquet was placed and transport immediately.
- Reassess distal circulation often every 3-5 minutes.
- Tourniquets are painful and patients should receive ALS care for pain medications as available.
- Additional tourniquets may be applied if necessary.
- Upper extremity wounds usually respond with 1 tourniquet.
- Lower extremity wounds may require a second.
Wound packing should be done for any wound with significant bleeding in the groin, axilla, neck, abdomen, or any wound that is difficult to control with a tourniquet. Do not pack head wounds. Commercial wound packing gauze which includes hemostatic agents are available however, are not always widely available in civilian EMS. When commercial gauze with hemostatic agent is not available the EMT should use clean rolled gauze.
- Appropriate PPE
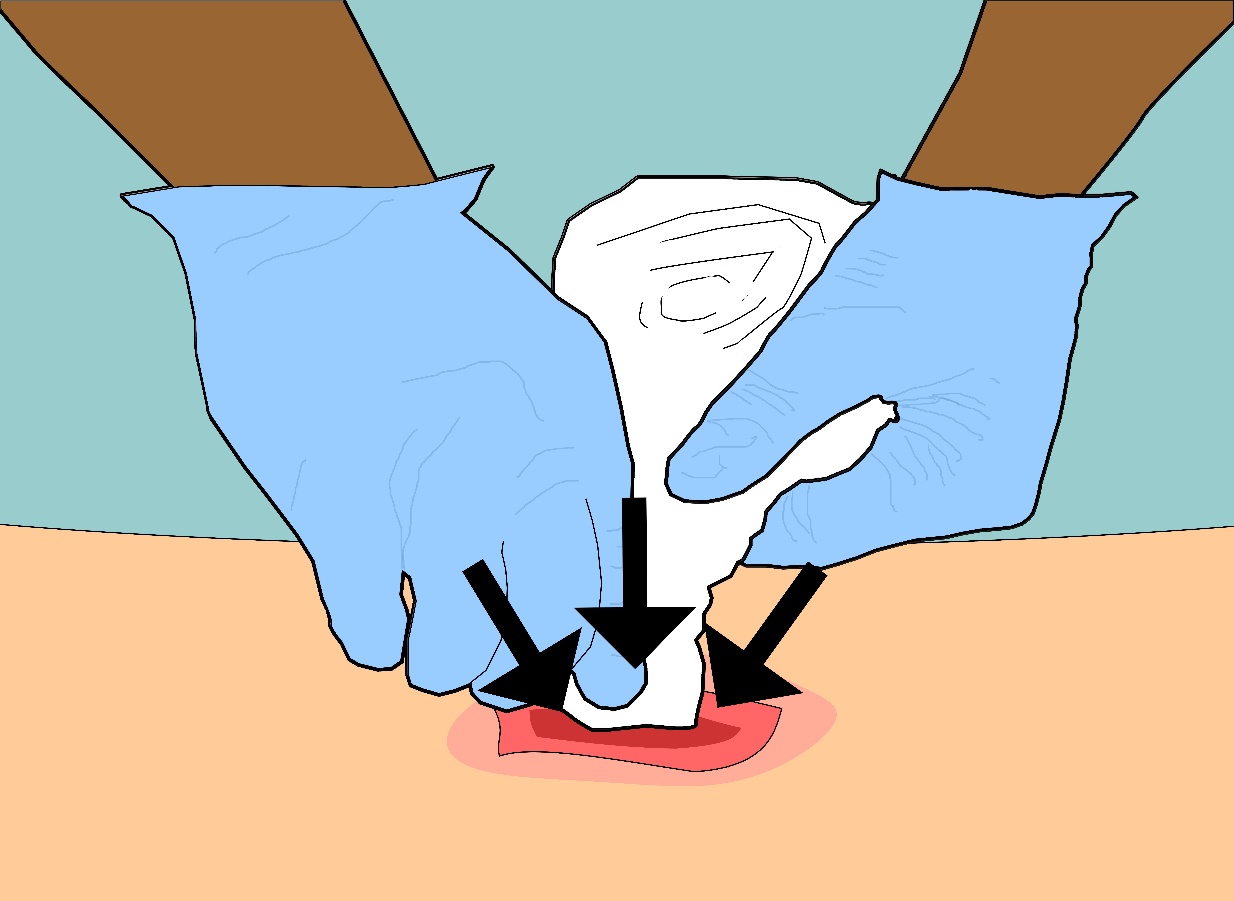
- Apply constant and direct pressure to the wound.
- Pinch a few inches of hemostatic gauze or gauze.
- Push gauze deeply into the wound.
- Continue to add gauze until there is no more room in the wound.
- Continue direct pressure throughout the procedure and continue pressure after the wound is packed.
- Apply a dressing covering the packed wound to assist pressure.
|
Bleeding Cont. Direct Pressure |
1 |
2 |
3 (inst. Signature) |
|
Location |
|
|
|
|
Initials |
|
|
|
|
Bleeding Cont. Pressure Dressing |
1 |
2 |
3 (inst. Signature) |
|
Location |
|
|
|
|
Initials |
|
|
|
|
Bleeding Cont. Tourniquet |
1 |
2 |
3 (inst. Signature) |
|
Location |
|
|
|
|
Initials |
|
|
|
|
Bleeding Cont. Wound Packing |
1 |
2 |
3 (inst. Signature) |
|
Location |
|
|
|
|
Initials |
|
|
|
The original copy of this book resides at openoregon.pressbooks.pub/emslabmanual. If you are reading this work at an alternate web address, it may contain content that has not been vetted by the original authors and physician reviewers.
