
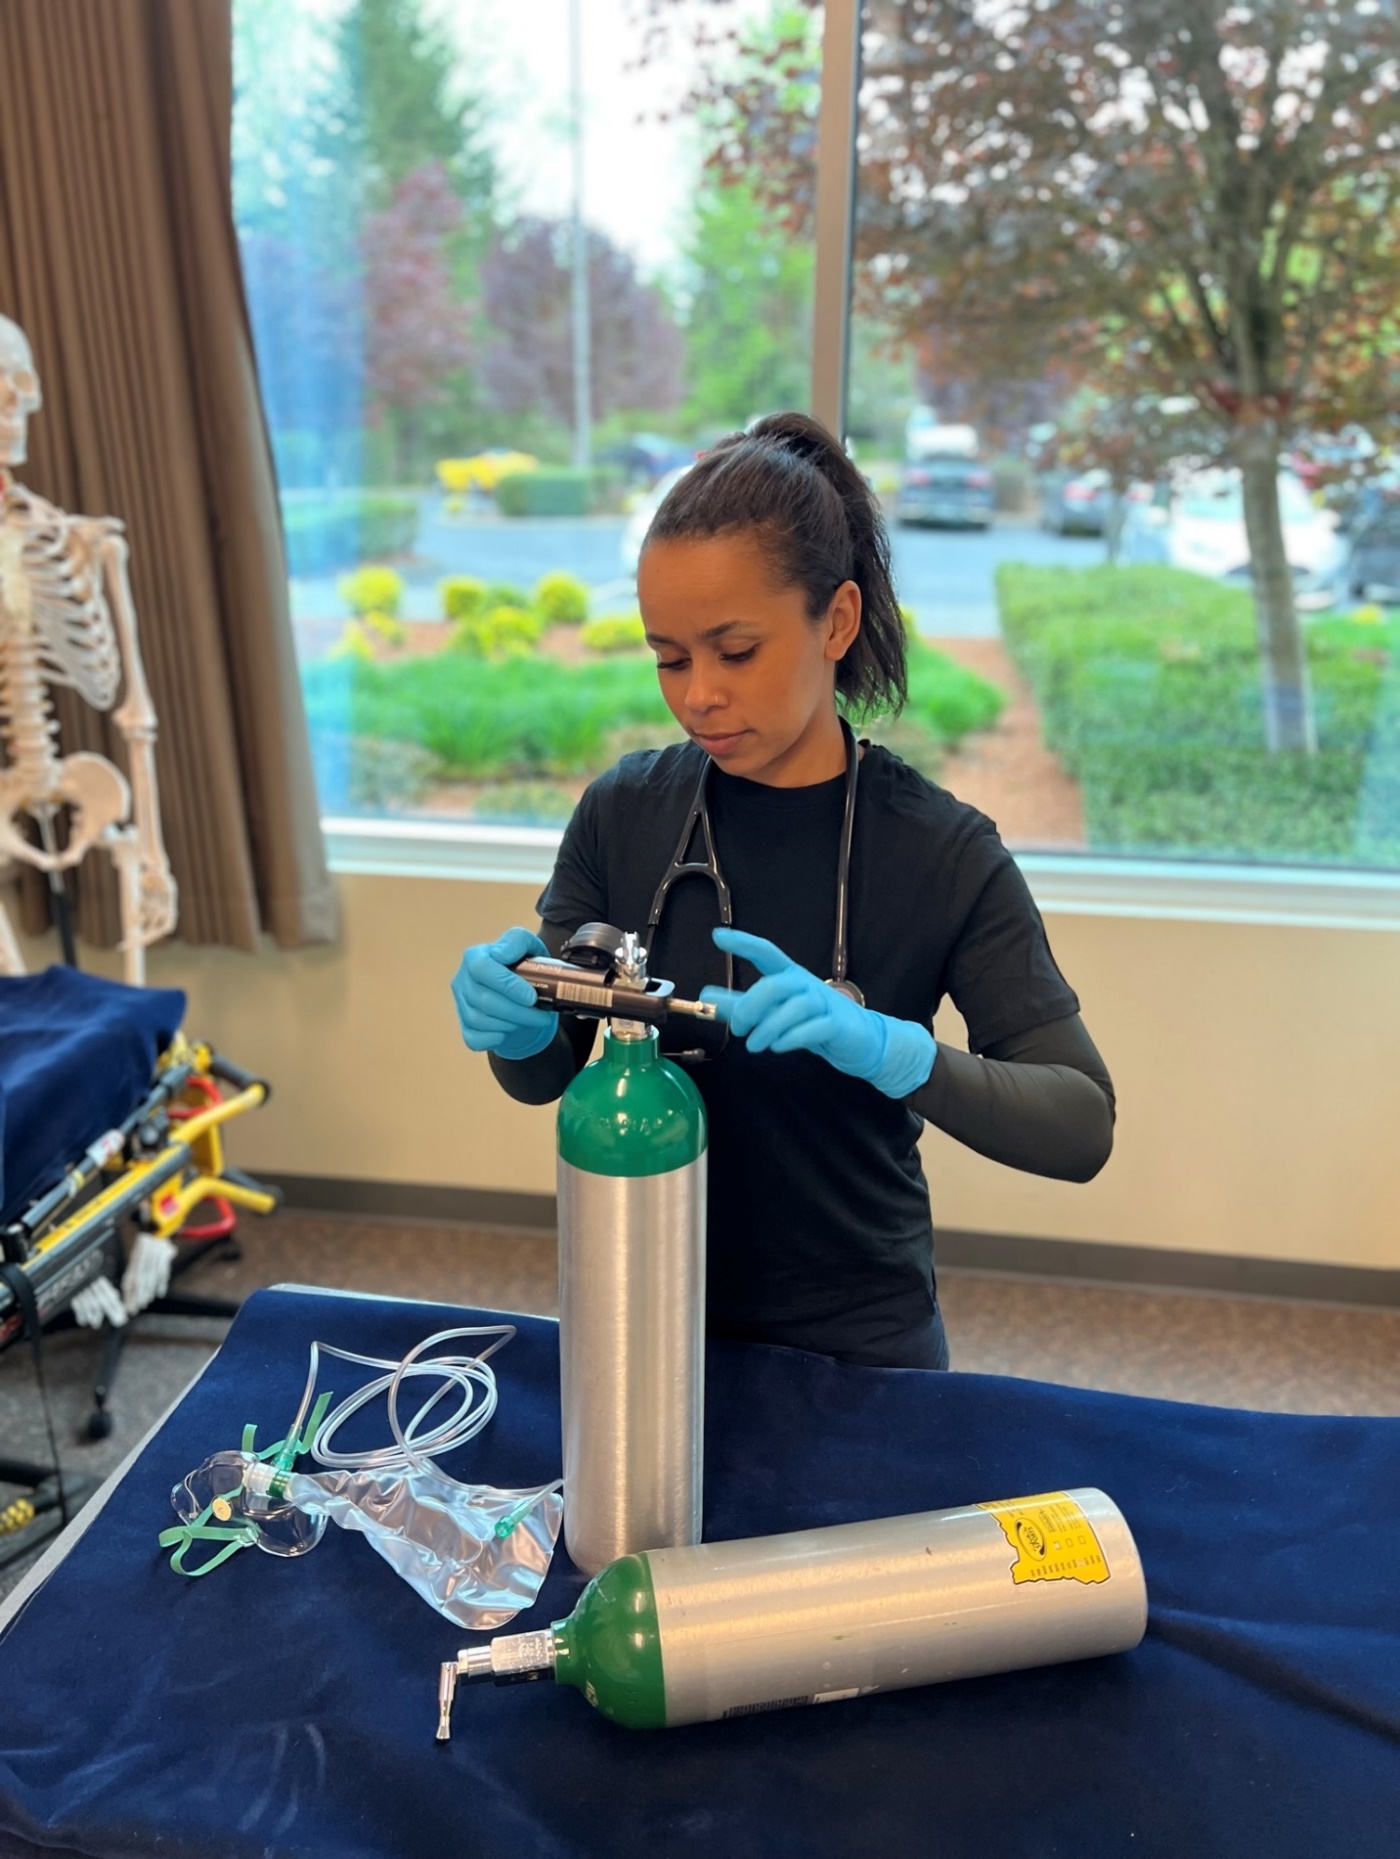
Oxygen Tank Assembly
Oxygen tanks are carried on all EMS response vehicles and in the equipment bags. Oxygen tanks come in several different sizes and the regulators and tanks themselves work similarly. As an EMT you will be responsible for ensuring the oxygen tanks on your response unit are full and in good working order. If they are found to be “low” it will be your responsibility to change them out with a full tank. Your department’s standard operating procedures (“SOP’s”) should dictate when they should be changed out. The pressure in most full oxygen tanks will read 2000 psi. This is significantly higher than compressed air out of a workshop style compressor or in the wheels of vehicles. The extreme pressures and properties of medical grade oxygen make oxygen tanks especially dangerous in certain situations.
There are two main safety concerns when working with oxygen.
- Open flames – never have an open flame around pressurized oxygen. Oxygen will accelerate fires and has an explosion risk. Never let anyone smoke around your oxygen tanks.
- Fall hazards – Never leave a tank standing unsecured. The greatest probability is that the tank falls and hurts someone, most notably a patient who is on the ground. There is also a theory that a falling tank can explode and become a missile-like projectile.
When changing an oxygen tank make sure you have proper PPE. At minimum you should wear safety glasses as there is a risk of an “O-ring” shooting off if done improperly.
- Starting with an empty tank and regulator attached.
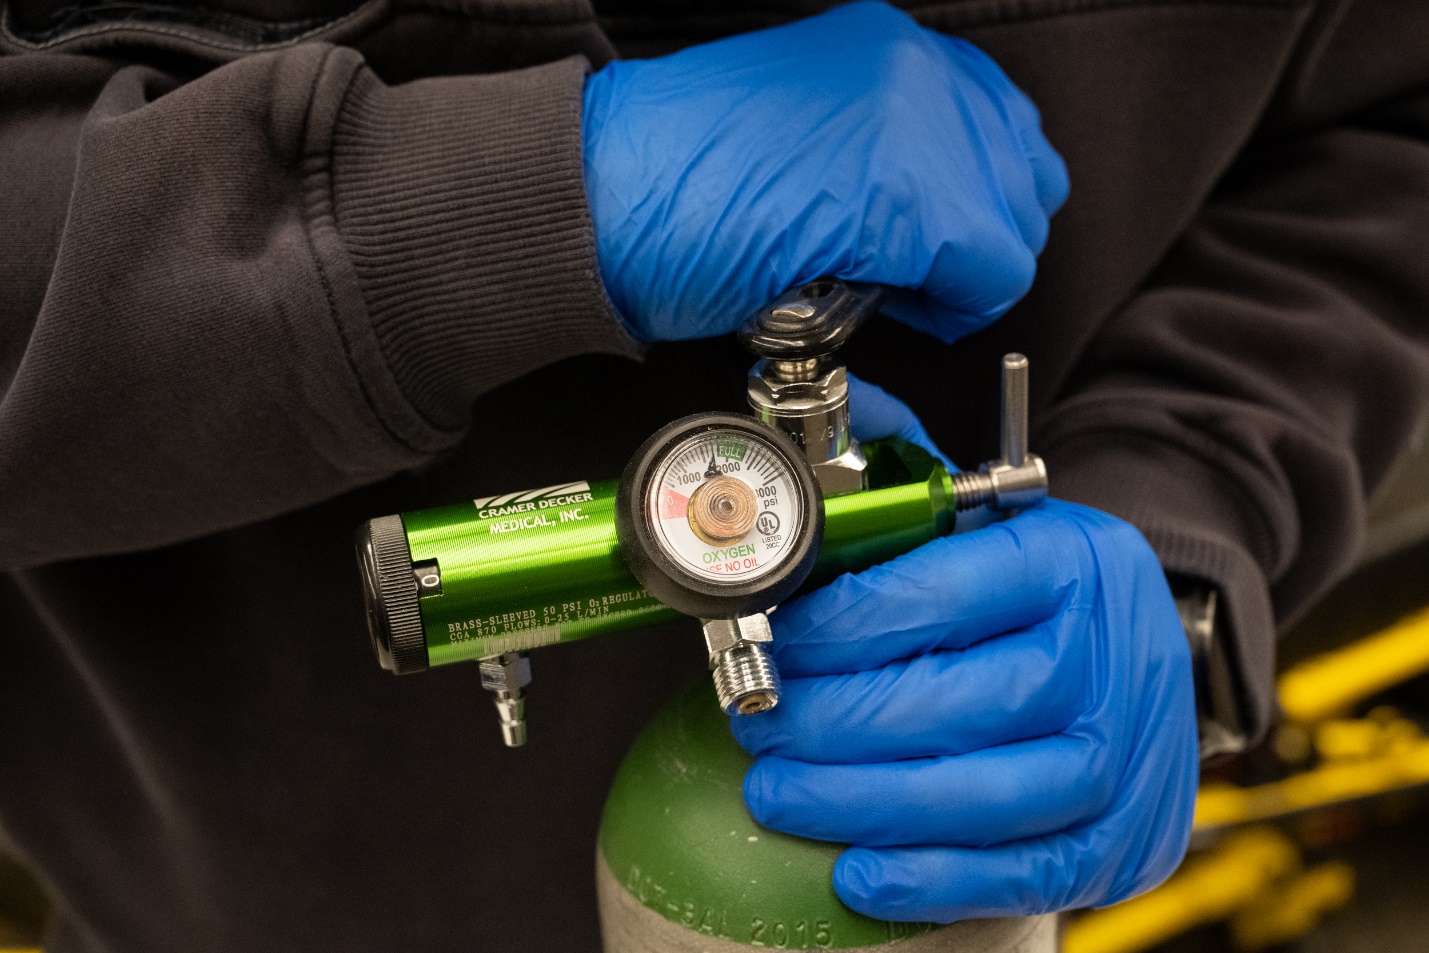
- Be sure the tank is turned to the “OFF” position. On most tanks this is accomplished by turning the valve on the top clockwise until it stops.
- Bleed any pressure in the regulator. If you are changing a main oxygen tank on the ambulance, be sure to bleed the lines by opening a regulator on the inside of the patient compartment.
- Wait until the hissing sound stops. This means your pressure has equalized.
- Turn the regulator back to the “OFF” position.
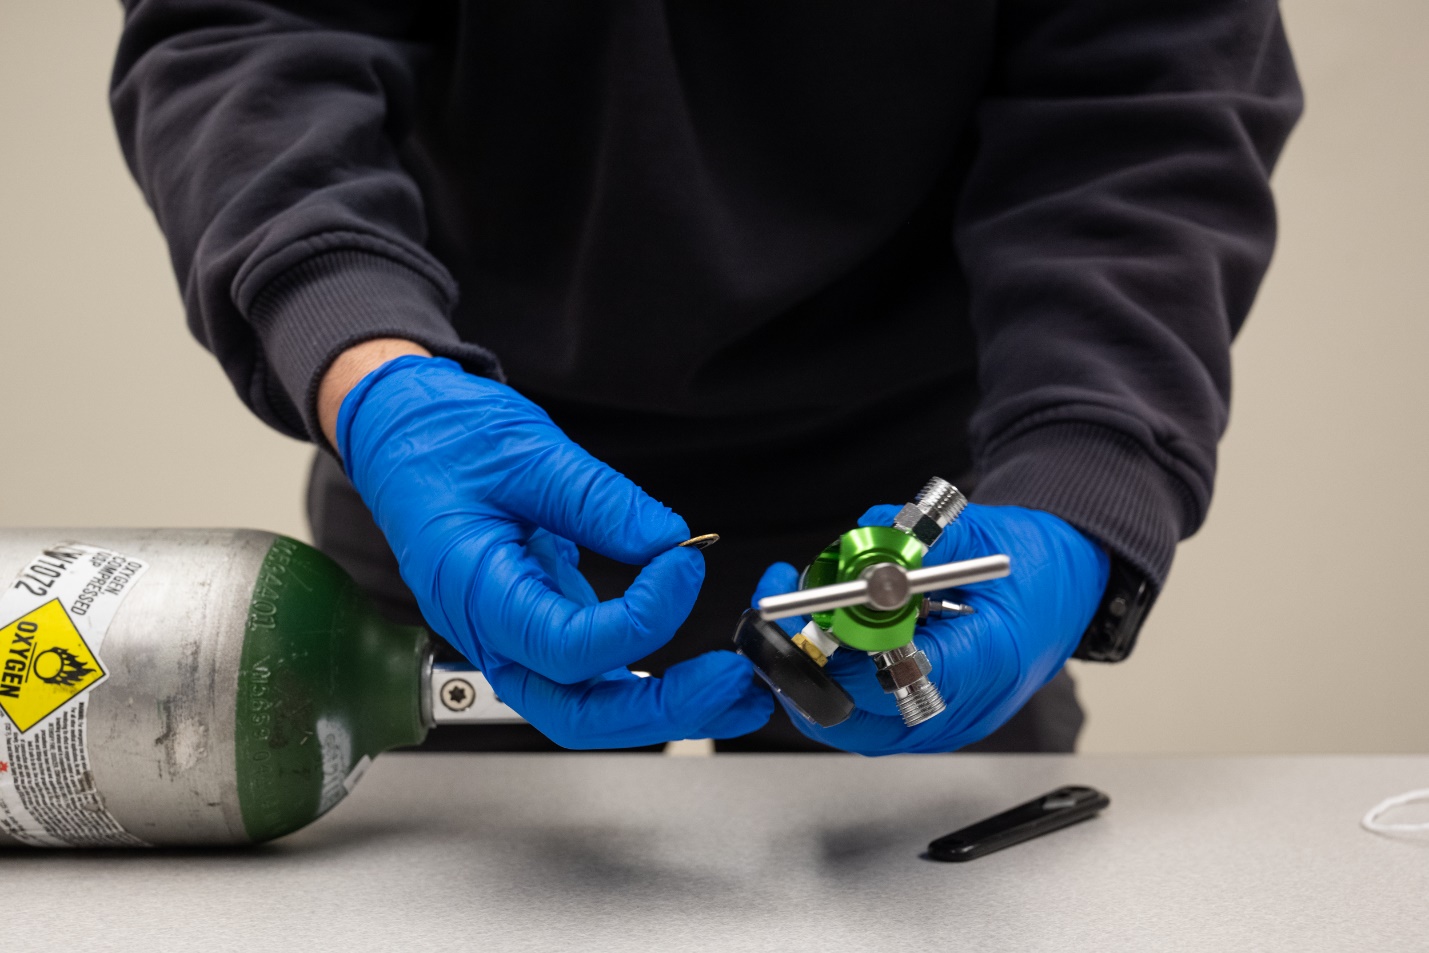
- Remove the regulator from the top of the tank by twisting the set screw counterclockwise.
- Lift the regulator assembly off the top of the tank and store it nearby, out of the way of the replacement full tank.
- Main oxygen tanks are extremely heavy and awkward to carry.
- Follow your department SOPs for safety when unloading and loading the main tank.
- Place your empty tank in the area designated for empty tanks.
- Retrieve and place the full tank in position.
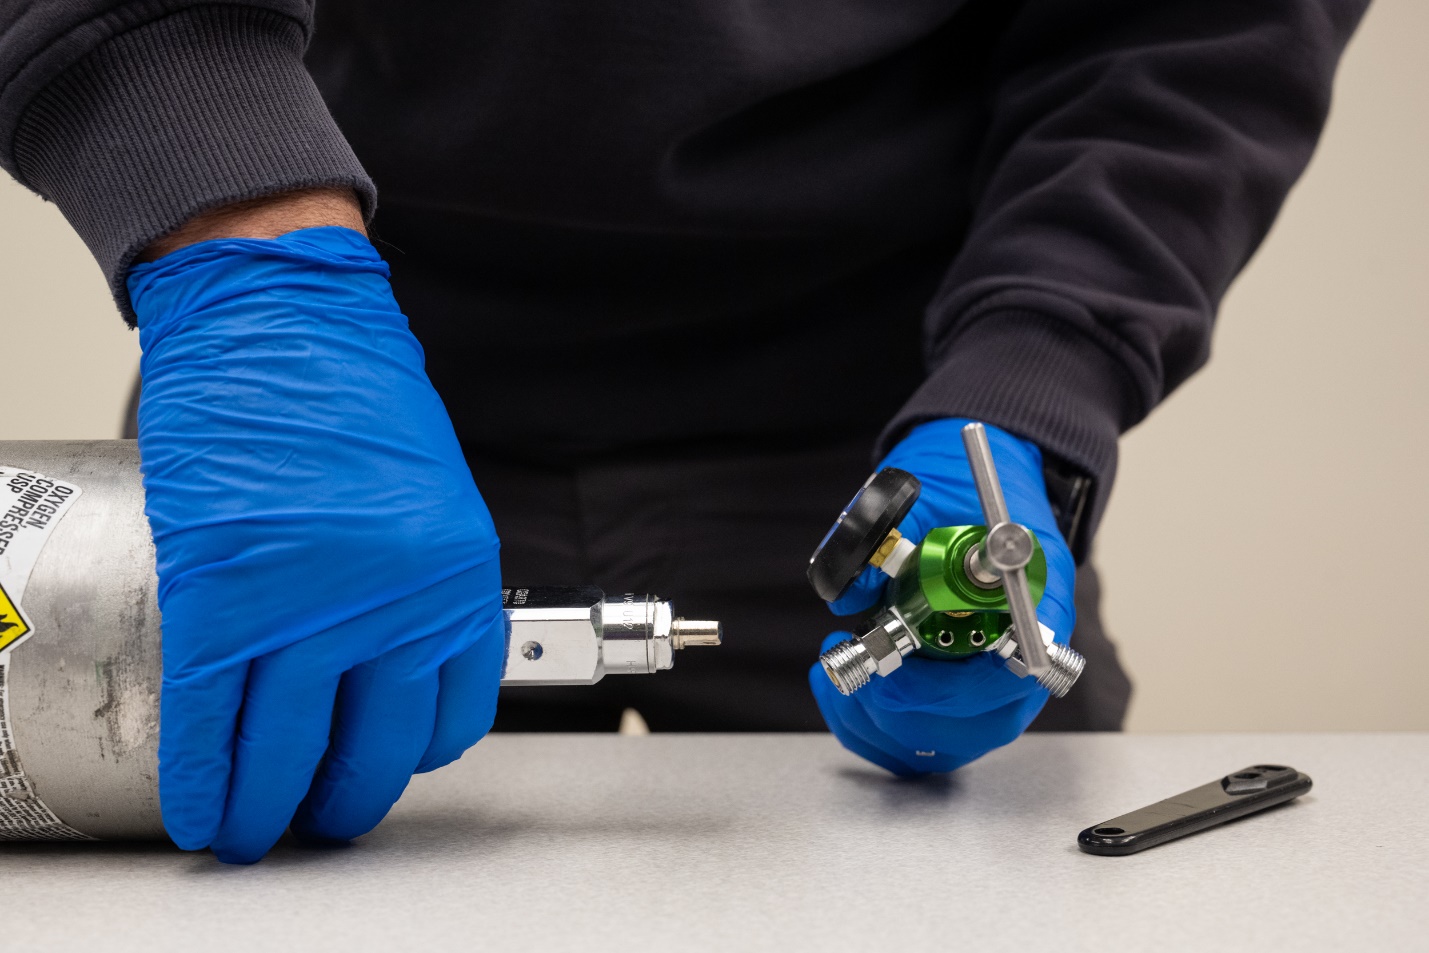
- Quickly crack and close the valve to remove any debris or dust from the oxygen tank. Note, if the tank is full, this step should make a loud “hiss”. If it does not, confirm you retrieved the tank from the area with full tanks, not the empty tank area.
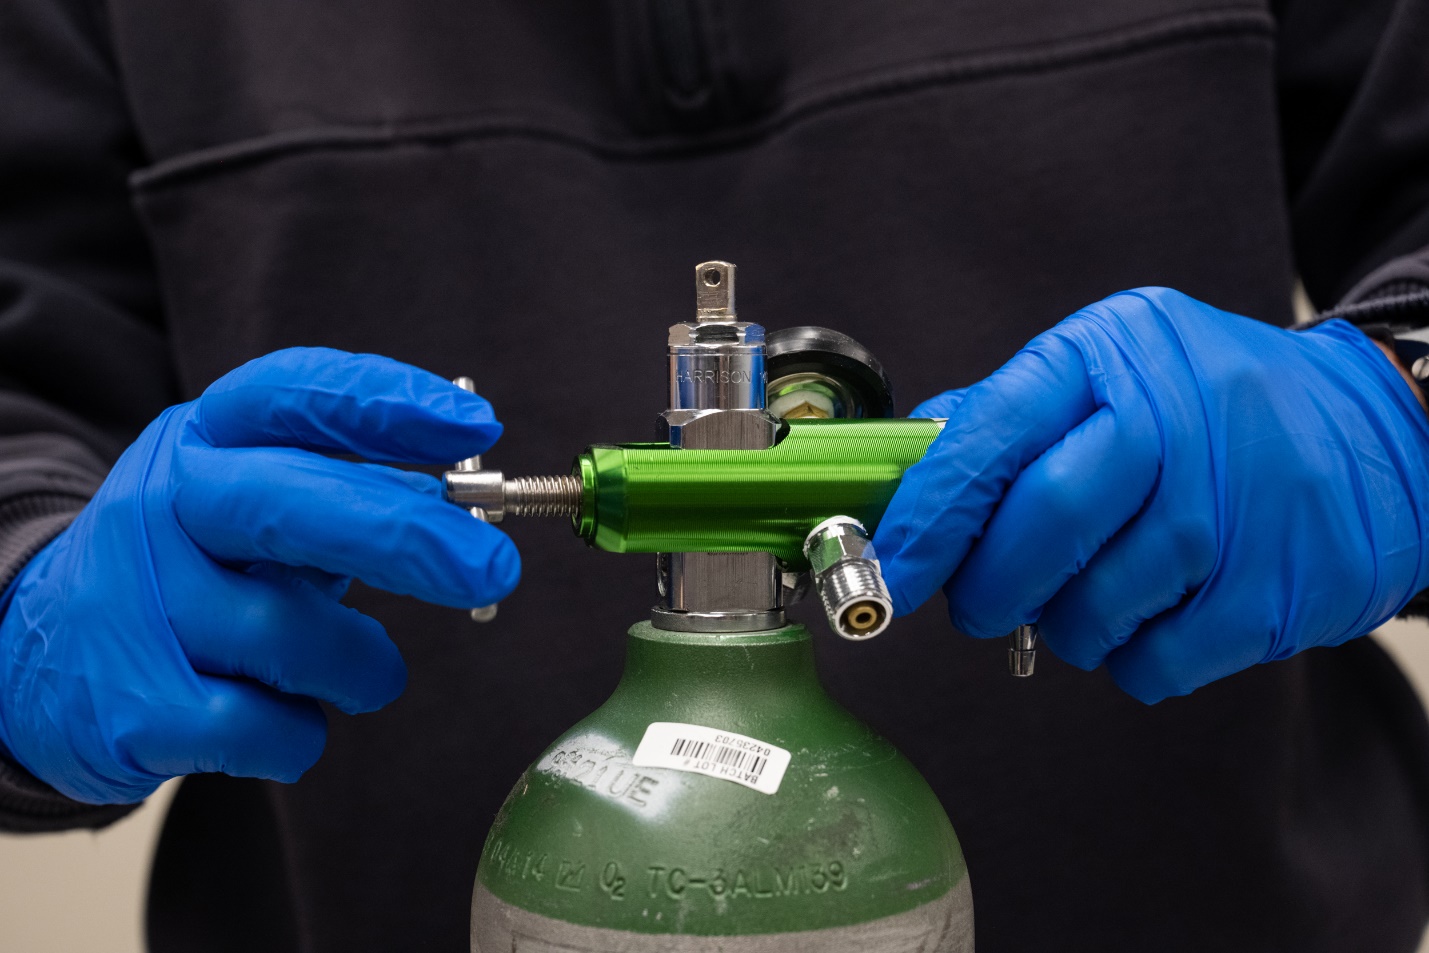
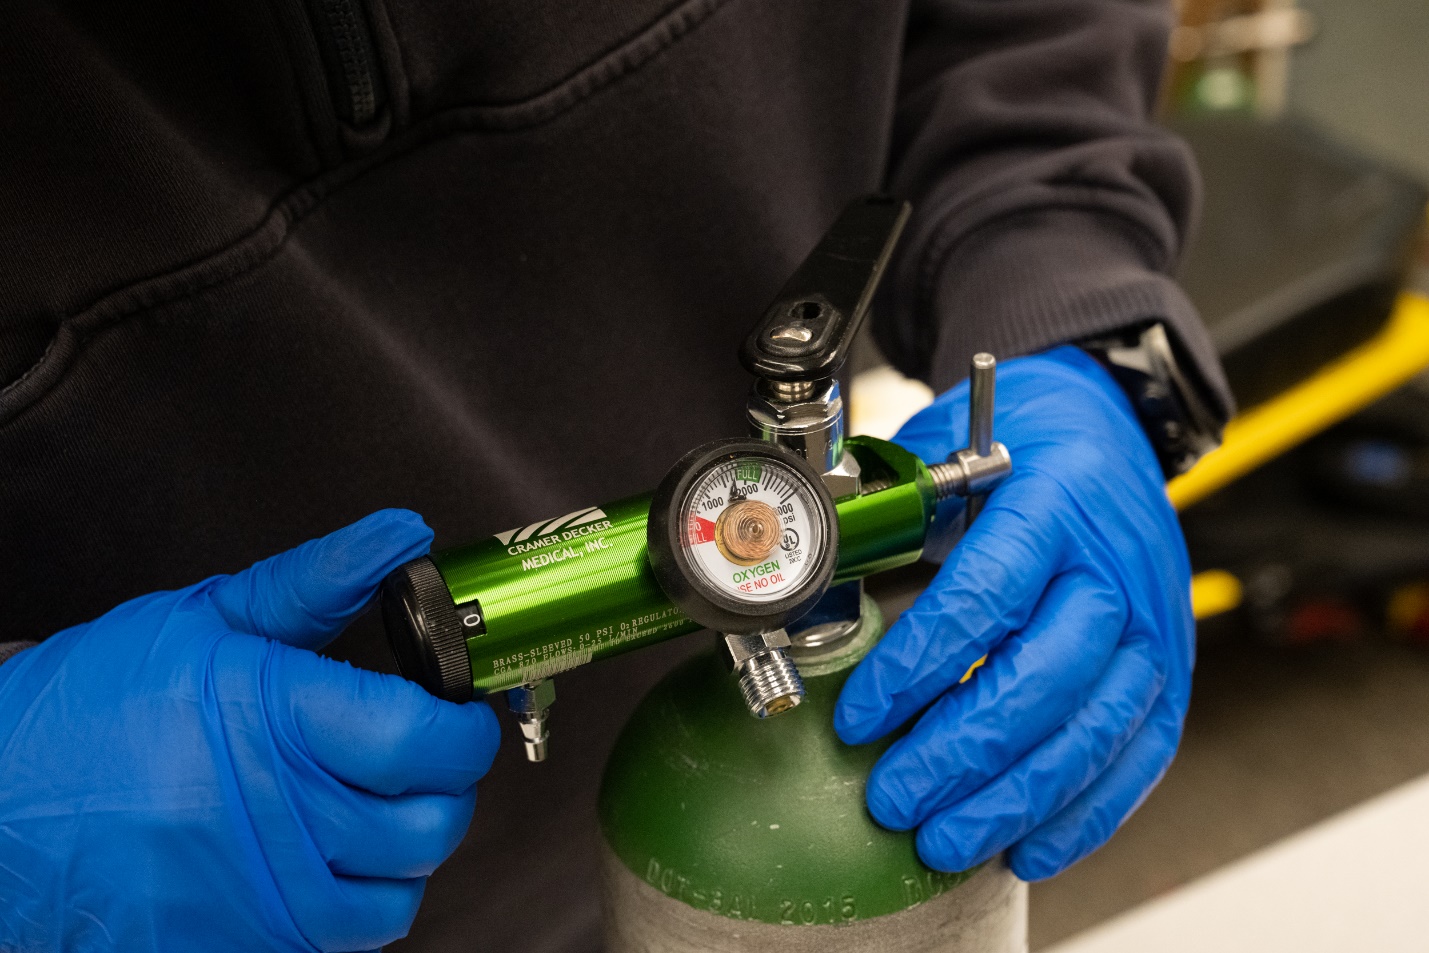
- Place the regulator assembly onto the full tank ensuring the pins line up with the holes on the tank. You may need to rotate the tank to align with the regulator.
- Ensure the presence of an “O-ring”, if one is not on the regulator or tank you will need to replace it from the stockroom.
- Tighten the set screw to fasten the regulator to the tank ensuring the pins stay aligned and the set screw sits in the divot. Do not excessively tighten.
- Open the tank using the valve on the top, turning counterclockwise all the way and ½ turn back clockwise.
- Turning it all the way on and then turning it back a ½ turn to ensure proper flow and prevent damage to the tank when being changed.
- If you hear a hissing:
- Check the regulator is turned to “OFF” – an open regulator will allow oxygen to flow.
- If it is confirmed “OFF” Turn the tank valve back off and check the placement of the pins, set screw and O-ring on the regulator. Adjust as necessary.
- If you are still hearing a hissing sound, replace the O-ring and try again.
- Regulator is not working correctly. It is likely your alignment of the pins is incorrect, but you should seek help from someone experienced.
- If you hear a hissing:
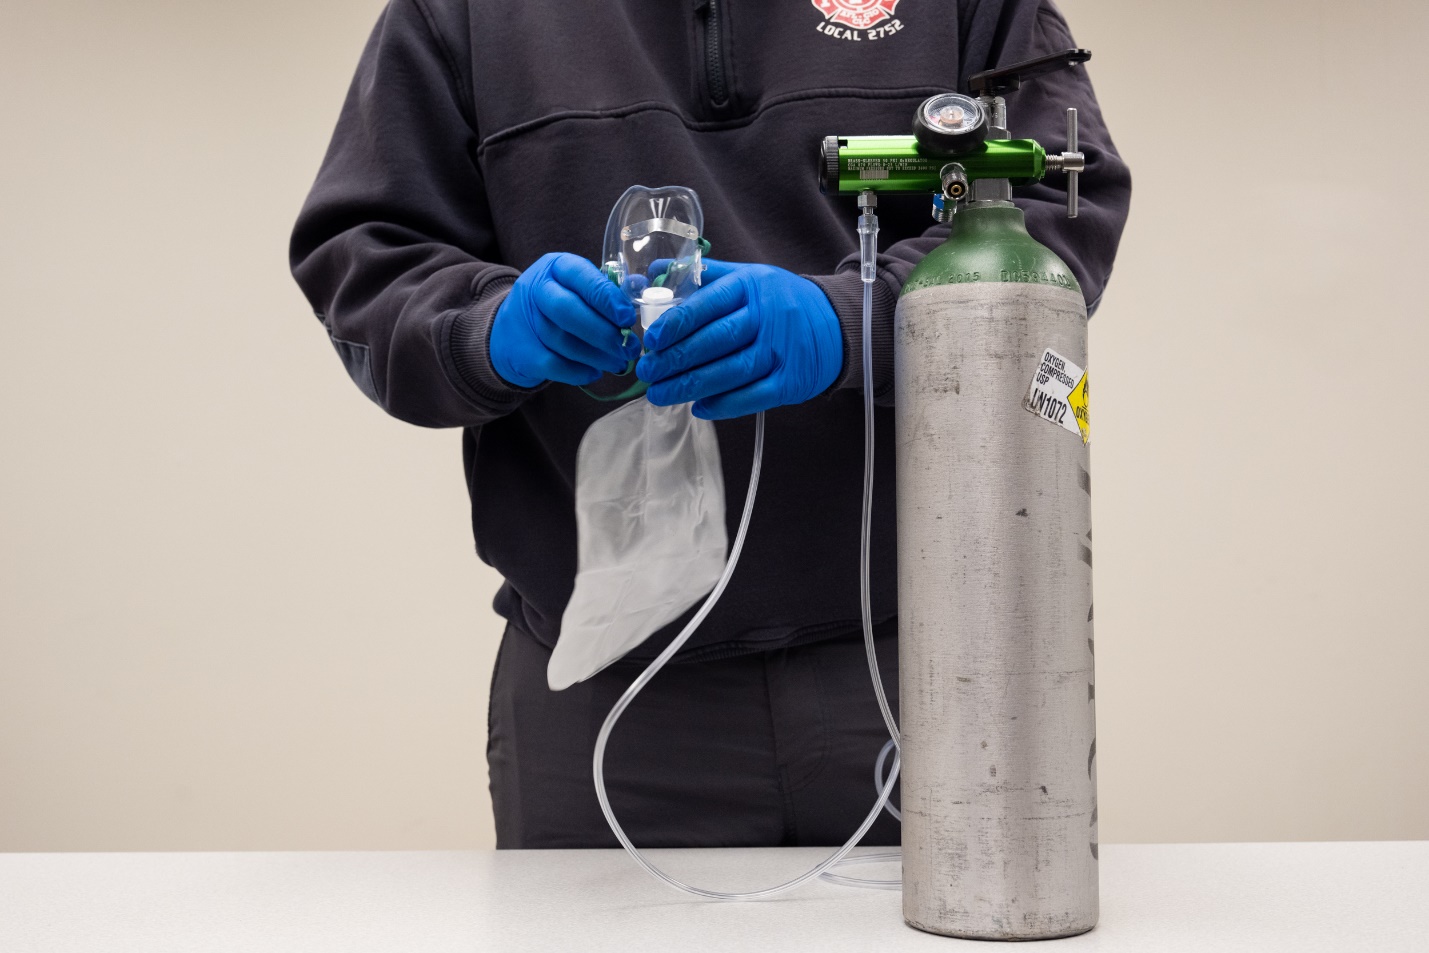
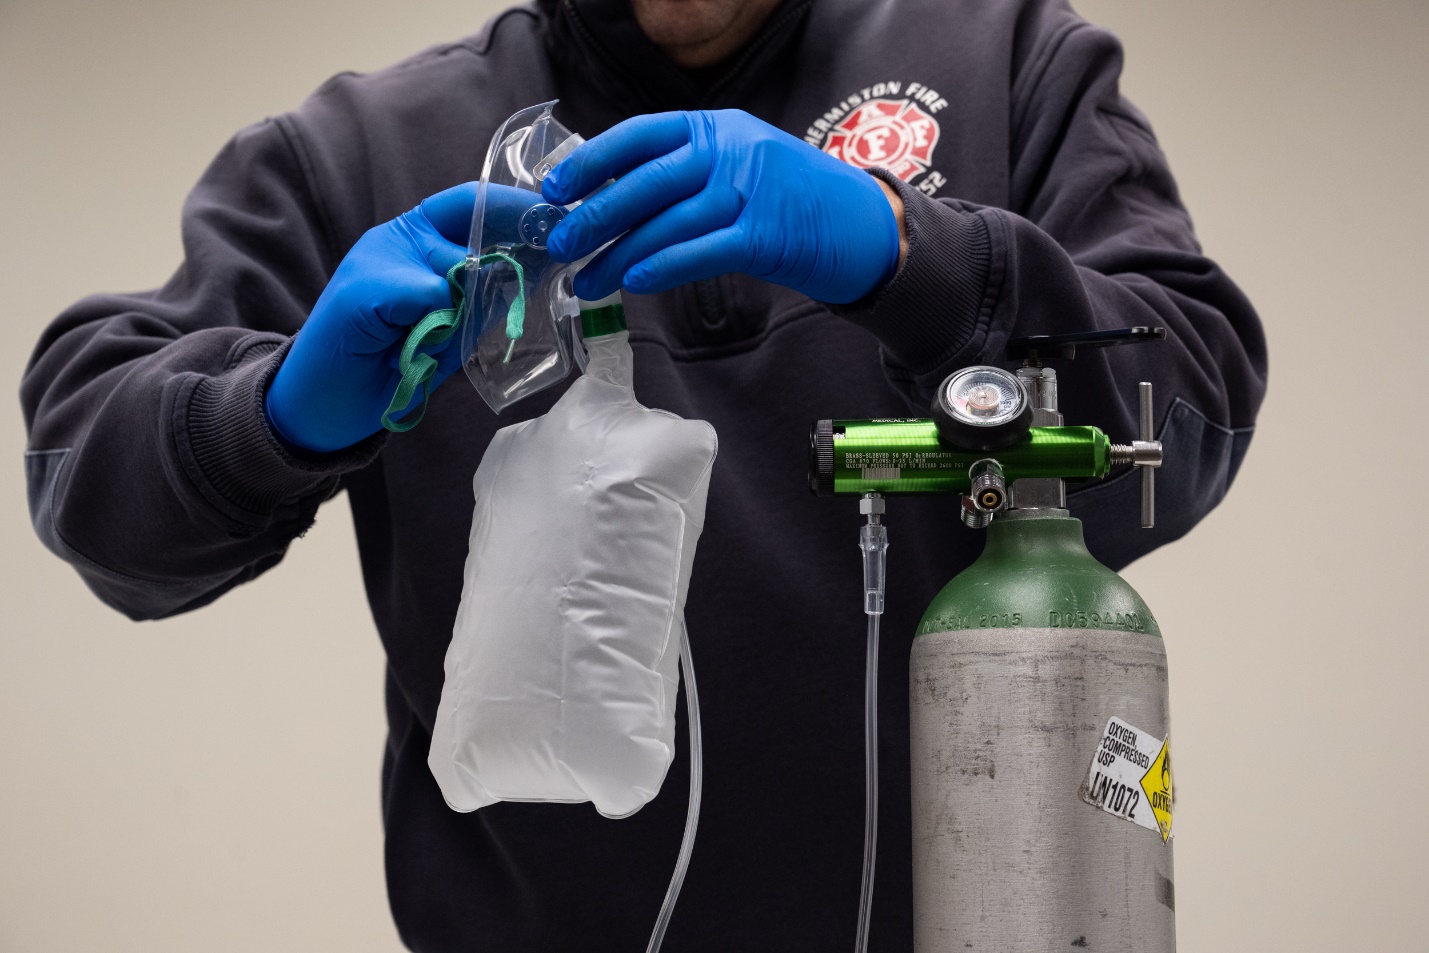
- Check regulator pressure. Pressure should read 2000 psi or similar. You should not hear leaks in a correctly attached regulator assembly.

|
Oxygen tank assembly |
1 |
2 |
3 |
4 |
5 (instructor) |
|
Initials |
|
|
|
|
|
The original copy of this book resides at openoregon.pressbooks.pub/emslabmanual. If you are reading this work at an alternate web address, it may contain content that has not been vetted by the original authors and physician reviewers.
