
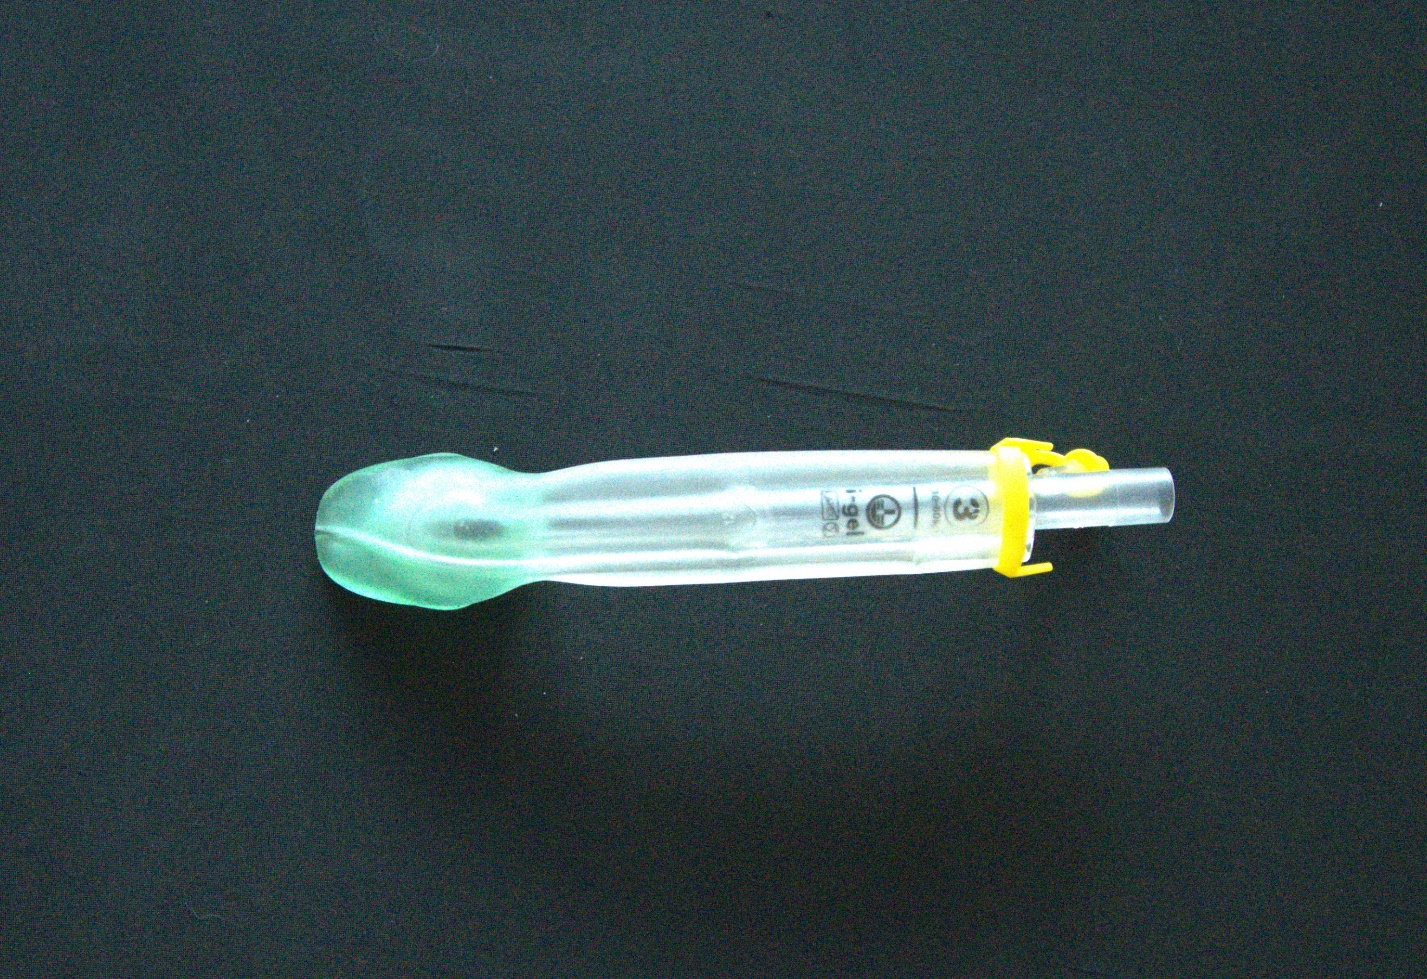
iGel Insertion
For use in respiratory failure without the presence of a gag reflex. Always used in conjunction with a Bag Valve Mask (BVM).
- Confirming the gag reflex is not present with the use of an OPA or by simply attempting the i-Gel.
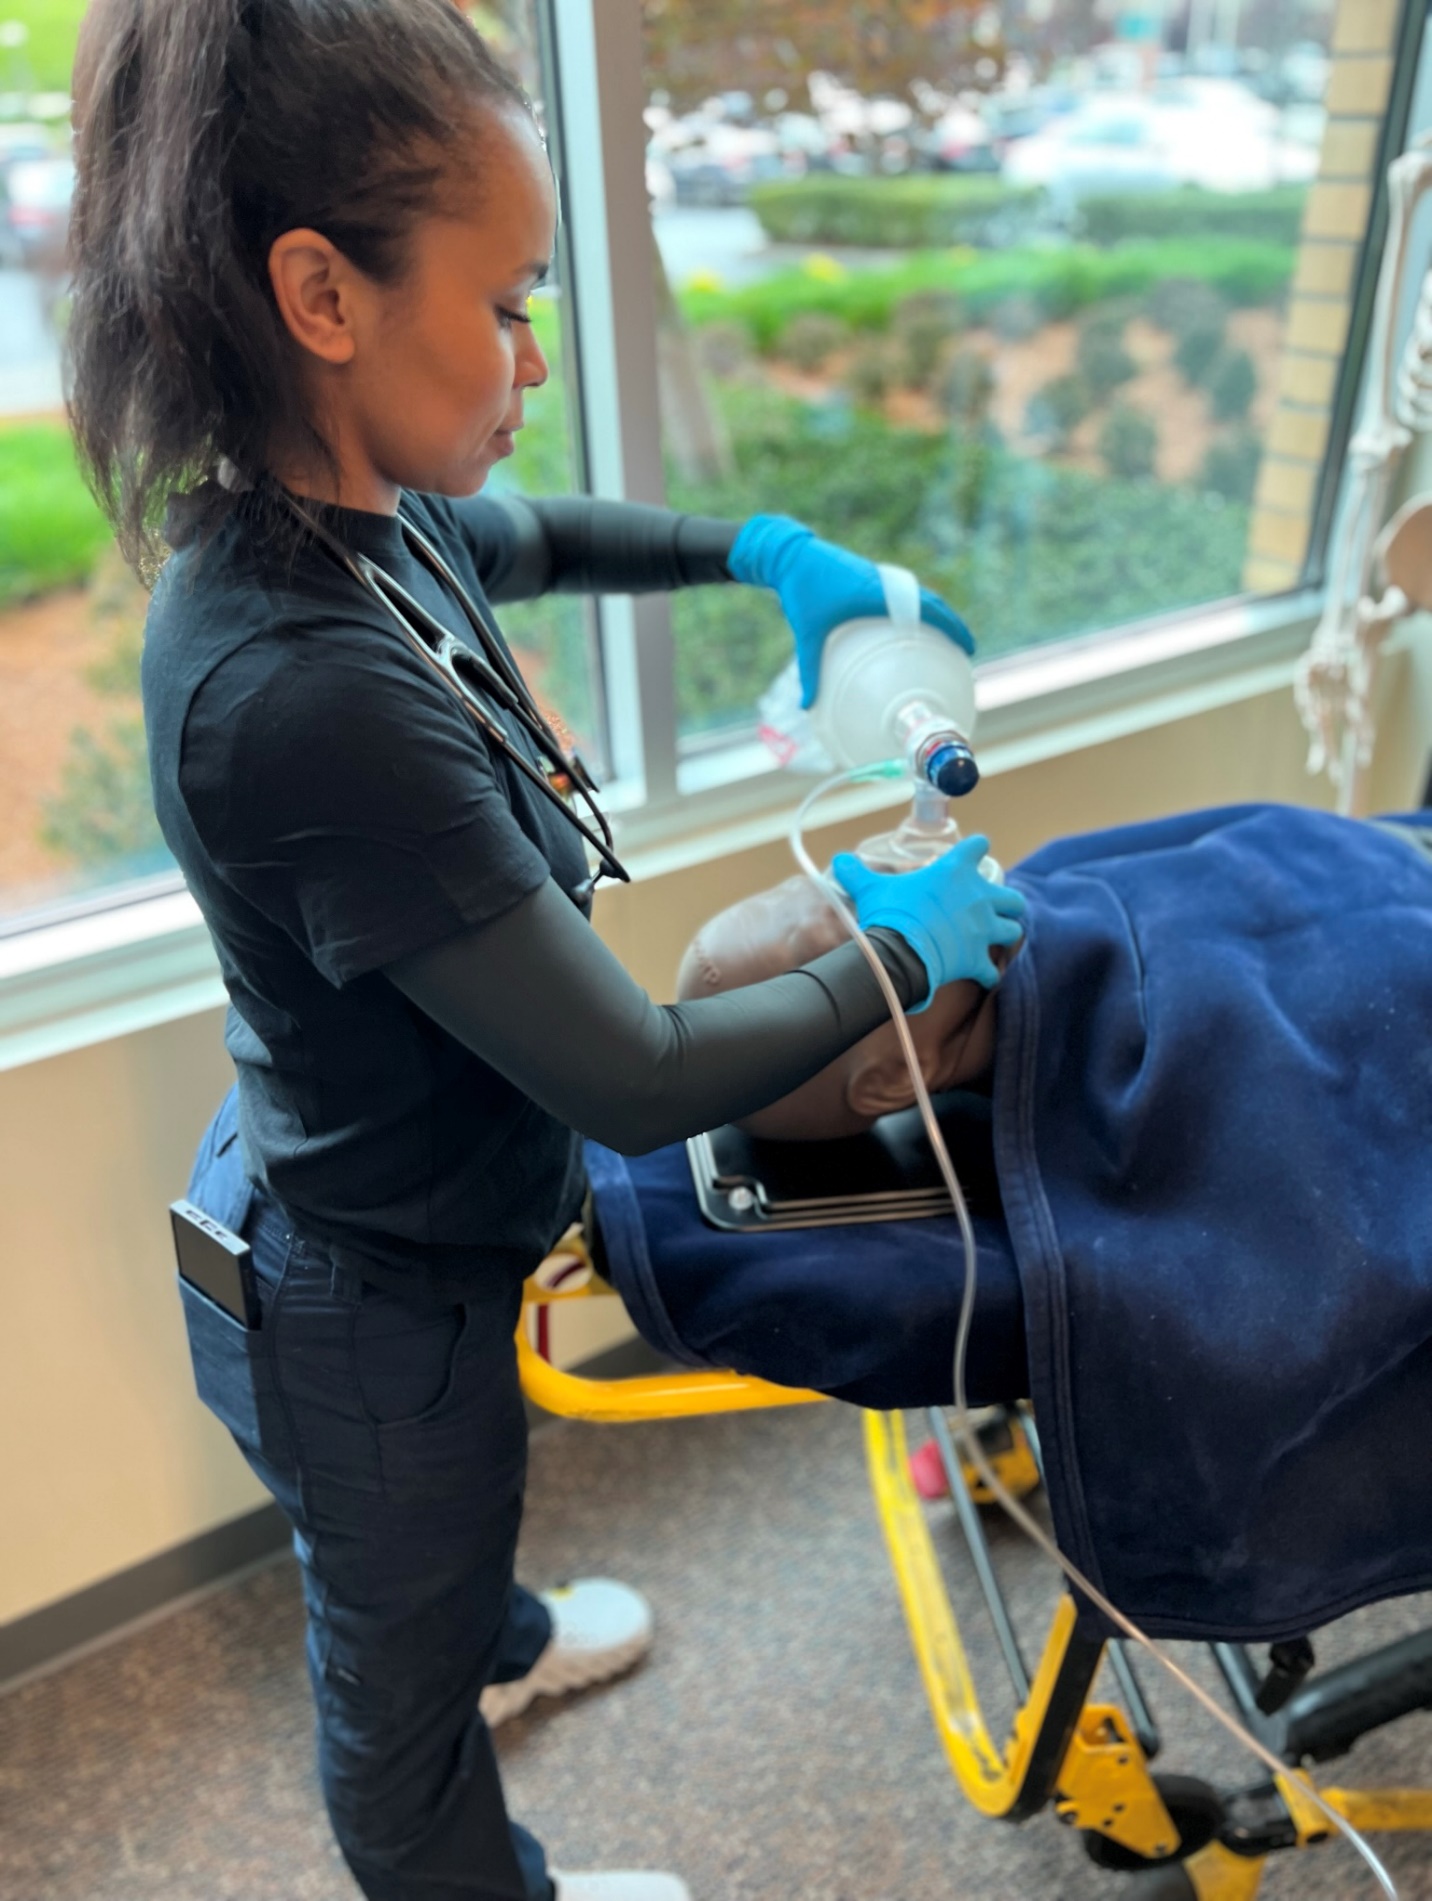
- Pre-oxygenate using BVM and adjuncts while device is being prepared– this process increases the amount of oxygen circulating in the blood and gives us a reservoir of oxyhemoglobin and “buys” us time while we are inserting the airway device and not breathing for the patient.
- When choosing the proper size i-Gel, assess the patient for their “ideal” body weight. Ex: 6’ male ideal body weight is ~160 lb. = 70 kg. See i-Gel for Kg weight.
- Lubricate the distal tip with water-based lubricant.
- Do not apply lubricant to the sealing surface of the i-Gel.
- Remove the OPA if present.
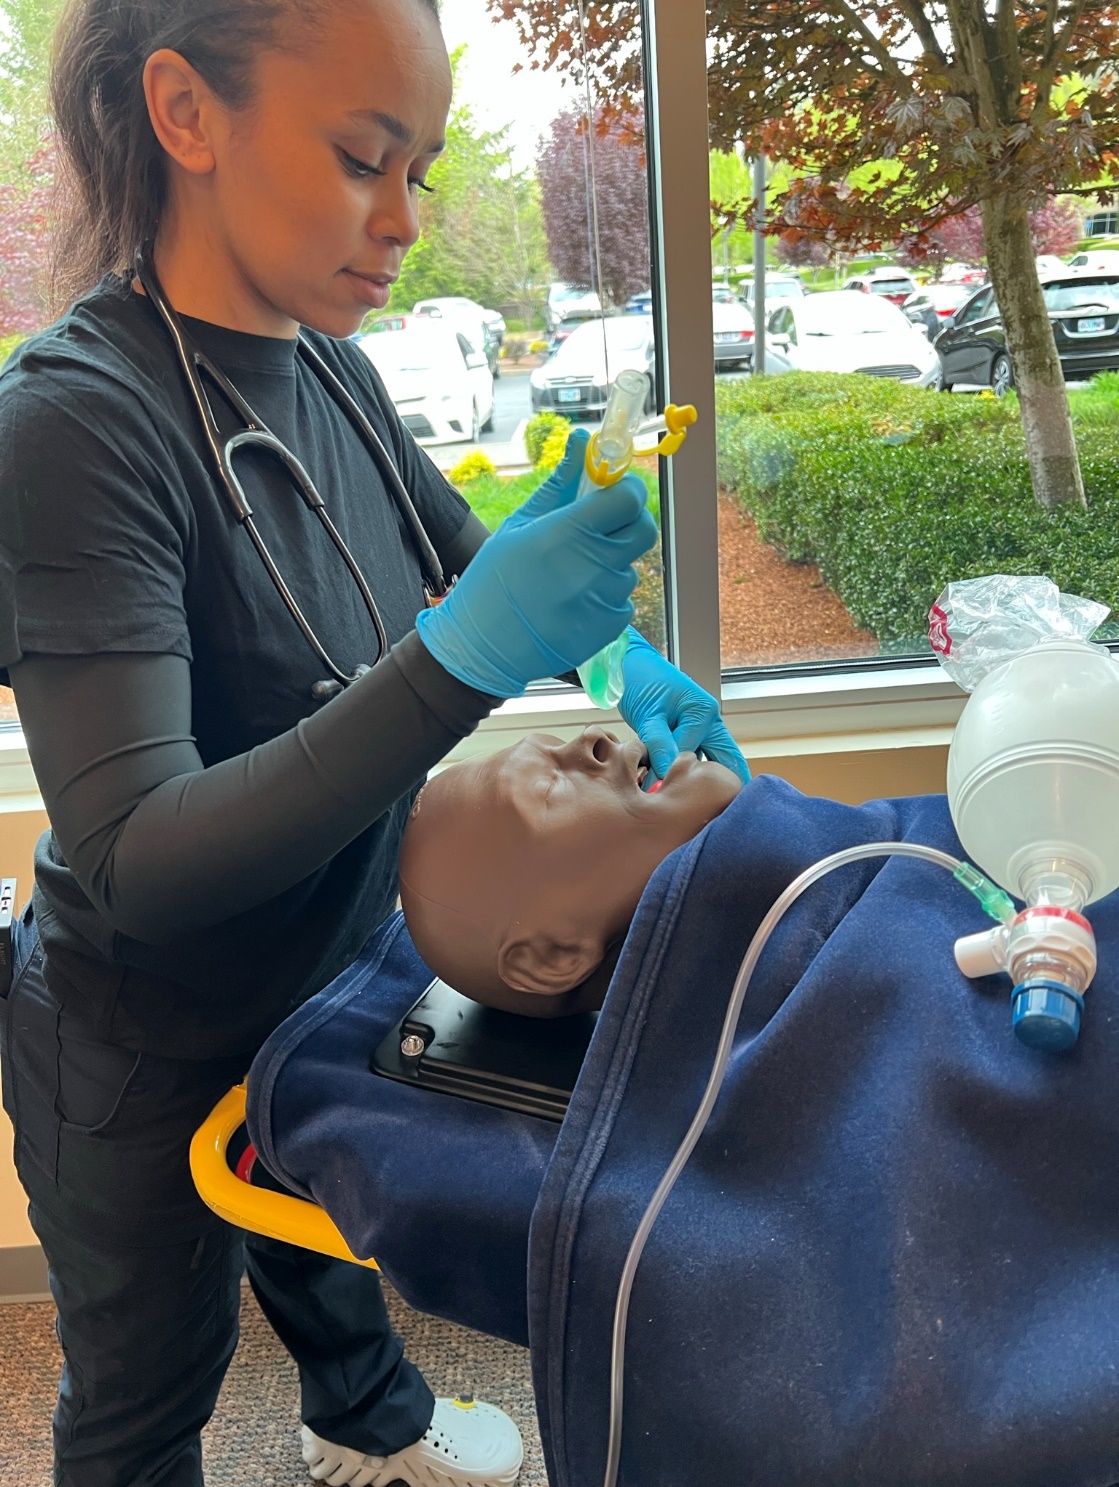
- Grasp the patient’s tongue and lower jaw with your hand and open mouth by pulling forward.
- Insert i-Gel with the opening facing up.
- The distal tip of the i-Gel will “seat itself.” You will see a bulging of the soft tissues in the neck like a “bullfrog” when the i-Gel is inserted to its proper depth.
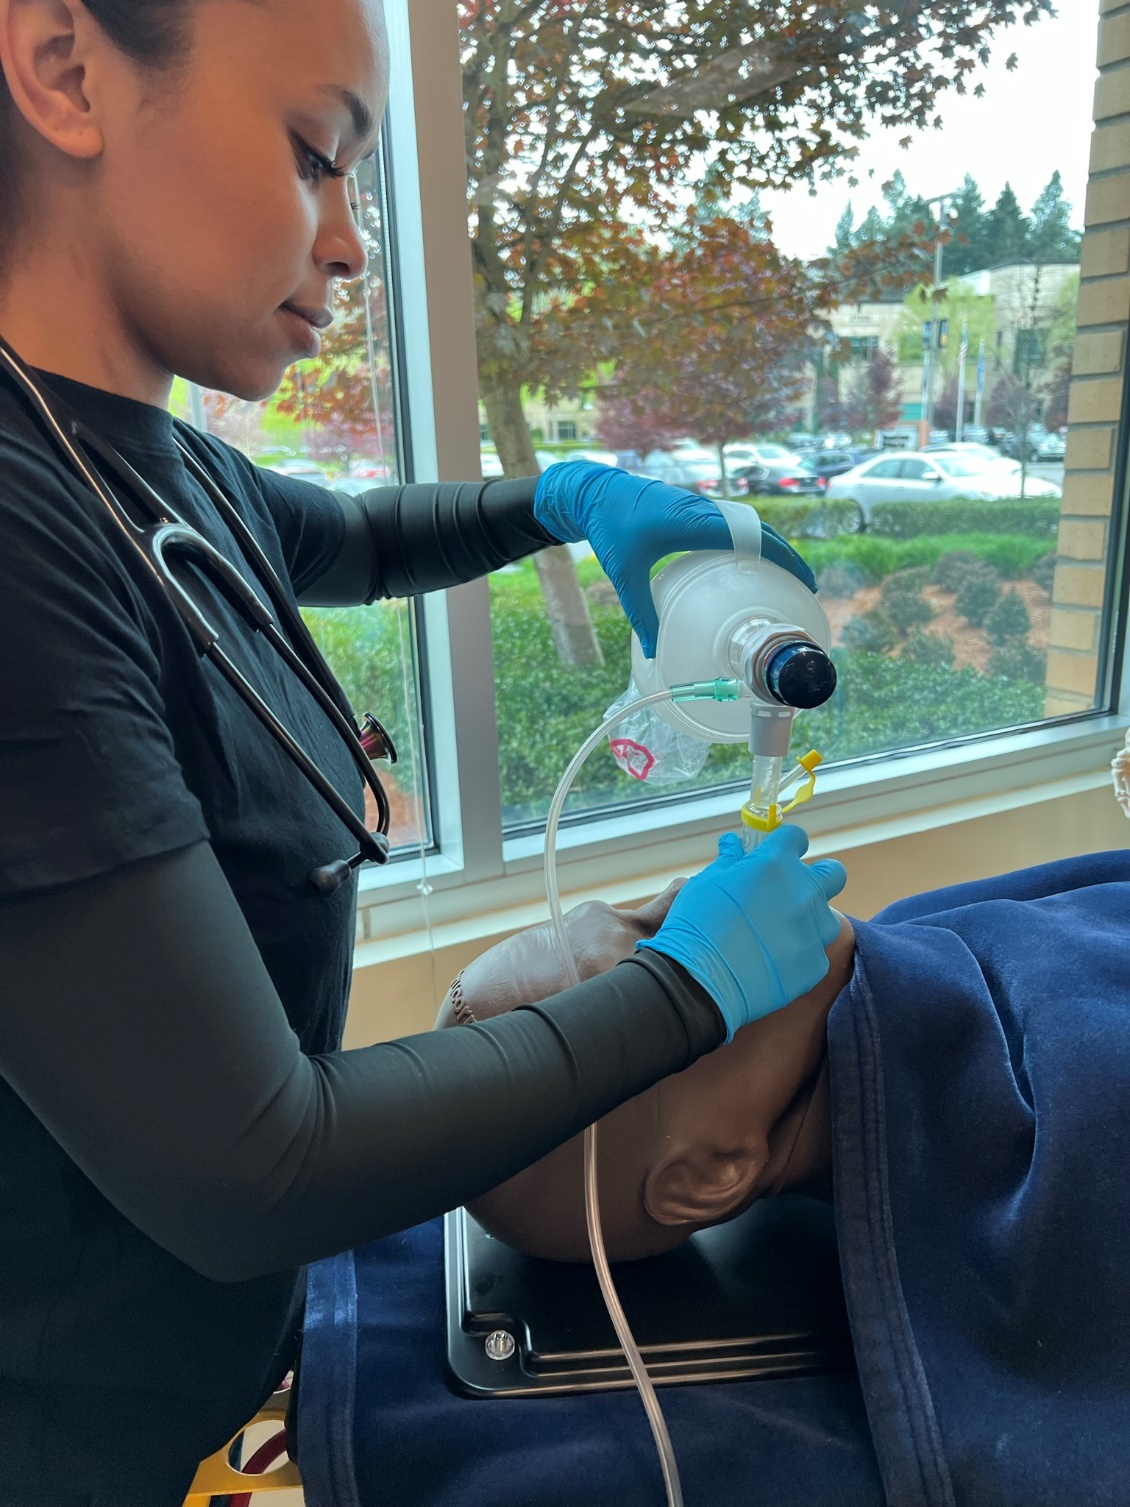
- Look to see that the teeth are at the bite block of the device and do not let go of the device until it is properly secured to the face.
- Be aware that it may take a few minutes for the i-Gel to get warm enough in the airway for a complete seal. Best practice is to have one person holding i-Gel until it is well seated/remaining in place while another responder is giving breaths (step 8) and confirming correct placement (step 9).
- Attach BVM and deliver breaths.
- Assess proper placement by using a stethoscope and auscultating for the presence of lung sounds as well as the absence of epigastric sounds.
- Capnography is always recommended with any supraglottic airway device.
- Additional confirmation needed – increase in SpO2, improvement in skin color, presence of good chest rise.
- Ongoing assessment is needed with every ventilation. Whichever team member is assigned to the BVM needs to continually assess for effectiveness of ventilations.
- If gag reflex returns and/or vomiting begins, immediately turn the patient onto their side, remove the device and suction as needed.
- Return to BVM with a mask when airway is clear.
|
i-Gel |
1 Student |
2 Student |
3 Student |
4 Student |
5 Instructor |
|
Initials |
|
|
|
|
|
The original copy of this book resides at openoregon.pressbooks.pub/emslabmanual. If you are reading this work at an alternate web address, it may contain content that has not been vetted by the original authors and physician reviewers.
