Chapter 10: Repetition and Cloning
10.2 Exercise 2: Add Amelia Earhart to the image of the crew
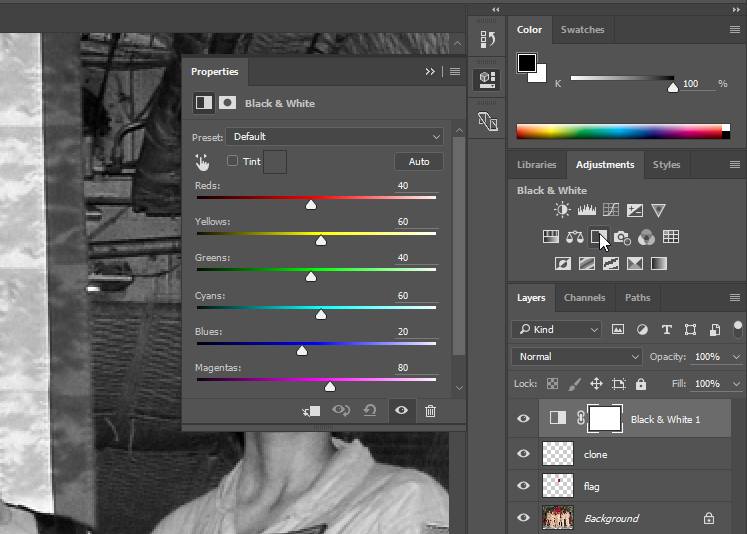
- Since the image of Amelia Earhart was originally a black and white photograph, we should change the image of the Air Force crew into grayscale. In keeping with our non-destructive approach, we’ll do this by adding a Black and White Adjustment Layer on top of the clone layer. Apply the adjustment by clicking the Black & White Adjustment icon in the Adjustments panel (if you don’t see the Adjustments panel, use the menu Window > Adjustments to show it). The default settings for the Black & White Adjustment Layer will be sufficient for our needs, so you don’t need to change any settings after adding the Adjustment Layer.

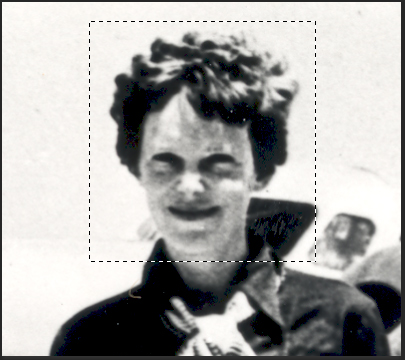
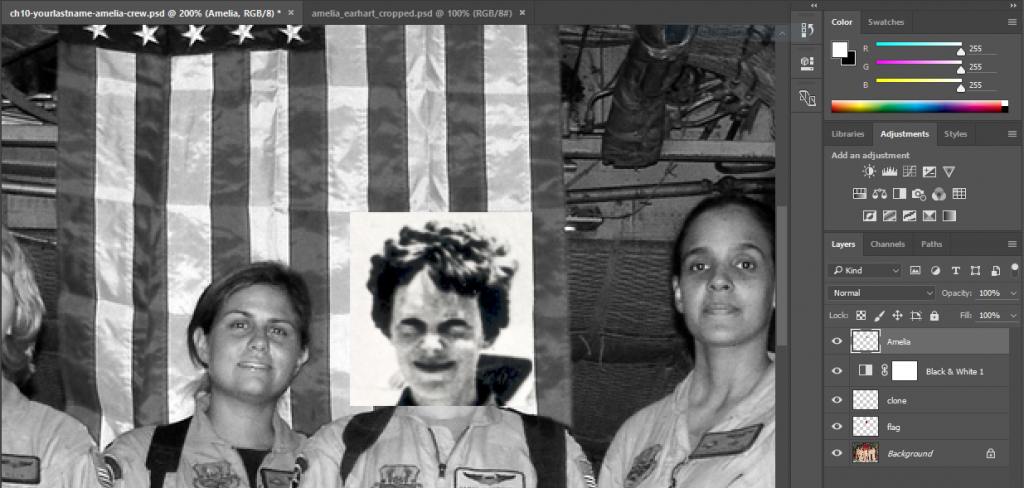
- Open the image of Amelia Earhart, select her head and neck with the Rectangular Marquee tool and choose Edit > Copy. Toggle back to the Photoshop® document and choose Edit > Paste. Use Edit > Free Transform (Command+T) and scale Amelia Earhart’s head down so it is in proportion with the body (Note: In previous Photoshop® versions it was necessary to hold Shift while scaling to keep the scale proportional. Now, holding Shift does the opposite and will distort the proportions).
- Finalize your transformation by pressing the Enter key or clicking the checkmark button in the Options Bar. Name the new layer “Amelia”.


