Chapter 11: Non-Destructive Editing
11.3 Exercise 3: Adding an adjustment layer and organizing layers with groups
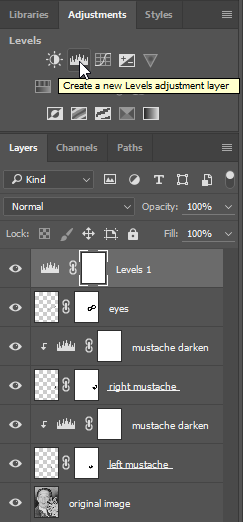
- Add a Levels Adjustment Layer on top of the eyes layer. We used the button in the Adjustments Panel to add our Levels Adjustment Layer.
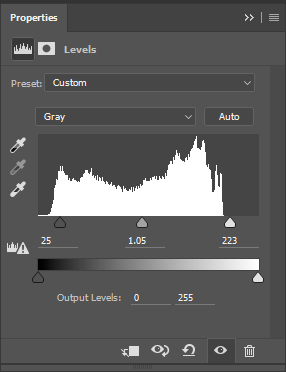
- Push the sliders beneath the shadow and highlight areas towards each other in the Adjustments panel to create more contrast in the image.
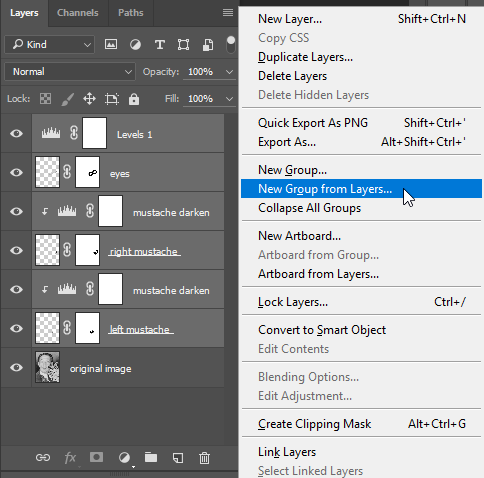
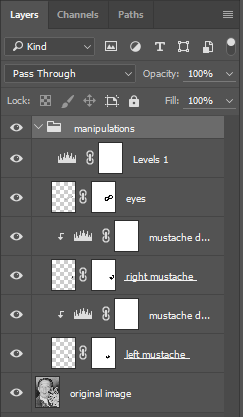
- Now we will organize all of our manipulations into one folder. Click once on the “left mustache” layer then Shft+click on the “Levels 1” layer to select all layers above original image. Use the Layers Panel pulldown menu to choose New Group from Layers… and name the group “manipulations” (the hotkey for grouping selected layers is Cmnd+g).Now the non-destructive layers are grouped into one folder. The folder can be collapsed or expanded using the small sideways triangle on the left side of the folder icon in the Layers Panel.