
Chapter 7: Scanning
7.2 Exercise 2: A brief tour of tools and palettes in Photoshop
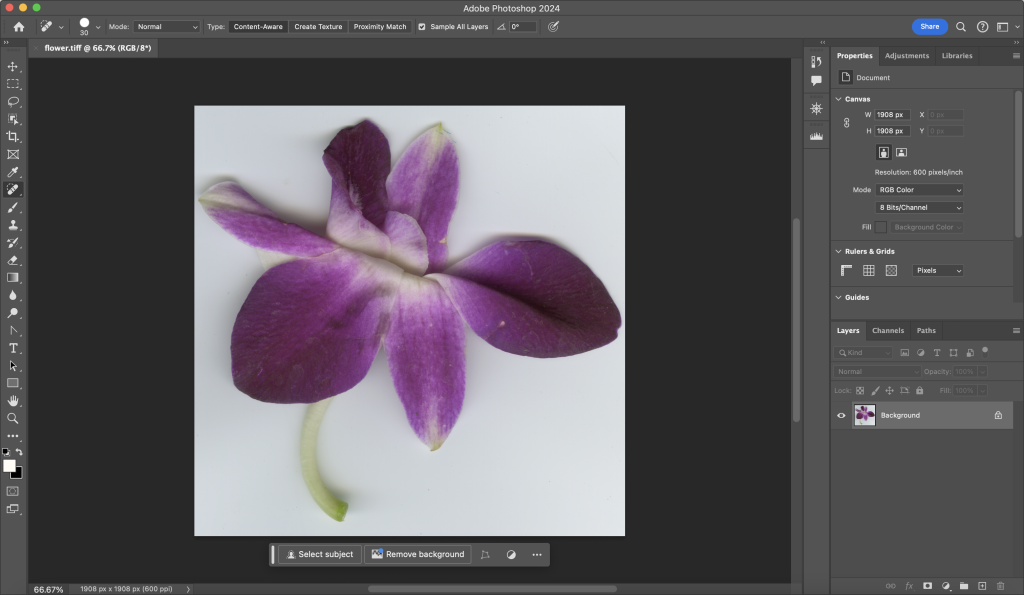
Note: the screenshots in this exercise depict the steps using our sample file, flower.tiff. You should use your own scanogram file that you created in Exercise 1.
- Open your scanogram file in Photoshop® by dragging it to the Photoshop® icon in the dock or using File > Open from within Photoshop®. Set the default workspace by clicking on Window > Workspace > Essentials (or use the Workspace drop-down menu at the upper right of the screen). Notice that the tools are located in the Tool Palette on the left side of the screen. The arrow at the top of the panel can be used to view the tools in a single or double column.
In the Creative Suite programs, panels are accessible from the Window menu.
- Click once on any tool and notice the Options Palette at the top of the screen. All tools have specific options that are used to determine how each tool functions.

- Palettes are also seen on the right side of the screen. All panels can be hidden or displayed by using the Window menu. Use the Window menu now and click on Navigator to display the Navigator Palette, which can be used to explore various areas of an image. The larger the resolution or dimensions of an image, the more likely it is that the whole image will not be viewable on the screen at 100 percent of its actual size. Using the Navigator is one method of moving around within a large image, but you will soon learn shortcut key alternatives to using this panel. This is worthwhile because the fewer panels that you need to keep open on your screen results in more screen space for viewing image details! Push the slider on the bottom of the Navigator Palette all the way to the right to zoom all the way into the image.
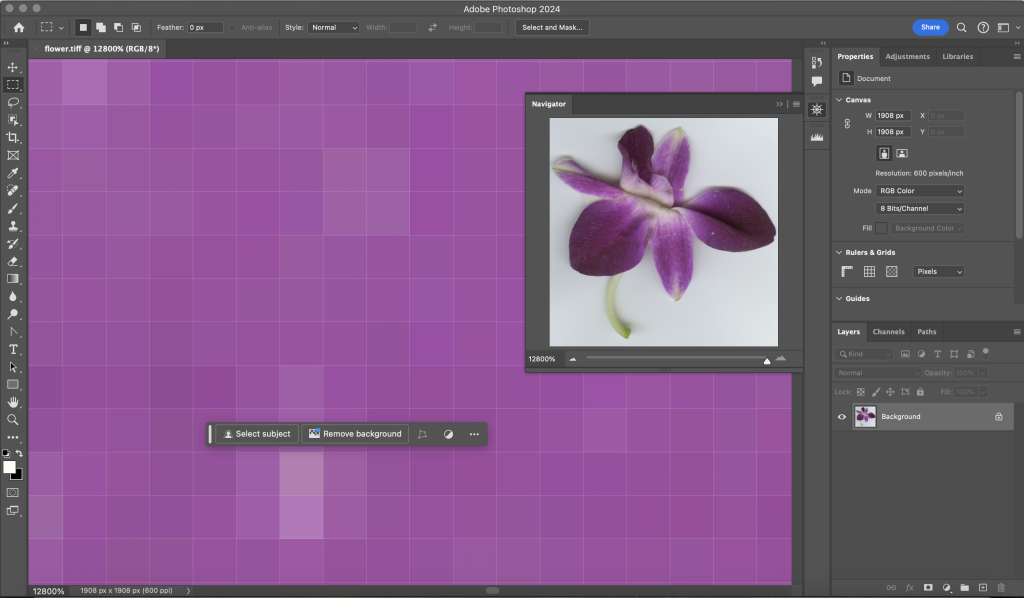
The small red square in the Navigator Palette indicates which part of the image is viewable on screen. Notice the slider is pushed all the way to the right, and in the bottom left corner we are zoomed in to 12800 percent. 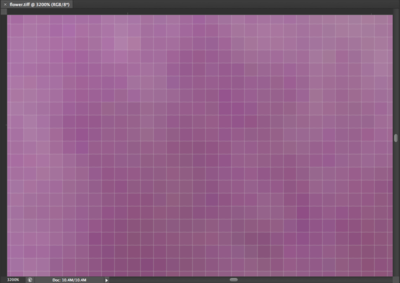 Enlarge the view of the image by zooming in and the individual pixels that comprise the image are in plain view. A pixel is the most basic picture element, or a single color unit of the bitmapped digital image file. That last sentence was full of jargon. Let’s revisit those words:
Pixel
The word pixel is a combination of two shortened words: picture and element. Each pixel is one unit of color information. Pixels only exist when a real-world object is scanned or captured digitally.
Bitmapped or Rasterized
A digital file is considered bitmap or raster (two words used interchangeably) if it is comprised of pixels. The alternative is a vector file, where the image is made of mathematical coordinates whose relationships define areas of mass and contour. Adobe® Illustrator® is a vector-based application. Photoshop®, which is primarily used to work on photographic images, is commonly thought of as a bitmap or raster application. If the real world is captured digitally, it is converted into pixels.
- Double-click the Zoom Tool in the Tool Palette to see the image at 100%. It is important to view digital images at 100% as this is the “true” representation of the file. This is as good as it gets on the screen.
Hot key: CMD+0 will change the viewing percentage so the image is as large as it can be on your screen. This hot key works in all of the Adobe® Creative Cloud® applications.

Notice that the Zoom Tool options includes a zoom out button (Zoom Tool with a minus sign). Click on this and then click anywhere within the image. Keep clicking and you will continue to zoom out of the image. Clicking on “100%” will also put the file at 100%. The button, “Fit Screen,” will make the image as large as it can be viewed on your screen. The button, “Fill Screen,” will zoom in to fill whatever size screen you are working on potentially hiding portions of the image from view. - Double-click the Hand Tool to see the image as large as it can be within your particular monitor settings. Now we’ll try some key commands. Zoom in more than 100% by using CMD+= and then use the Spacebar key (SPCE) to access the Hand Tool. Hold SPCE and use the mouse to click and drag on the image. This moves the image around within the workspace, much like using the scroll bars at the edges of the document. In Photoshop®, you will never need to use the scroll bars because you will always use the Hand Tool.
Hot key: Holding the spacebar on the keypad changes most tools to the Hand Tool. This is useful for quick, temporary access to the Hand Tool.
