
Chapter 4: Type on a Grid
4.2 Exercise 2: Lines
A line is the result of connecting any two points on a plane. Lines can be thin or thick, bumpy or smooth, dotted or solid, or straight or curvy. In this exercise we will make a straight, thick, black line. In later chapter exercises, you will create lines by alluding to them with repetitious single forms or by the gaze of the photographically reproduced subjects within the composition.
Lines can be used to provide direction, to separate parts of the page, or to support elements on which images or typography rests. Many of the typographic visual references from The Bauhaus (1919-33) include heavy lines that are used to separate areas of the page and provide direction for the viewer’s gaze.
Notice that while the line we will create does separate the headline from the body copy on the page, it does not cut the page into two distinct parts by running from edge to edge of the document. By leaving negative space at the left edge of the composition, this line creates negative space that pushes the viewer’s gaze towards the body copy within the composition.
- Press the letter “D” on the keyboard to load the default colors into the fill and stroke icons at the bottom of the Tool panel. The default colors that load into fill and stroke in Illustrator® are black and white (these are also the default colors that load into the color chips within the Tool panels of any of the Adobe® Creative Suite® programs). The letter “D” on the keyboard always loads black and white into the color chips in the Tool panel.
- Click on the Line Segment Tool. Clicking and dragging with this tool creates a new line. Clicking then holding the shift key (SHIFT) while dragging creates a new line at a 0, 45, or 90 degree angle. Use the Line Segment tool to create a new straight line across the horizontal guide you created in the previous exercise. As you draw the line, you should notice that the endpoints “snap” to the guide, making it easy to align the line segment with the guide.
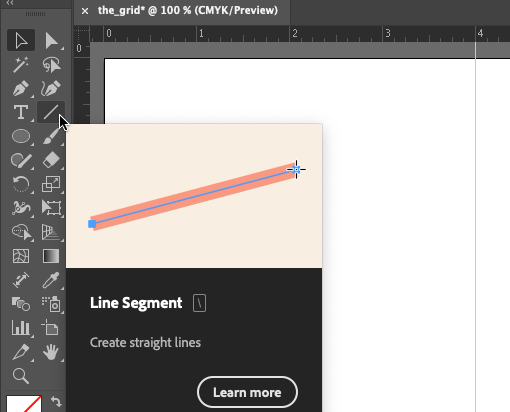
Activate the Line Segment tool by clicking it in the Tools panel or pressing the \ key on your keyboard. - When you release the mouse button the line you created will be selected. If you click someplace off of the line and accidentally deselect it, reselect it using the Selection Tool. With the line selected, look in the Control Panel at the top of the document window (if you don’t see the Control Panel, use the menu bar and choose Window > Control).Notice that the line has values associated with it, including a fill color (automatically set to nothing, as signified by the red stripe across a white square), a stroke color (black) and a numeric value, indicating the weight of the stroke. Change the numeric value of the stroke weight on the line to 30 points by typing 30 into the value box.

The Control bar changes according to the active tool. Similar tool-specific controls can also be found in the Properties panel on the right side of Illustrator’s Essentials Classic workspace. - Adjust the line so that it begins at about an inch into the page from the left edge by using the Selection Tool. The line may extend beyond the page edge on the right side. Anything that is outside of the page, represented by the black frame of the Artboard, will not be printed.
- Deselect the line by clicking anywhere on the Artboard outside of the anchor points surrounding the line with the Selection Tool. Your work so far should look something like this:
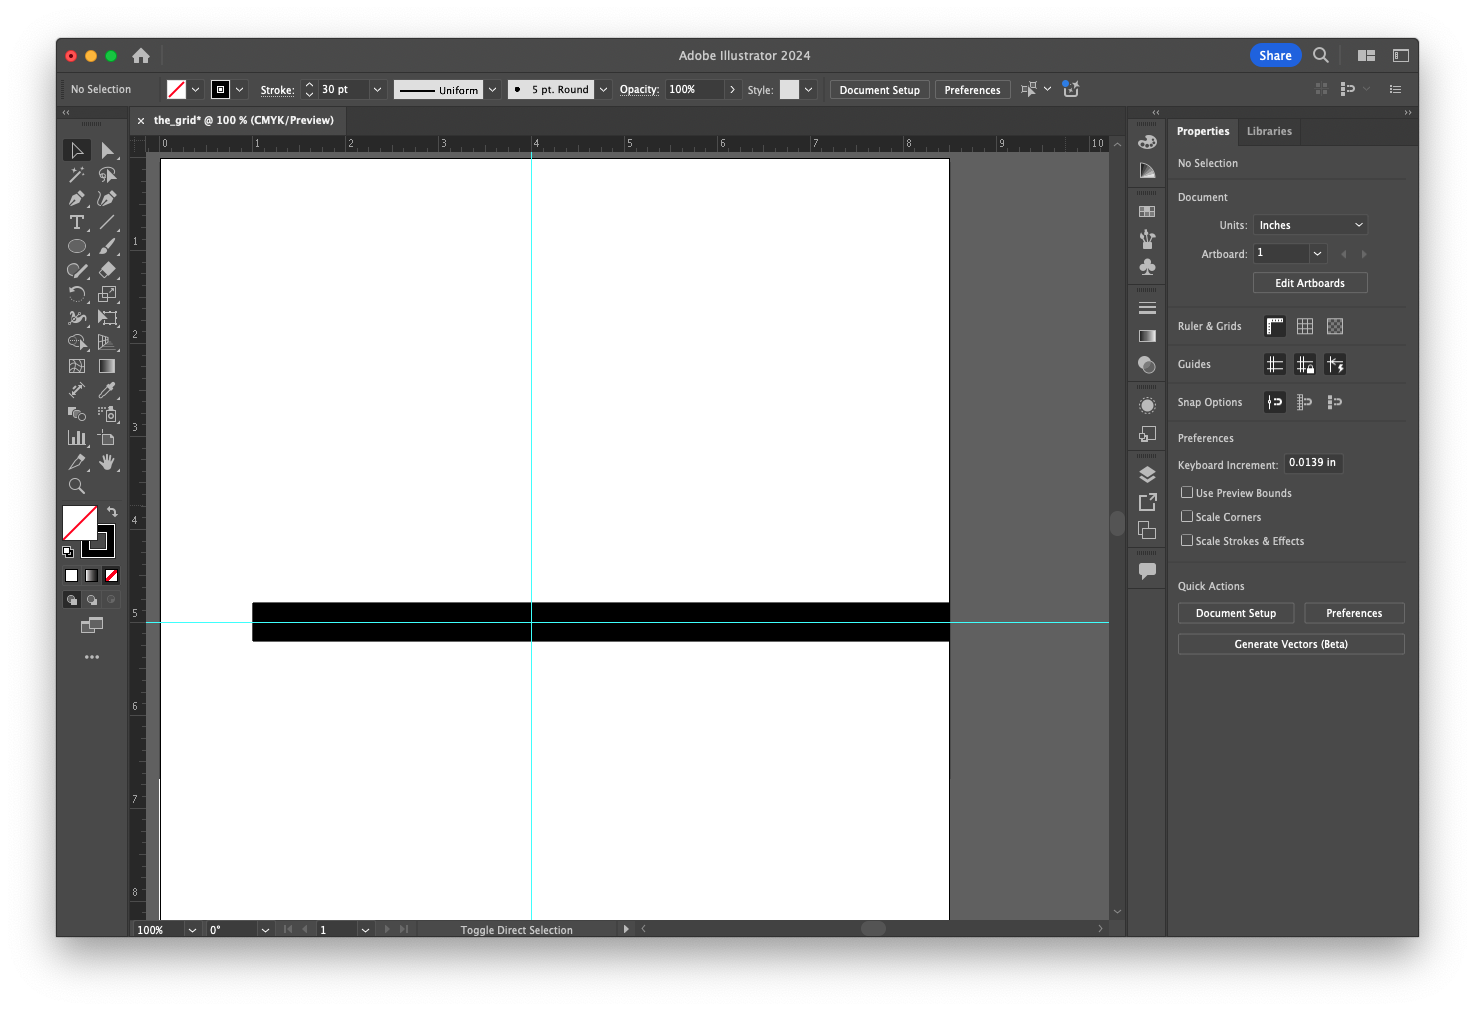
You should now have a 30pt black line drawn along your horizontal guide.
Remember to save your work, then proceed to the next exercise.
