Chapter 10: Repetition and Cloning
10.3 Exercise 3: Add a layer mask
Layer Masks are a special component of Photoshop® layers that can hide portions of a layer’s pixels. Layer Masks do not delete or alter image data, they simply hide or show parts of images based on the use of black (hidden), white (revealed), and shades of gray (transparent, partially hidden) in the mask portion of the layer. Layer Masks are a very useful tool in non-destructive editing and are much more forgiving than using the eraser tool. We will use a Layer Mask on the Amelia layer to blend her into the new background.
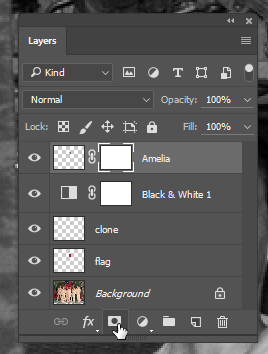
- Create a layer mask on the Amelia layer with the Add layer mask button at the bottom of the Layers panel. This mask will hide the background around Amelia’s head. Notice that the layer now has a thumbnail icon for the layer’s image and an icon for its mask. Photoshop® indicates which part of the layer you are working on by framing the corners of its icon in the Layers panel with white brackets. The title bar in the document also reflects the area that is currently active. You can see from these indicators that the Layer Mask in the Amelia layer is active.
- Activate the Brush tool (B on the keyboard) and make sure that the default colors are loaded into the foreground/background color chips (black as foreground, white as the background color) by clicking on the small black/white color chip icon to the top left area of the actual color chips in the Tools panel. Then click the angled double arrow icon next to the default colors button. This will swap the foreground and background colors, setting black as the foreground.

 Key Command: Press the letter D on the keyboard to set the foreground and background color chips to the default setting of black and white, respectively. Press the X key to swap the foreground and background colors. Swapping foreground and background will be very useful when you’re working on the Layer Mask.
 - Notice that the icon for the mask is white in the Layers panel. Since the entire mask is white, none of the layer’s image pixels are currently hidden. With the Layer Mask active, painting in the canvas with black paint will add black to the mask and will hide those areas of the layer’s image pixels. If you make a mistake, switch to white paint to retrieve hidden parts of the image. Practice painting with black and white paint. Paint with different size brushes and notice what happens with a soft or hard brush, or with different brush opacity settings.
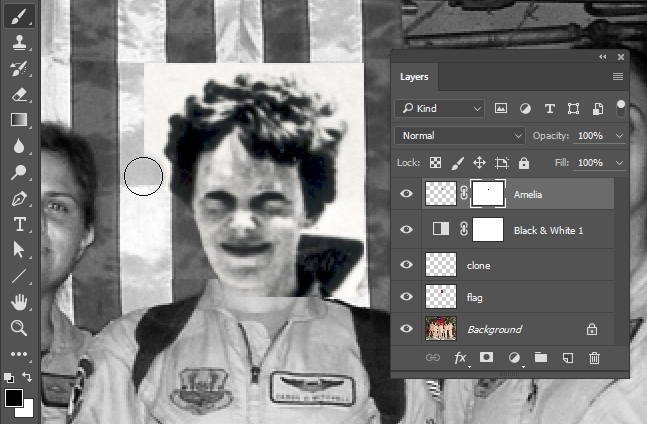
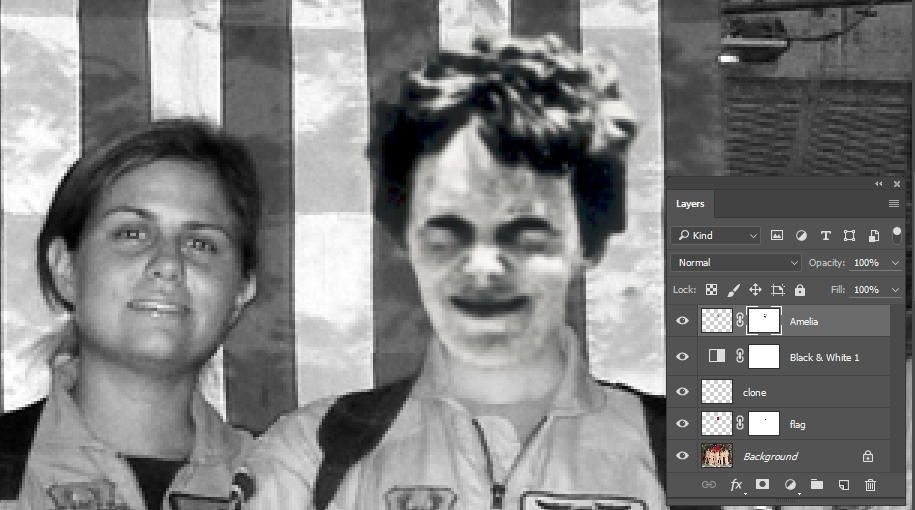
Painting into the Layer Mask with black hides image pixels in the Amelia layer. We used a soft brush for the background area and kept it far away from Amelia’s head. As we brushed closer to her hair, we reduced the opacity of the brush in the Options bar to about 40%. At a reduced opacity, clicking a few times near her head with black paint removes the background while keeping her hair from being cut to an unnatural shape. We also used a soft brush on her neck so that it blended smoothly with the neck in the crew photo.
Watch Out: Do not delete image data. Do not use the eraser. Using the eraser is destructive editing. Now that you are learning to use Layer Masks, you can practice making non-destructive edits. This technique is so important that it is the dominant topic in Chapter 11.
One more detail: we added a Layer Mask to the flag layer in order to hide part of the flag that was covering the collar in the original image. Our finished result is shown here: