
Chapter 5: Color Theory & Basic Shapes
5.3 Exercise 3: Interaction of values
- Create a new document in landscape orientation. Your settings are the same as the last exercise file. Name your file ‘interaction_of_value’.
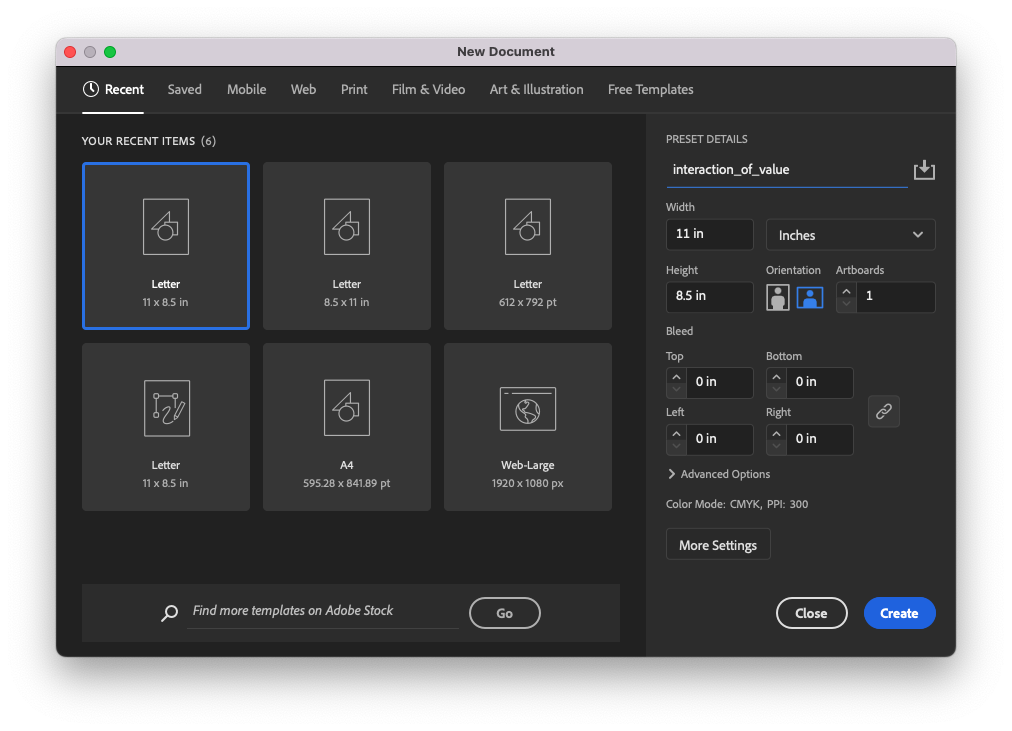
Create a new Illustrator document. - Use the Rectangle Tool to create a 20% gray rectangle that covers the whole Artboard, by using the CMYK color sliders to set the K value to 20% and all other sliders to 0%. First, choose your rectangle tool and start by clicking in the upper left corner of your artboard and dragging to the lower right corner. While the rectangle is still selected, turn off your stroke color. Next, display the color sliders by clicking on the drop-down menu in the top right corner of the Color Panel (located to the right of your Illustrator® workspace). Select “Show Options” by clicking on the tiny icon to the left of the “Color” label on the panel tab that toggles the options for the panel.
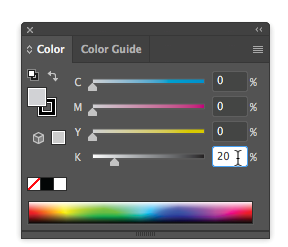
Creating a 20% gray by using the CMYK color sliders. The color sliders are accessed through the Color Panel. - Open the Layer Panel (Windows > Layers or locate the Layers icon in the panels to the right of your artboard). The gray shape should be located on Layer 1. Lock Layer 1 so that the gray shape does not move while completing the following steps.
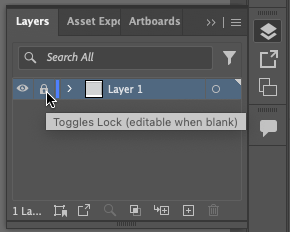
Locking layers by toggling (turning on/off) the lock icon Create a new layer using the button at the bottom of the Layer Panel.
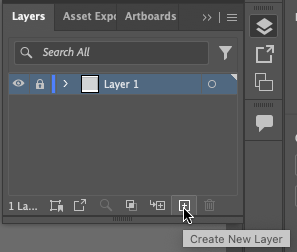
Create a new layer from the Layers Panel - With Layer 1 locked and Layer 2 selected (highlighted in the Layer Panel), the following steps will be accomplished on Layer 2.
- Create Two 3″ x 3″ squares on top of the gray background. Fill one with white, eliminate any stroke color, and fill the other with black. Place the squares side by side, so that the left edge of one touches the right edge of the other in the middle of the gray area.

Create two squares, one white and one black. - Create one .75″ x .75″ square in the center of the white square. Fill the square with 50% black (middle gray).
- Option-drag a copy of this square to the middle of the black square with the Selection Tool. Use the Align tools if necessary (Window > Align).
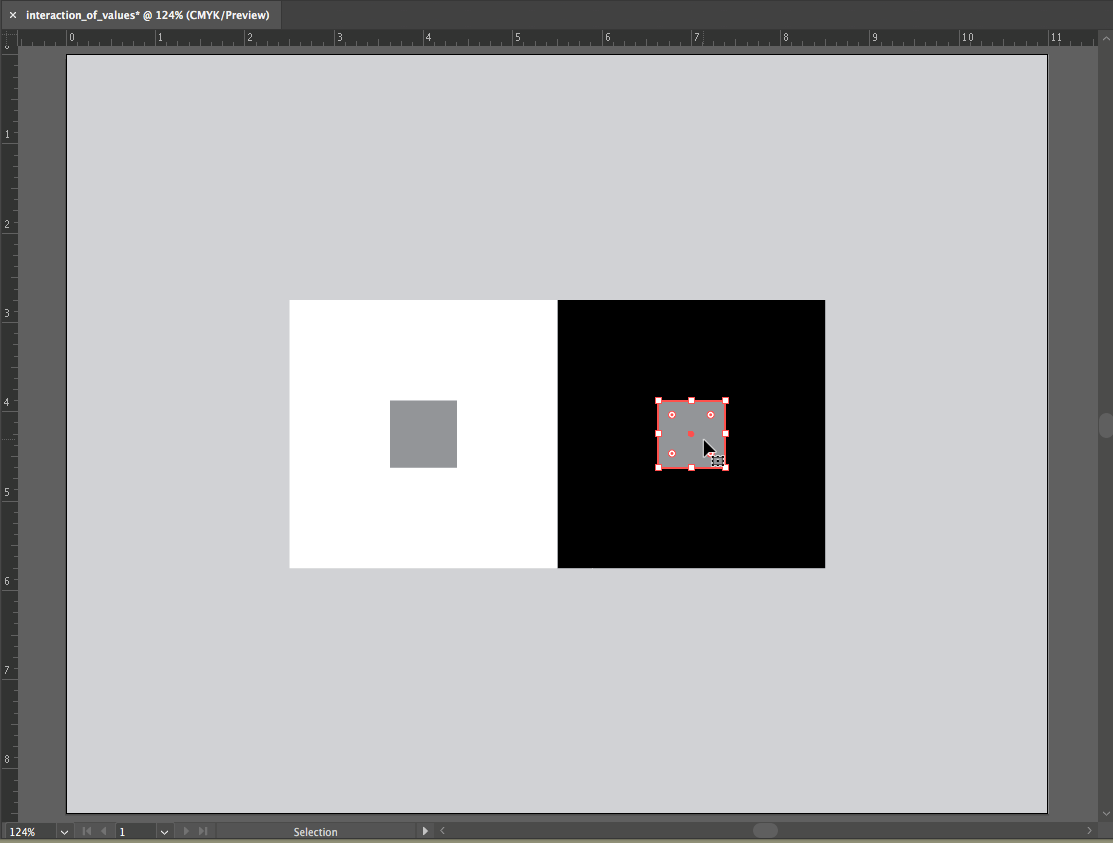
Exercise 3 results. Notice how the middle gray squares inside the black and white areas appear to have different values. When values are placed near or on top of each other, we perceive their values as interacting and affecting one another. It is important to keep this in mind when choosing hue and value combinations, as one value will always influence the appearance of another.
Time to save your file! One more exercise after this, start it when you’re ready.
