
Chapter 6: Line Art and Flat Graphics
6.3 Exercise 3: Curves
Part A: One curve
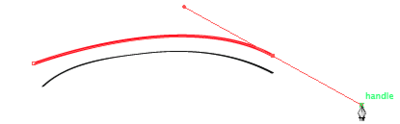
- The first curve is created in two points. The first anchor point is made by clicking and dragging the mouse slightly upward to imply the direction of the curve. Do not drag all the way over the curve like you are using a pencil or paintbrush, this tool does not work like a pencil or paintbrush. Release the mouse.
Watch Out! If you set the Pen Tool with a fill and no stroke, the path is filled with color as each point is plotted with the Pen Tool. This can be confusing, even to professionals, while initially setting anchor points.
- Click once at the end of the curve and drag slightly downward until the curve looks similar to the template.
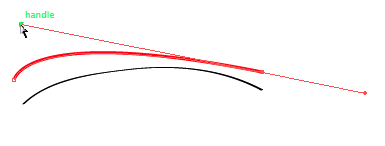
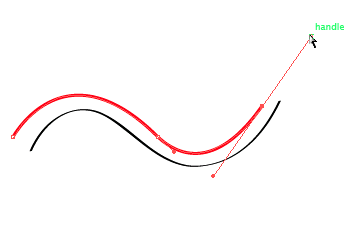
Creating a curve using the Bezier Handles Deselect the curve.
Part B: Bezier Handles
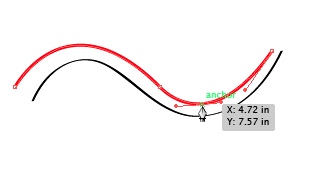
When you are finished you will have one curve with two anchor points. Each anchor point will also have bezier handles, which are used to modify sections of the curved line. With the Direct Selection Tool you can modify the anchor points, the line segments, and each bezier handle. Every curve has a mid-way point, the bezier handles pull on each side of this point.

Part C: Two curves in a row
- Click and drag with the Pen Tool in the direction of the first curve. Release the mouse.
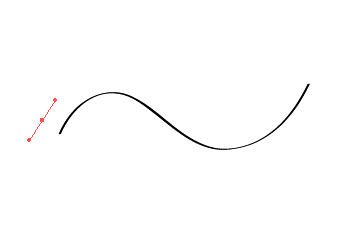
You only need to click and drag a short distance to set the first curved point - Click at the end of the first curve and drag down with the mouse – this tells the Pen Tool the direction of the next curve. Release the mouse.
Creating a second anchor point to set the direction of the curve - Click at the end point of the last curve and the final curve is made between the last two anchor points.
It takes time and practice to master the Pen Tool! When you are working with the Pen Tool, you have to think ahead of the tool, towards the place where the line changes. Where does the curve change directions? This will inform where you click and how you drag the mouse.
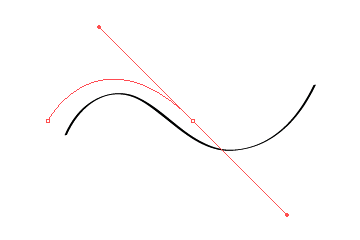
Part D: Deleting and adding anchor points
You can click on an anchor point with the Direct Selection Tool and hit the delete key, or if the anchor is in the middle of a path, you can use the Subtract Anchor Point Tool (Pen Minus) to click on an anchor point you want to delete. You can use the Add Anchor Point Tool (Pen Plus) to add an anchor point any place on a path if you need to add a curve or hard angle after you’ve finished creating your path with the Pen Tool.
Deselect before working on the next exercise.
Are you remembering to save your files?
