
Chapter 12: Getting It Out – Digital Output for Web
12.1 Exercise 1: From digital input to web ready
- Download and open seagram_building.jpg from the Chapter 12 Work Files download.

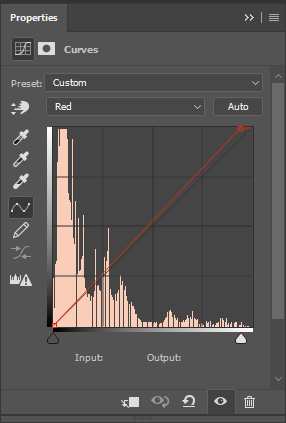
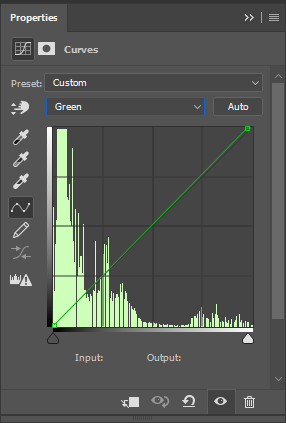
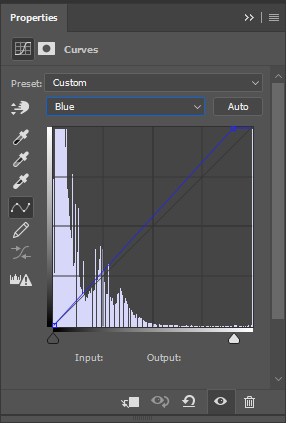
- If you followed the exercises in Chapters 8 and 9, you should be comfortable changing the tonal range and color of this image. Adjust the tonal range and color to your liking by adding one or more adjustment layers.

- Save this file as a master copy by choosing Save As from the file menu, choose PSD as the file format, and save your file as ch12-yourlastname-firstname.psd.
- The image from the download files was taken by a 21-megapixel digital camera, and is larger than we need to display on a web site. Additionally, since we’ve made some adjustments and want to retain our master file as a PSD, we’ll need to create an optimized image for use on a website or on social media. To optimize images for online use, we use the Export features in Photoshop®. Choose File > Export > Export As… to open the Export As interface. Photoshop® and Illustrator® both have this tool available, allowing you to to resizes and compress your images, flatten layers, and prepare an image for the web all while retaining your original master file.

- The Export As dialog has several important parameters to set. The most important parameter is the Format listed under “File Settings” in the top right of the interface. As a general rule, photographic images and other images continuous tone or a large range of colors are saved as JPEGs. Graphic images — images with few colors, such as logos and line art — are saved as PNGs or GIFs. Since this image is a photograph, select JPEG from the Format pull-down menu.

- Using the “Export As” dialog gives the user control over JPEG compression settings as well as how best to prepare the image for web use. We’ll start with the Quality setting. First, notice that at the bottom of the “Export As” dialog are some zoom controls. Click on the + button there to zoom in and view the image at 100%. We’ll want to be looking closely at the image to more easily see the effect of JPEG compression.
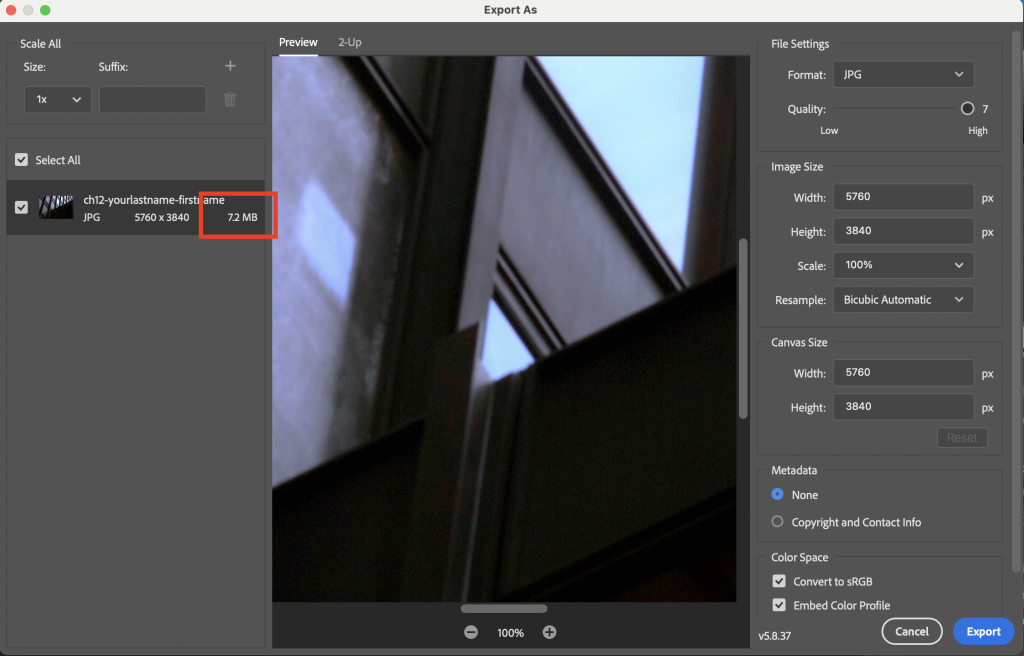 Also note that the left side of the Export As interface shows information related to the optimized image. At this stage, we want to pay particular attention to the estimated file size of the optimized image, which at High Quality is about 7.2MB. This is important because the smaller the file size is, the faster the image will download as part of a web page. The 7.2MB file size is a very large or “heavy” file and will increase download time unnecessarily.
 - In the File Settings section at the right of the Export As dialog, set the Quality setting to 1 by pulling the slider all the way to the left. Watch the image closely as you make this change and you will see differences in the image quality appear. Saving an image in JPEG format compresses the saved image into a smaller file size by removing pixel detail from specific areas in the image. This is called lossy compression.The JPEG format lossy leaves what are known as compression artifacts in the image. These show up as blurry or pixelated areas in an image, which you may have noticed in heavily compressed images online. JPEG compression artifacts most often show up in areas of solid or nearly-solid color, or around edges of objects in an image.

Notice the loss of detail and the appearance of JPEG compression artifacts when comparing the image preview at Quality settings of 7 and 1. 
Along with seeing a preview of the compressed image in the center of the Export As dialog, the estimated file size is also updated when you change the Quality setting. Notice that the image information in the area at the left of the dialog now lists the file size at around 218KB.
 Note: The human eye cannot easily detect image compression artifacts if a small amount of compression is used and the image is viewed on a computer screen. Photoshop® JPEG compression presets run from Low to High, and correspond to a numerical range from 1 to 7. One is a very low quality, where you will definitely be able to notice the loss of quality as visible compression artifacts in the image, while the High 7 level (although still having had image data thrown away) shows no visible decline in quality. The trade-off is that more compression creates a smaller file. Weigh your needs for file size against your perception of image quality to decide what level of compression to use on a case-by-case basis.
 - While the file size at 1 Quality is nice and small, the image doesn’t look as good as it could. We want to find a balance between a nice looking image (not covered in artifacts) and a file size under 1MB. Increase the Quality to 5 and watch the areas of the image where you noticed the artifacts at 1. On average, a Quality setting between 5 and 6 is where you’ll end up when looking at image quality, though this will vary depending on the amount of detail and texture in any particular image that you’re compressing. Notice that the compressed file size at 5 quality is 1.4MB, we’ll address that in the next step since we do want a smaller file size.

- In addition to compression, we can also reduce file size in this case by reducing the pixel dimensions of the image. We can do this directly in the Export As dialog, without permanently altering our master image file. Locate the Image Size section of the dialog, underneath the File Settings section on the right side. The original pixel dimensions are 5760×3840 pixels, which is much larger than we need to display online.Computer monitors and mobile devices have a wide range of screen sizes these days. In order to deliver images that are sized appropriately for different devices and Internet connections, it is often necessary to prepare multiple sizes of an image for online use. For this exercise, we’ll prepare two optimized sizes of this image.For desktop computers, let’s scale the image down to a width of 1600px. Edit the Width value under the Image Size settings and the height will be scaled proportionally to 1067px. To help our scaled image’s quality, also set the Resample drop-down to Bicubic Sharper. This will result in sharper detail when Photoshop® re-interpolates the image’s pixels while generating the smaller size. Your Image Size settings should match those shown below.
 Notice that this has reduced the optimized file size from 1.4MB down to 158.9KB. This is much more acceptable and our image quality is looking pretty good.

- Now we’ll create an additional optimized file for mobile screens using the Scale All controls in the upper left corner of the Export As dialog. In the previous steps, we’ve just defined the settings for our 1x optimized image. In the Suffix field, enter _desktop then click the + button in the Scale All box to add another size for this image.
 Clicking the + button will create an additional optimized copy of the image. For this second optimized copy, set the Size drop-down to 0.5x and enter _mobile in the Suffix box.
Now click the Export All… button in the lower right of the dialog, choose where to save your optimized files, and click the Export button. You should end up with two .jpg files in the folder you saved to: one named ch12-yourlastname-firstname_desktop,jpg and the other named ch12-yourlastname-firstname_mobile.jpg with file sizes around 163KB and 71KB, respectively. Notice that the _mobile image has pixel dimensions of 800×533.Note: File naming standards for the web use only lowercase letters, alphanumeric characters, underscores, and dashes (no spaces).If you open each of the JPEGs in Photoshop®, you’ll also notice that their resolution is set to 72ppi. The Export All process also reduces the ppi since images for display on the web or exclusively on screens typically use a standard 72ppi setting.
We’re finished with the ch12-yourlastname-firstname.psd file, so you may save and close it.
