
Chapter 4: Type on a Grid
4.5 Exercise 5: Using color to direct the viewer
In this exercise, the dot over the “i” will be replaced with a red square. A red square will also be placed towards the bottom of the composition, near the start of the body copy (see the exercise example in ch4-ourfinalfile.ai). By repeating this form on two parts of the page, a relationship is made between the headline and the body copy. Red is used intentionally to push the viewer’s eye from the headline to the body copy.
-
To create a focal point in the headline, we’ll replace the dot over the i in “Grid” with a red square. Removing one part of a letter is easy, but the letter must first be transformed from editable text to a group of shapes.
Before we do this, it must be noted that creating outlines of the original type will annihilate editing possibilities on the text object. When converting a text object to outlines, it is a beneficial practice to duplicate the text and leave it in the white space outside of the Artboard for reference or later editing possibilities.
With the Selection Tool, click on the “Grid Systems” type, press the option (OPT) key and drag the duplicate copy of the text off of the Artboard. Select the original “Grid Systems” type on the Artboard, then from the menu bar click Type > Create Outlines.
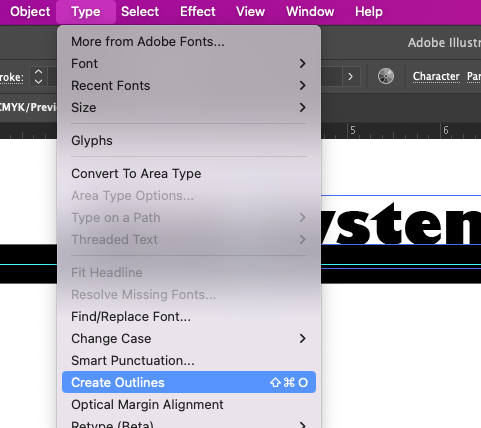
From the menu bar, click Type > Create Outlines. Hot Key: Create Outlines: CMD + SHIFT + OAfter choosing “Create Outlines,” the type will be grouped together, so that each of the single letters would move or be transformed as one whole group.
- Ungroup the type by clicking Object > Ungroup.
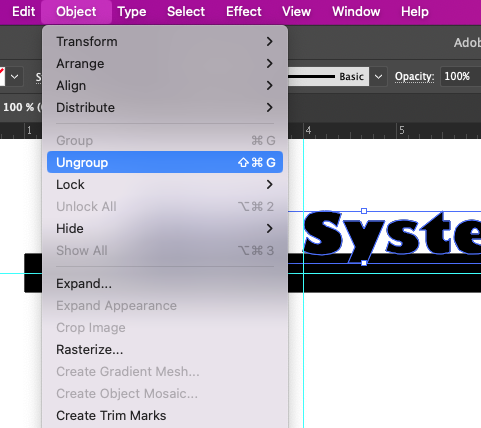
From the Object menu, click Ungroup. -
Use the Direct Selection Tool to select and delete the dot over the i. When you click to select the dot over the i, the rest of the i will be selected, which isn’t what we want. Instead, marquee over the top portion of the dot (see the illustration below). Zooming in on the type will increase the likelihood of getting this the first time you try it, so don’t be afraid to use the Zoom Tool or CMD +.
When part of the top of the i is selected, hit the delete key on your keyboard until you see that the top portion of the i is missing. Press delete again to delete the remaining anchor points that were part of the dot shape.
See the following three images, where the Direct Selection Tool marquees over the top half of the letter i, then the delete key is pressed two times.
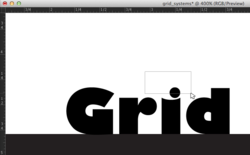
Example 1: Use the Direct Selection tool to marquee around the dot above the letter ‘i’. 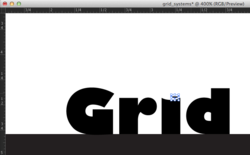
Example 2: Partial deletion of the dot after pressing the delete key once. 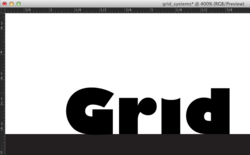
Example 3: Full deletion of the dot after pressing the delete key a second time. - Create a square in place of the dot over the i with the Rectangle Tool. Change the fill color to a red hue of your choice.
- Duplicate the square and move it to the bottom of the composition, just above the first word in the body copy by using the Select Tool and holding OPT while dragging.
- While the copy of the square is still selected, double-click the Scale Tool in the Tools panel. Scale the square by 300%.
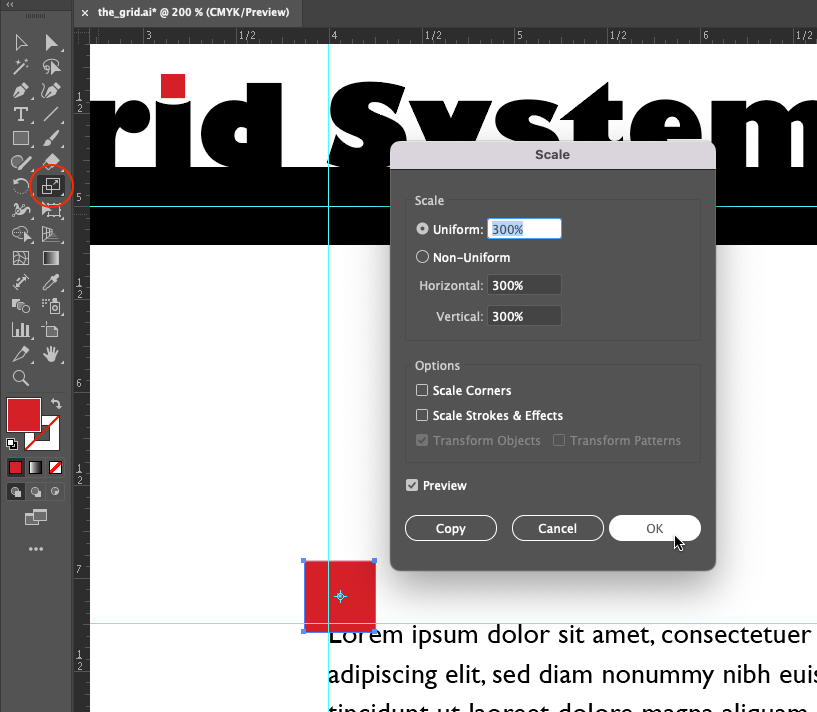
Double-click the Scale tool in the Tools panel and scale the duplicated red square to 300%. - Finally, position the duplicated red square in place above the body copy at the bottom of the page, to the right of the guide.
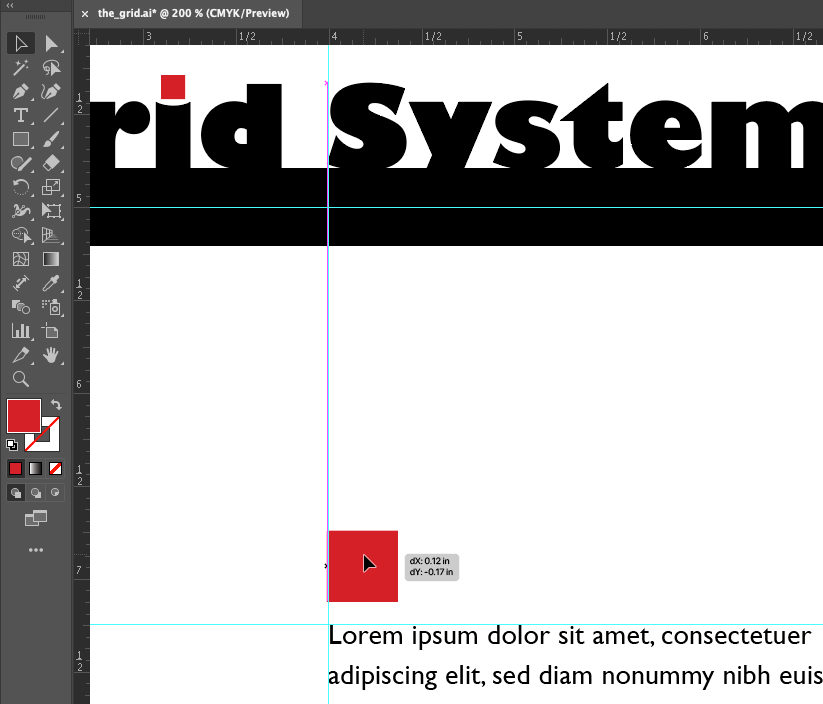
Use the Selection Tool to move the duplicated square into position above the body copy.
