
Chapter 7: Scanning
7.4 Exercise 4: Basic adjustments to contrast, hue and saturation levels
In this exercise we will make adjustments to the contrast, hue and saturation of the scanogram. The methods utilized in this exercise are basic, that is, they are less specific than professional methods for color correction. However, the scanogram creates an image with great density in the shadow areas and overexposed highlights. The range of mid-tone values is usually discreet. As a result, these basic adjustments are easily seen and properly utilized on this type of image file. In this exercise, how the image “feels” is more significant than the details in the specific highlight and shadow areas. Advanced image adjustments are explored in chapters 8 and 9.
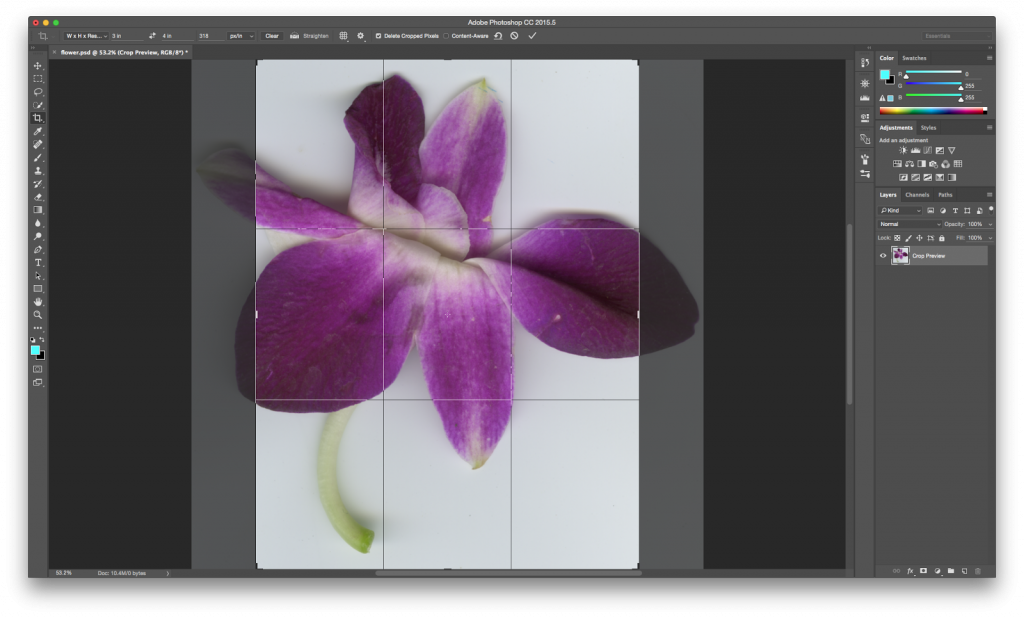
- To start, crop the image so that it is exactly 3 by 4 inches. Click on the Crop Tool in the Tool Palette, then use the Options Palette to set the Crop Tool to make a crop at exactly 3 by 4 inches. Click and drag with the Crop Tool over the image. When most of the image is selected, as in the screen capture below, press Return or Enter on your keyboard’s numeric keypad to finalize the crop. Note: Depending upon the dimensions of your original image, cropping to 3”x4” may result in a slight enlargement of your original image or may require that you crop out a portion of your image. Either or both of these situations are acceptable for this exercise.

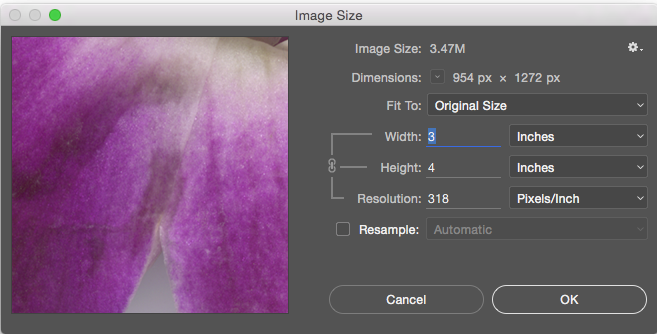
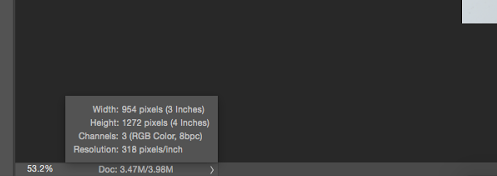
- Double-check the width, height and resolution in the Image Size dialog box and in the Status Bar.
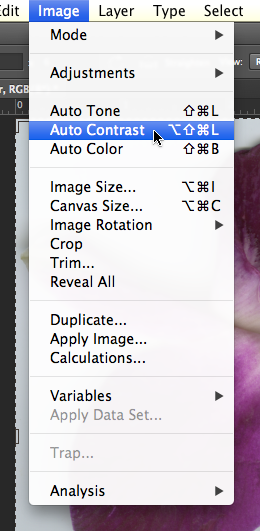
- Click Image > Auto Contrast to automatically adjust the contrast within the image file.
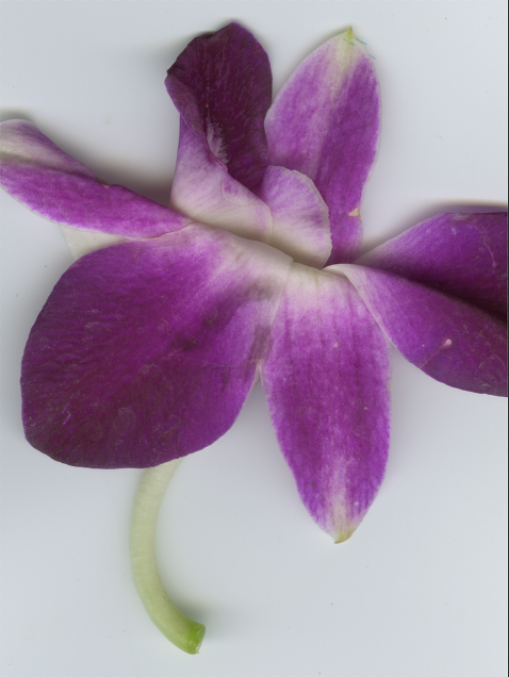
Before applying Auto Contrast 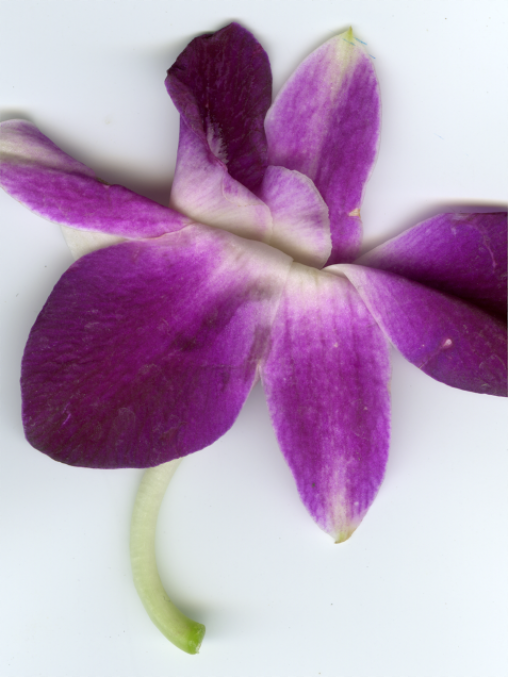
After applying Auto Contrast - Press CMD+Z on the keypad to “undo” the last step. Press CMD+Z again and Photoshop® “redoes” the last step. In Illustrator®, CMD+Z continuously undoes previous steps. In Photoshop®, the History Palette serves this purpose. We’ll explore the History Palette in the next few steps.
Tip: The menu item for “Undo” is Edit > Undo. It is almost not even worth mentioning as you are best off knowing the hotkeys for this important Photoshop® command.
- Click on the Brush tool and make five random marks with it on the image. Press CMD+Z two times and you will still have five random brush marks on top of the scanogram.
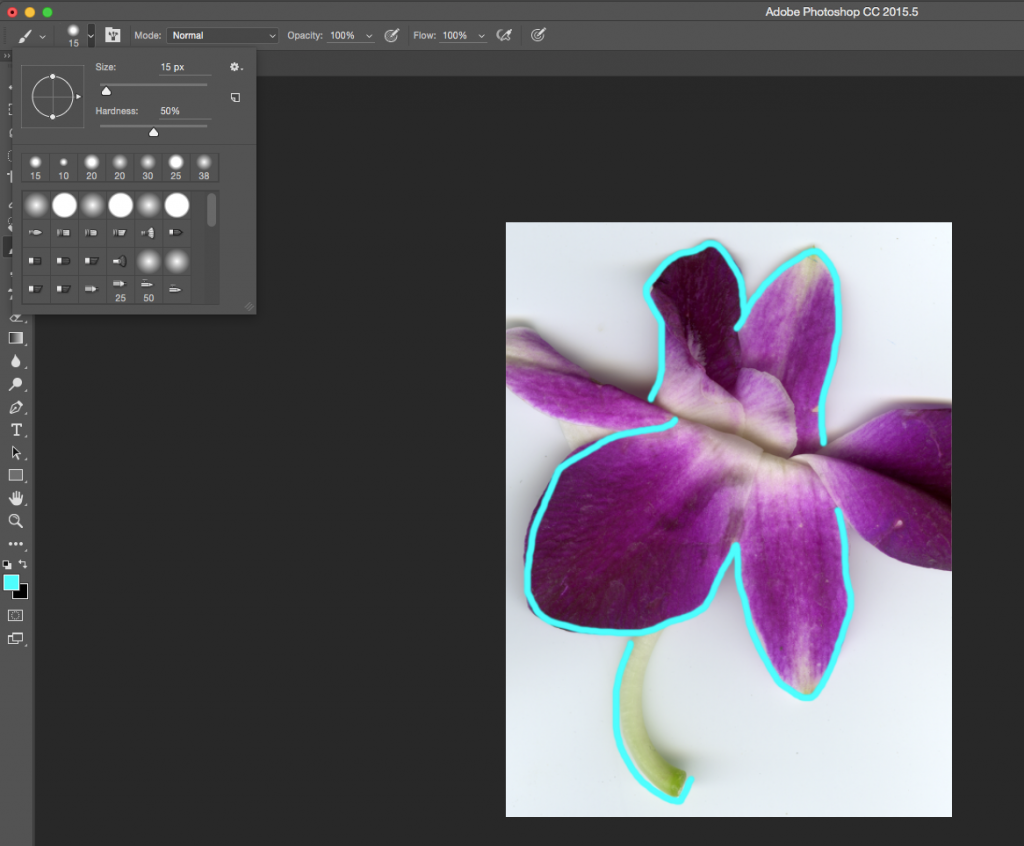
The Brush Tool is selected in the Tool Palette. The Brush Options can be used to select a brush size, a hard or soft edge on the brush, and the opacity of the hue that the brush draws (look towards the top right area of the Brush Tool Options). - Click on the History Palette (Window > History) and notice that it says, “Brush Tool” for each of the times that the paintbrush was used. Click once on each step in order to travel backwards through time. Just clicking on the step is “enough,” that is, nothing needs to be clicked in order to confirm that this is where you want to start working – just, start working and a new step will be recorded in the History Palette. Click on the step in the History Palette that restores the image to the point after Auto-Contrast was applied.
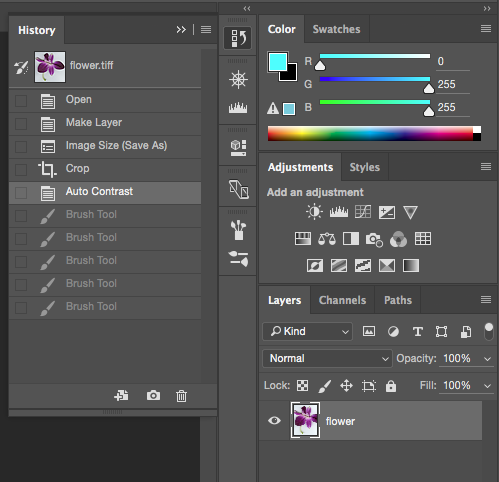
In the History Palette, clicking on the step just above the five brush strokes, on “Auto Contrast” is the way to undo those five brush strokes. - Click Image > Adjustments > Hue/Saturation. This adjustment changes the layer’s hue, the intensity or saturation level of the hue and the value of the hues within the image. To create an overall wash of color or monotone effect, click on the “Colorize” button at the bottom right of the dialog box. Changes made to the hue (by dragging the hue slider) will become easily apparent.
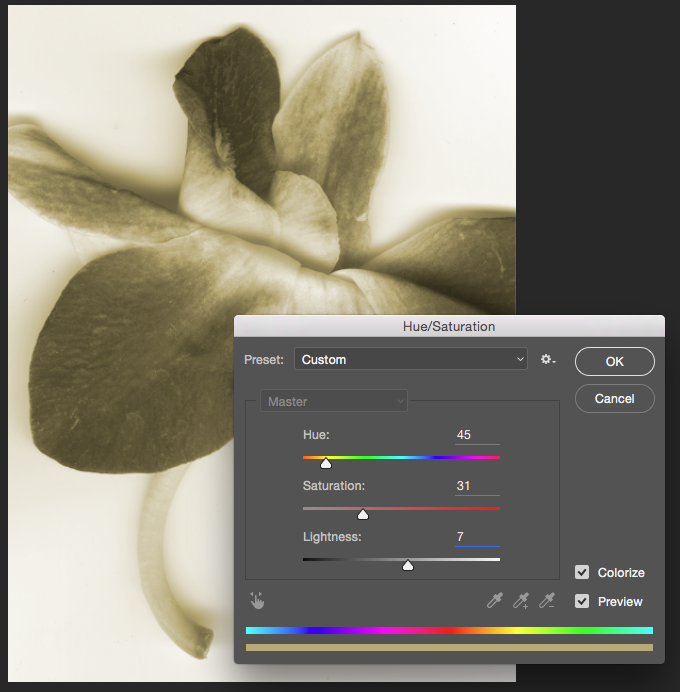
The Hue/Saturation adjustment is used to create a monotone wash over the image. Here the image takes on a sepia tone, similar to a traditional photographic bath used to cast a warm tone on the image. You’ve completed this exercise and this chapter. Make sure to save your work after these final steps.
Attribution
“Digital Foundations – Intro to Media Design” by Xtine Burroughs and Michael Mandiberg is licensed under CC BY-NC-SA 3.0 / This is a derivative from the original work. Content is available under Creative Commons Attribution Non-Commercial Share Alike unless otherwise noted.
![]()
