Chapter 5: Color Theory & Basic Shapes
5.1 Exercise 1: Hue has value!
- Create a new document in Illustrator® using the Print Letter preset. Adjust the settings so the units are in inches and orientation is set to landscape. Name your document hue-has-value.

Create a new document using the settings specified for this exercise. - Check to make sure your Smart Guides are turned on. The guides help you with alignment. A quick way to check if Smart Guides are on is to activate the Selection tool and then look at the Properties panel’s Guides section. The third button in that section toggles Smart Guides and if it’s darkened then they are turned on.
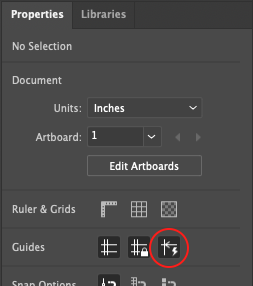
With the Selection tool active, check the Properties panel to make sure the Smart Guides button (circled in red here) is on. - Using the Rectangle tool, draw five squares on the Artboard. Hold down the shift key (SHIFT) while dragging each square to keep the proportions equal. Evenly distribute the squares by selecting all 5 squares, clicking “Horizontal Distribute Left” under the Align Panel (Windows > Align) as we did in chapter 3.
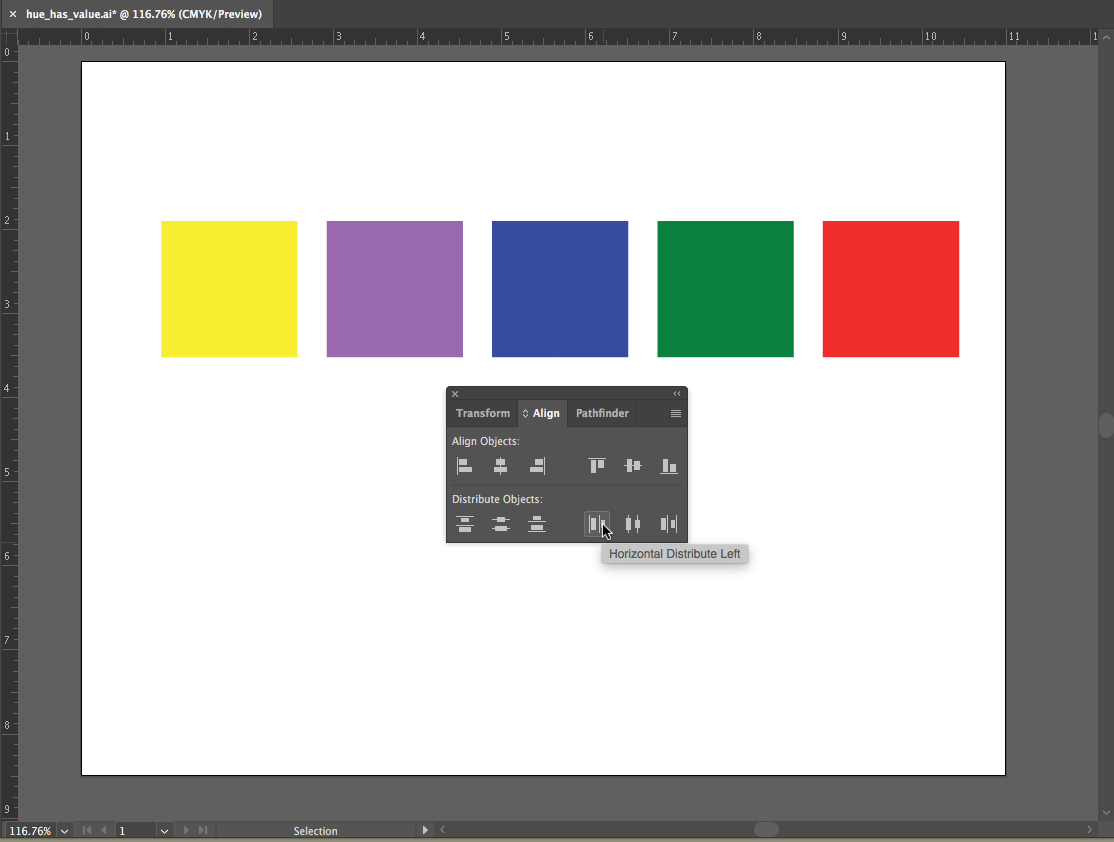
Use the Rectangle tool, duplicating and aligning functions to create 5 squares. - For each square, choose a fill color of a different hue with different values. Do not use a stroke. Remember to select the shape before you select a new color from the Swatches or Color Panel.
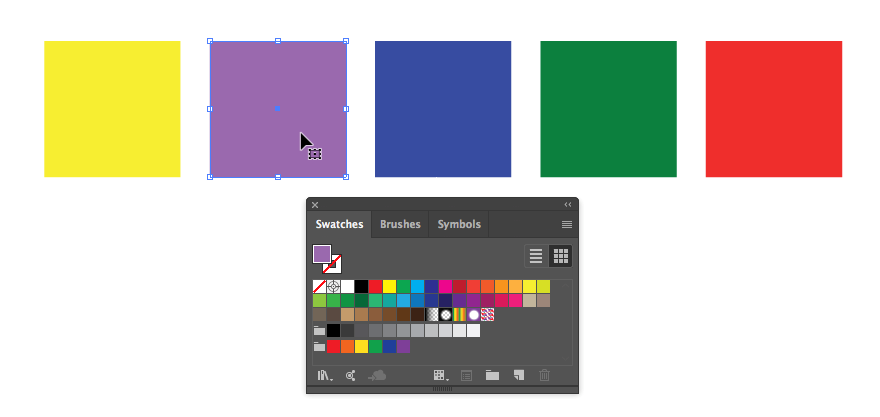
Each square should have a different hue with a different value. - Select all of the shapes by marqueeing over all of them with the Selection Tool or hold SHIFT and click each shape with the Selection Tool. Hold the option key (OPT) while dragging the squares to create a duplicate set. If you hold the shift key after you begin dragging the mouse, the duplicate copy will move only in straight or 45 degree movements.
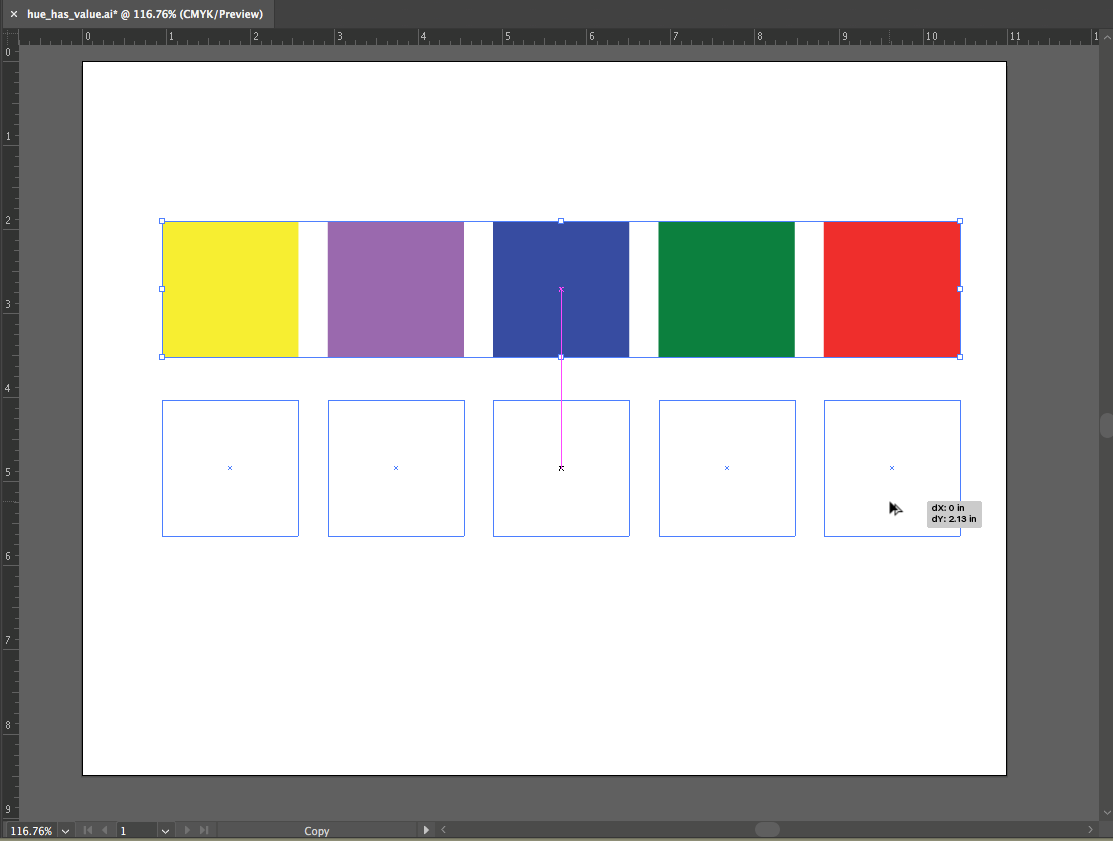
Selecting and duplicating all squares simultaneously. -
Select one of the duplicate squares with the Selection tool then click on the Color panel’s pull-down menu. The Color panel is located in the panels on the right side of the Essentials Classic Illustrator® workspace. It’s the top icon in the narrow strip of panel icons. For easier access to those panels, click the tiny double arrow icon at the top of the panel group.
The Color panel’s pull-down menu can be accessed by clicking on the menu button located in the top right area of the Color panel. Choose “Grayscale.” This removes the Hue from the square and results in demonstrating the value of the associated hue. Repeat this step for each of the squares in the duplicate set.
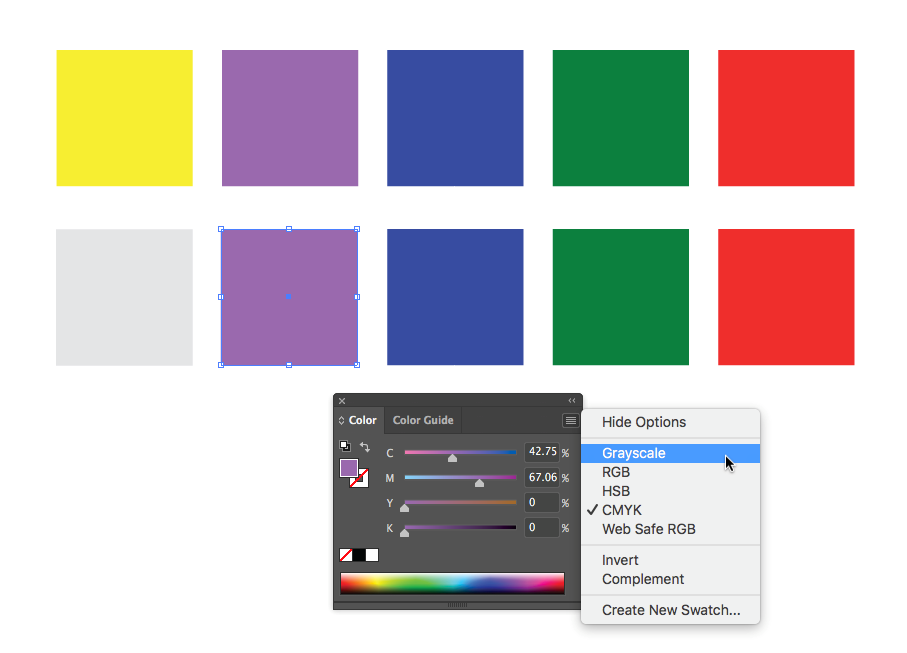
Changing colors to corresponding values using the Color > Grayscale function. - Observe how each hue has an associated value.
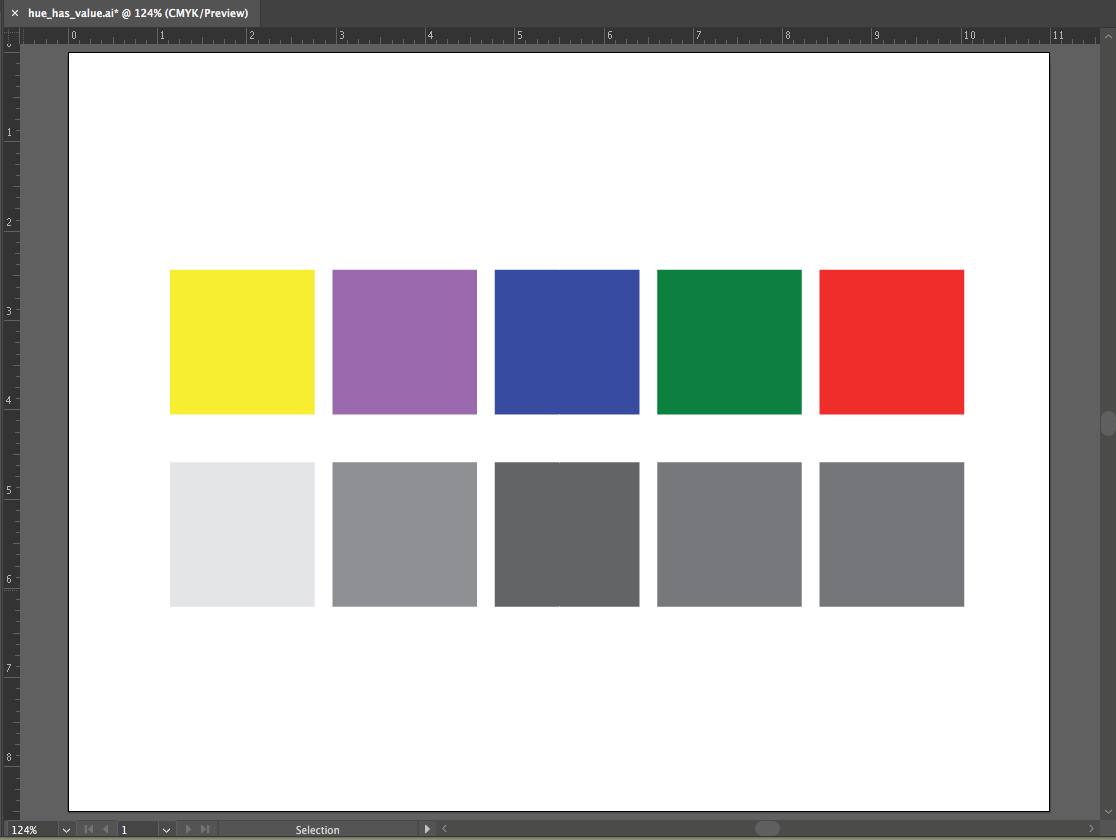
Results of hues with associated grayscale values. - Rearrange each color-grayscale pair according to the grayscale value, with the closest to white at the right, and black at the left. Select each pair (either by marqueeing with the selection tool, or SHIFT-clicking on one square followed by the next) and drag it left or right in the grayscale order. Be sure to hold down shift once you have started to drag the mouse as this will keep your movement strictly vertical or horizontal. You may need to select each row and evenly distribute the squares again (see #2 above).
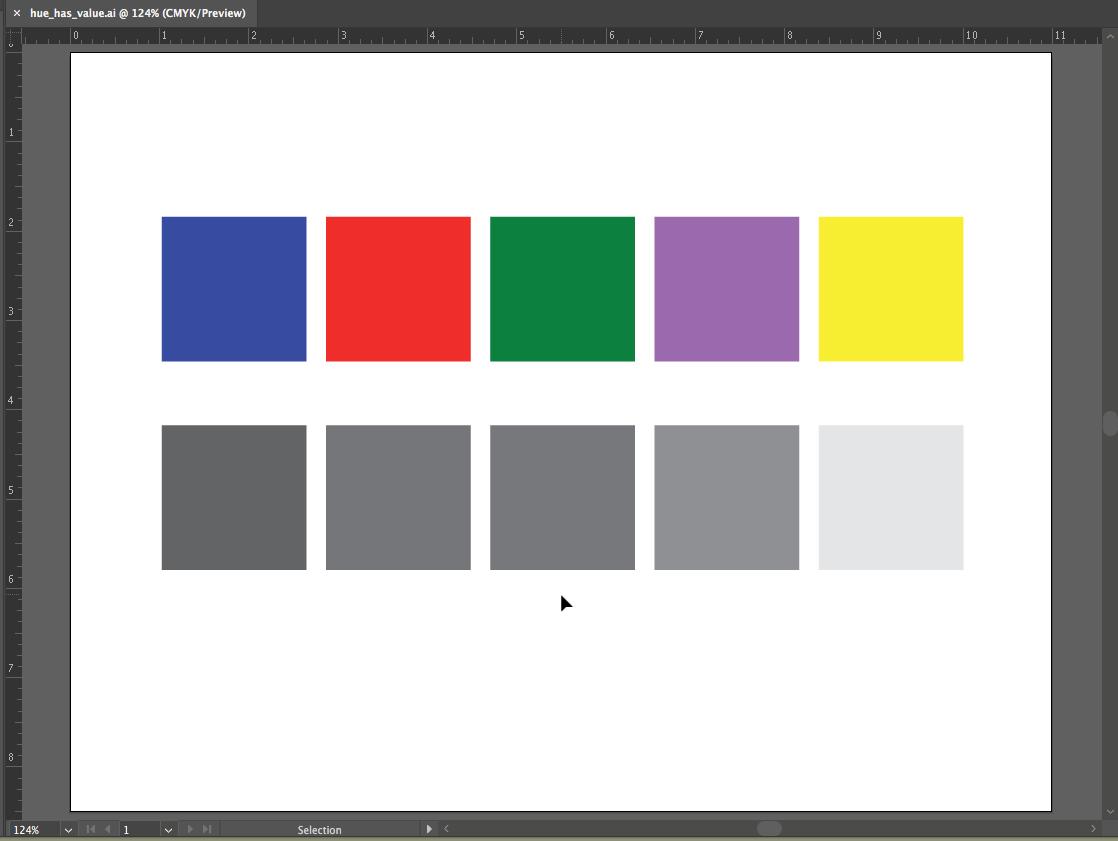
Reordering of hues-grayscale pairs according to grayscale value. Save your document and start the next exercise when you’re ready.

