
Chapter 13: Multiple Pages: Unity
13.3 Exercise 3: Linking text frames
InDesign® is often used to create multi-page documents for commercial printing or for viewing as a PDF file on a screen. In either case, long documents can contain a lot of text. InDesign® allows you to place as much text as you want into one single text frame and then use the threading function to link multiple text frames together so that the text can flow from one frame to another. In this exercise, we will link two text frames on pages one and two with about five paragraphs of Lorem Ipsum dummy text. In Chapter 4 we used Lipsum.com to generate five paragraphs of dummy text. InDesign® has Lorem Ipsum dummy text saved into the application so you can easily fill a text frame with dummy text without pasting it from someplace else.
- On page 1, use the Type tool to click and drag a large text frame on the Artboard area. We need to load more dummy text into the frame than we intend to use in order to illustrate the threading feature.
- Choose Type > Fill with Placeholder Text to fill the frame with dummy text.
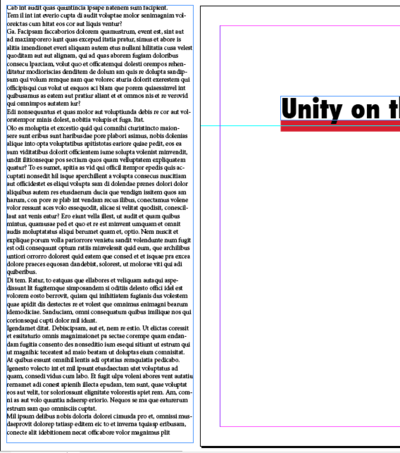
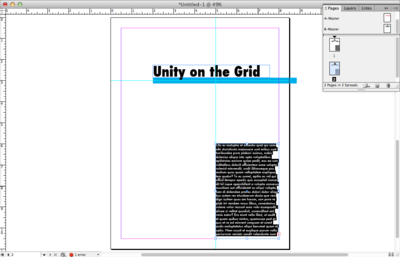
InDesign® has a feature that allows you to fill a frame with dummy text. Create a frame, choose Type> Fill with Placeholder Text. - Use the Selection tool [V] to move and resize the text frame so that left edge of the text frame is aligned with the vertical guide. Pull the top edge of the frame down so it starts at 6 inches. The right and bottom edges of the text frame align with the right and bottom margins on the page.
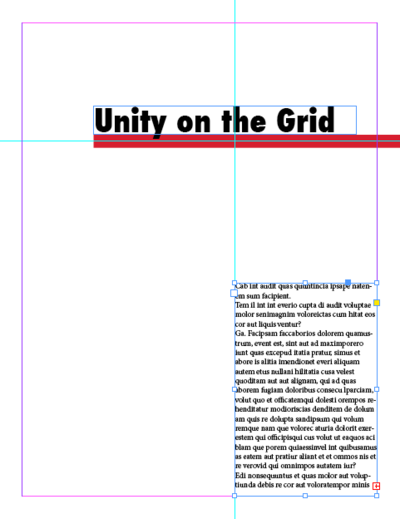
You can move and resize the frame. The text will autoflow to fit the frame. - Look at the bottom right corner of the text frame and notice the red square that surrounds a plus sign. This icon means that there is more text stored (but not visible) in the text frame. Using the Selection tool, click on the plus sign. Notice that your cursor has changed to a “loaded cursor.” InDesign® “knows” that you are ready to link this first text frame to another text frame in the document.
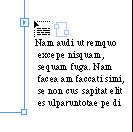
The red plus sign in the square means there is more text than what will fit in the frame. The cursor is now “loaded” with the additional text and can be loaded and linked to another text frame. - Now navigate to page 2. With the loaded cursor, click and drag a text frame in the same location as the frame you created on page 1. The overflow of text in the first frame will flow into the second text frame, since the frame on page 1 is now linked to the frame on page 2.
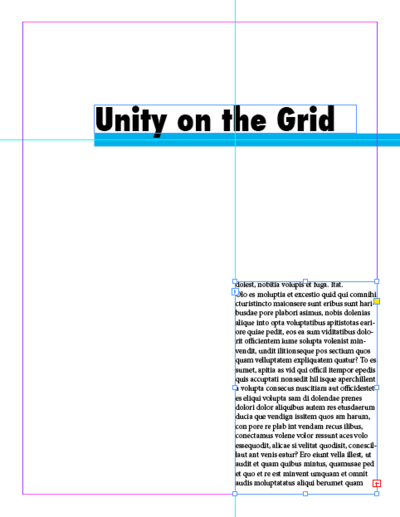
With the “loaded cursor” click and drag a new text frame on page two. The text will automatically flow from page 1 to page 2. Tip: View > Extras > Show Text Threads to see a visible line that indicates which frames are linked together. - Using the Type tool, click inside either of the two text frames and press Command+A to select all of the text. Make a change to the typeface using the Font Family menu in the Control panel or the Character panel (Window > Type & Tables > Character). Our type is set with Futura Medium in 11 points with the leading, or the space between the lines, set at 13.2 points. Notice that the typeface changes in both text frames because Command+A (or Edit > Select All) selects the text in all of the linked frames. Time to Save your work!
Make font changes to all of the text. Select all then use the Character panel to change your font. When you select all it will change all fonts that are linked together on page 1 and page 2
