
Chapter 14: Two-Page Spreads
14.2 Exercise 2: Fundamentals for the Layout
- Open InDesign and create a new document using the following specifications shown here:
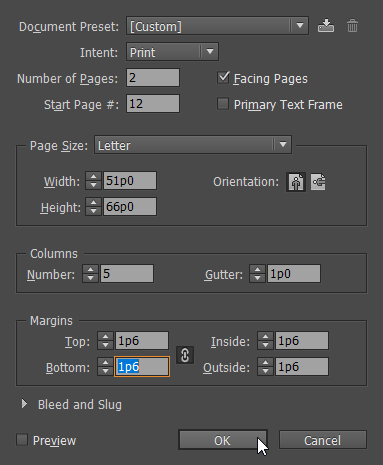
After you’ve created your document, save it as ch14-yourlastname-firstname.indd - Use File > Place and place the skyline.psd image you created in the previous exercise into your InDesign® document. Using the column guides as a reference, drag the image out to span 7 columns wide (leave the first three columns on the left side of the spread empty).
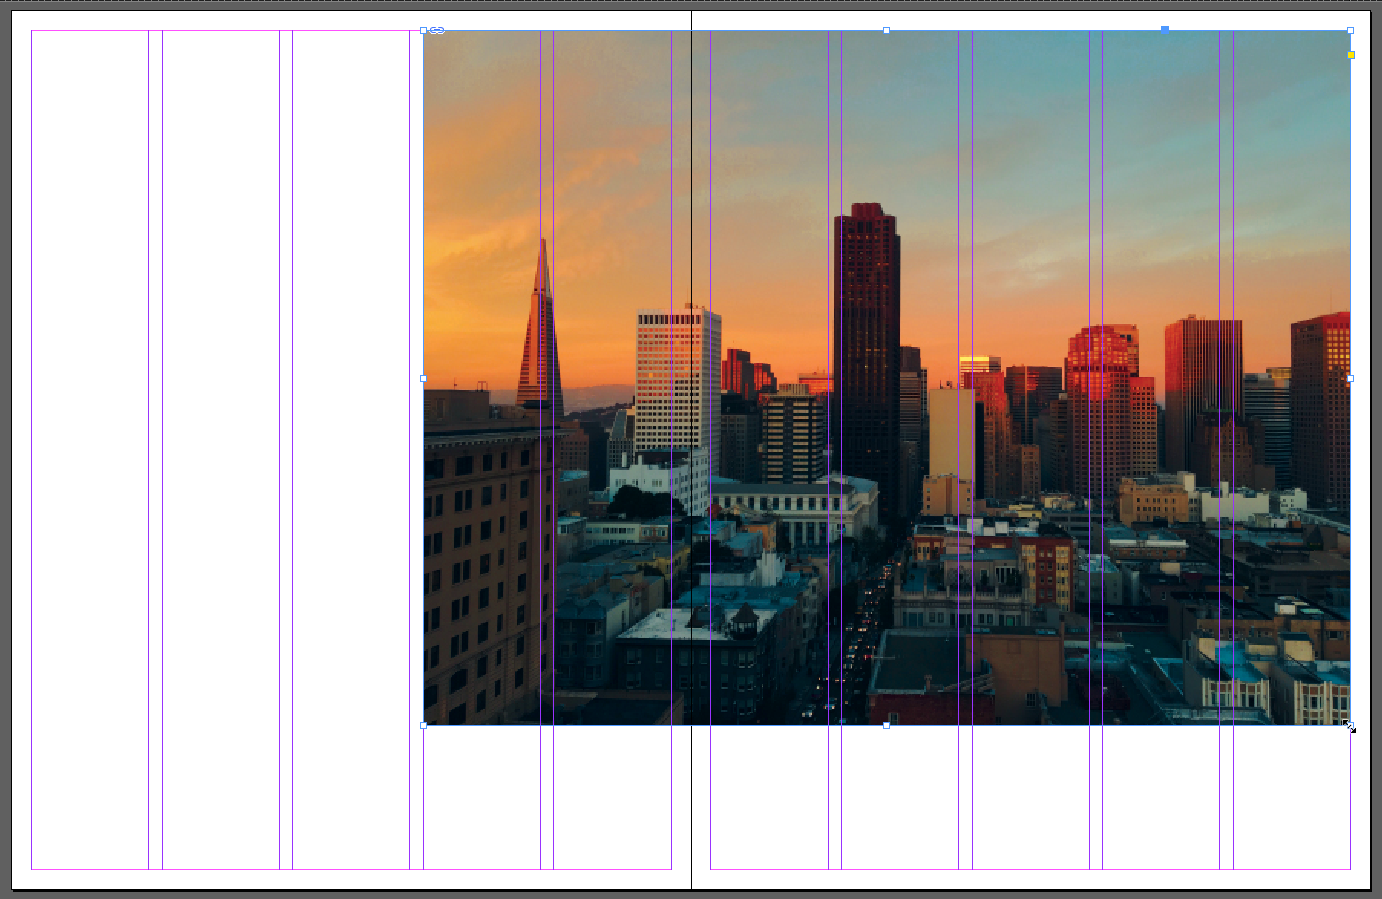
Scale the placed image so that it is 7 columns wide and positioned on the right side of the spread. Once the image is placed, adjust its frame height so that it reaches the top and bottom margins. Use the Fill Frame Proportionally button in the Control Bar to scale the image up so that it fills the frame.

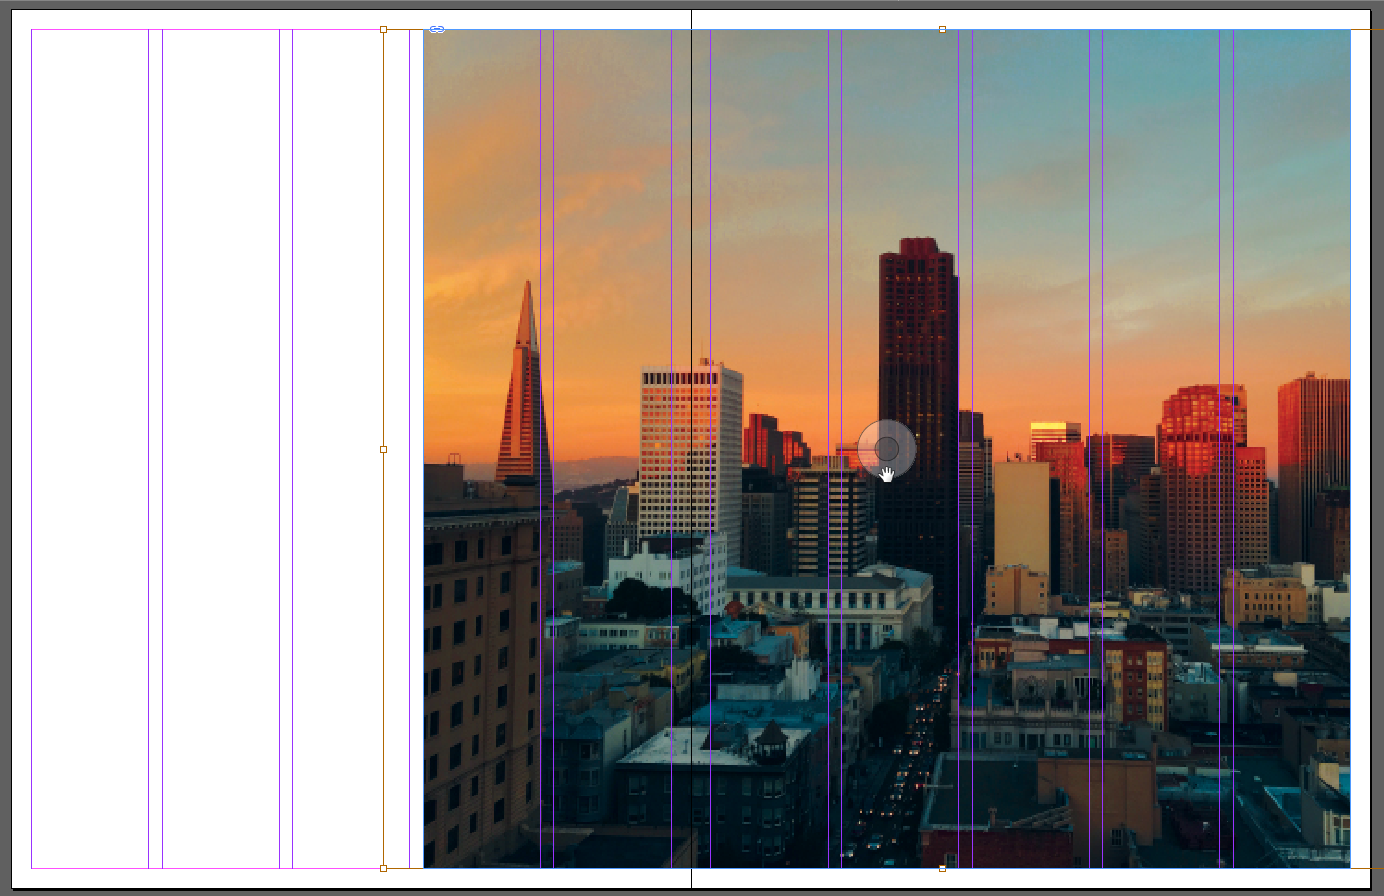
The “Fill frame proportionally” button can be used to quickly re-scale an image frame’s content to fit its frame while retaining the image’s original proportions. Then use the Selection Tool and the circle in the middle of the image frame to position the image within the frame so that it’s similar to the example here.
 Make sure your Layers Panel is showing (if it’s not, use Window > Layers to show it) and name the active layer image, lock it, then save your file.
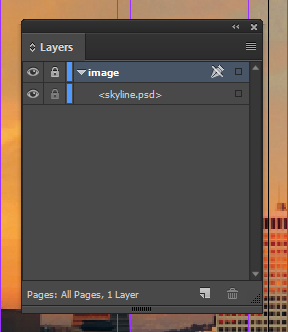
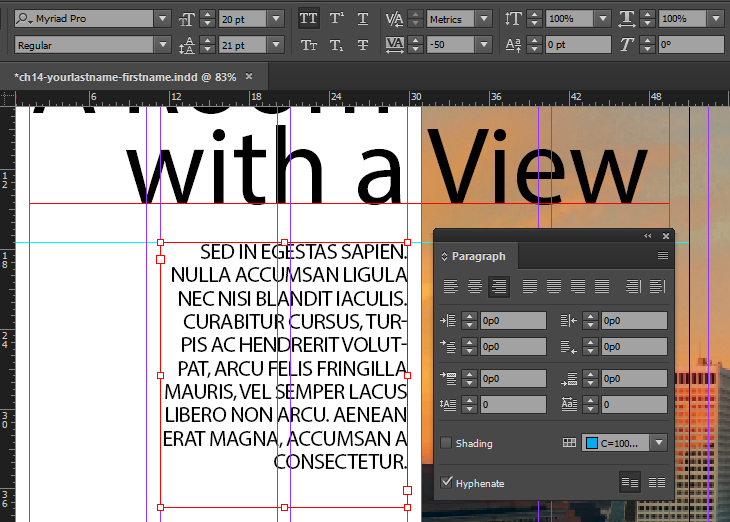
- Create a new layer named text and make sure it’s the active layer. Activate the Type Tool and use the Control Bar or the Character Panel to choose “Myriad Pro Regular” for your font. Now draw a text frame starting at the upper left of the column grid and dragging to the right so that it spans all 5 columns of the left page. Type “A Room with a View” (without the quotation marks) into the text frame. Select all of the text you typed and set the following type specs: Font size: 100pt, Leading (line spacing): 82pt.
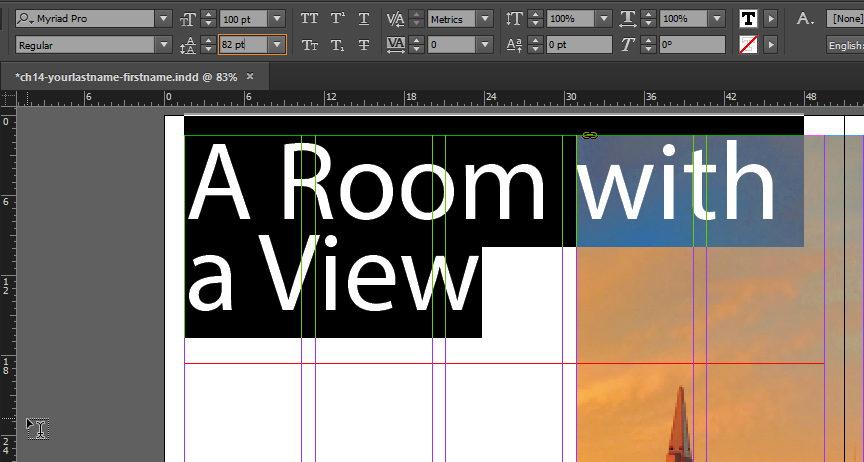
Next, put your type cursor in between the words “Room” and “with” and delete the space. Then use Shift+Enter to add a soft return to set the headline in two lines.
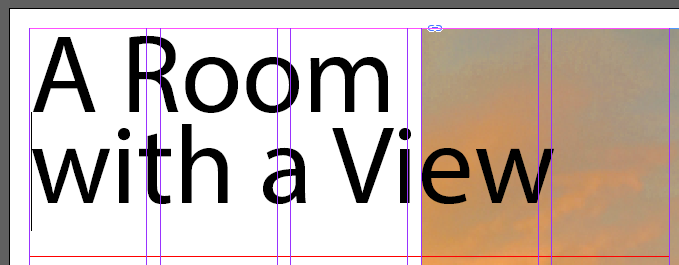
In the paragraph settings (in the Control Bar or the Paragraph Panel), set the Left Indent to 7p1 and the First Line Left Indent to -7p1 (make sure you include the minus sign there, this should set the second line so that it’s indented and the words “Room” and “with” are in vertical alignment as shown below).


The “Fit frame to content” button re-sizes a frame’s width and height to match the boundaries established by the content of the frame. This is a quick way of cleaning up frames that are larger than necessary after formatting text. Once you have the headline set, activate the Selection Tool and click the Fit frame to content button in the Control Bar. Then click a blank area on the page to make sure that the headline text frame is not selected.
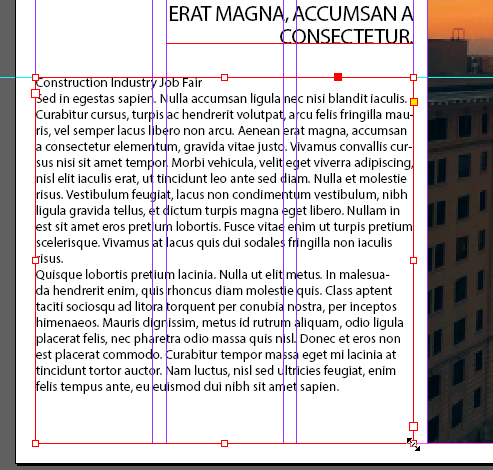
- Now we’ll add the intro paragraph for this spread. Drag a horizontal guide from the top Ruler down to the 17p6 mark. This will give us a reference for where to place the top of the intro paragraph text frame we’re about to create.
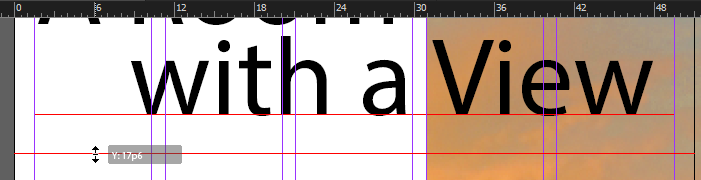
Now use File > Place to bring the text file top_paragraph.txt into your document and drag out its text frame so that it spans the second and third columns of the left page and is positioned at the horizontal guide we created.
Then, with that new text frame selected, activate the Type tool and set the following type specs in the Control Bar and Paragraph panel:
- Font: Myriad Pro Regular
- Size: 20pt
- Leading: 21pt
- Tracking: -50
- Use the All Caps button [TT] to set the text to all caps without retyping it
- Align right
 IMG
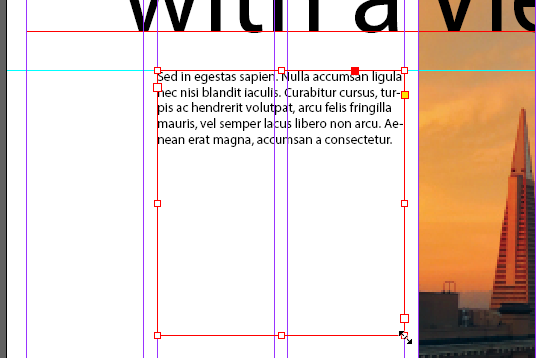
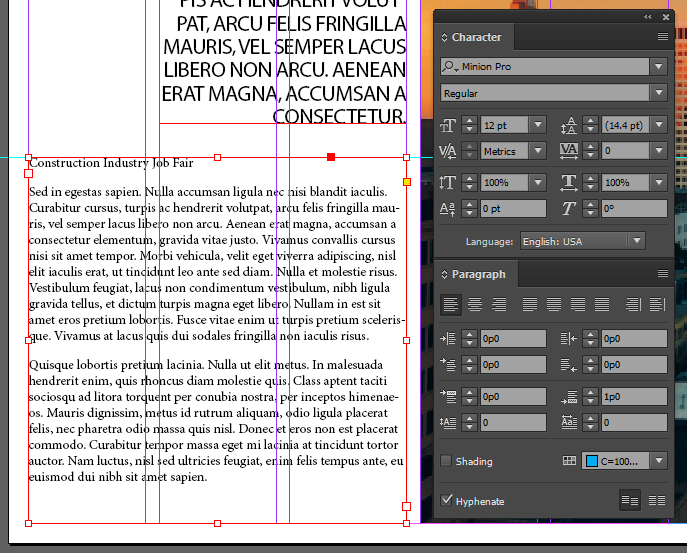
IMG - Pull out another horizontal guide from the top ruler, this time positioned at 37p0. Place the next paragraph of text using the bottom_paragraph.txt file. It should span 3 the first columns of the left page and have its top aligned with the new horizontal guide.
Set the type specs for this text frame as follows:
- Font: Minion Pro Regular
- Size: 12pt
- Tracking: 0
- Align left
- Space After paragraph: 1p0
Now that you have all of the basics in place, make sure that you save your file!
