
Chapter 13: Multiple Pages: Unity
13.4 Exercise 4: Creating shapes
In Chapter 4 we created unity on the page through the repetition of shape and color. We will create unity in this chapter with the same technique, but this time we will place the colored square in the same location on sequential pages.
- Use the Rectangle tool and hold the Shift key to draw a square on page 1 and then go to the Swatches panel to assign the red color to it.
Note: Use the curved arrow icon above the Fill and Stroke icons at the bottom of the Toolbox or at the top of the Swatches panel to swap the fill and stroke colors. The white square with the diagonal red stripe is used to assign no color.
With the Selection tool, drag the red square to align its left side with the vertical guide, and position the bottom of the square against the top of the body copy. If necessary, use the arrow keys on your keypad to nudge the square into place. Once the square is just touching the text, press Shift+Up Arrow one time to move the square ten points higher than the text.
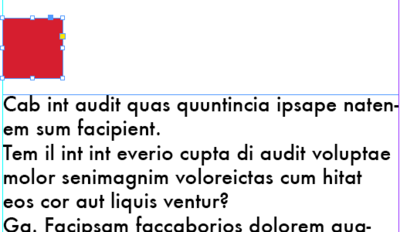
Create visual interest and draw the viewer to the text by creating a colored square at the top of the paragraph. - While the square is still selected, choose Edit > Copy then navigate to page 2 and choose Edit > Paste In Place to create a second square in the same location as the one on page
- Use the Swatches panel to change the color of this square to cyan.
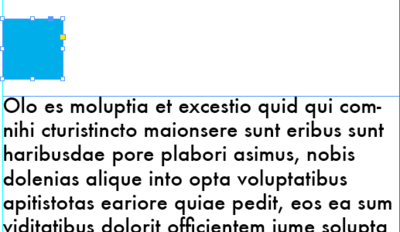
Use the Swatches panel to change the color of the square to cyan. Save!
